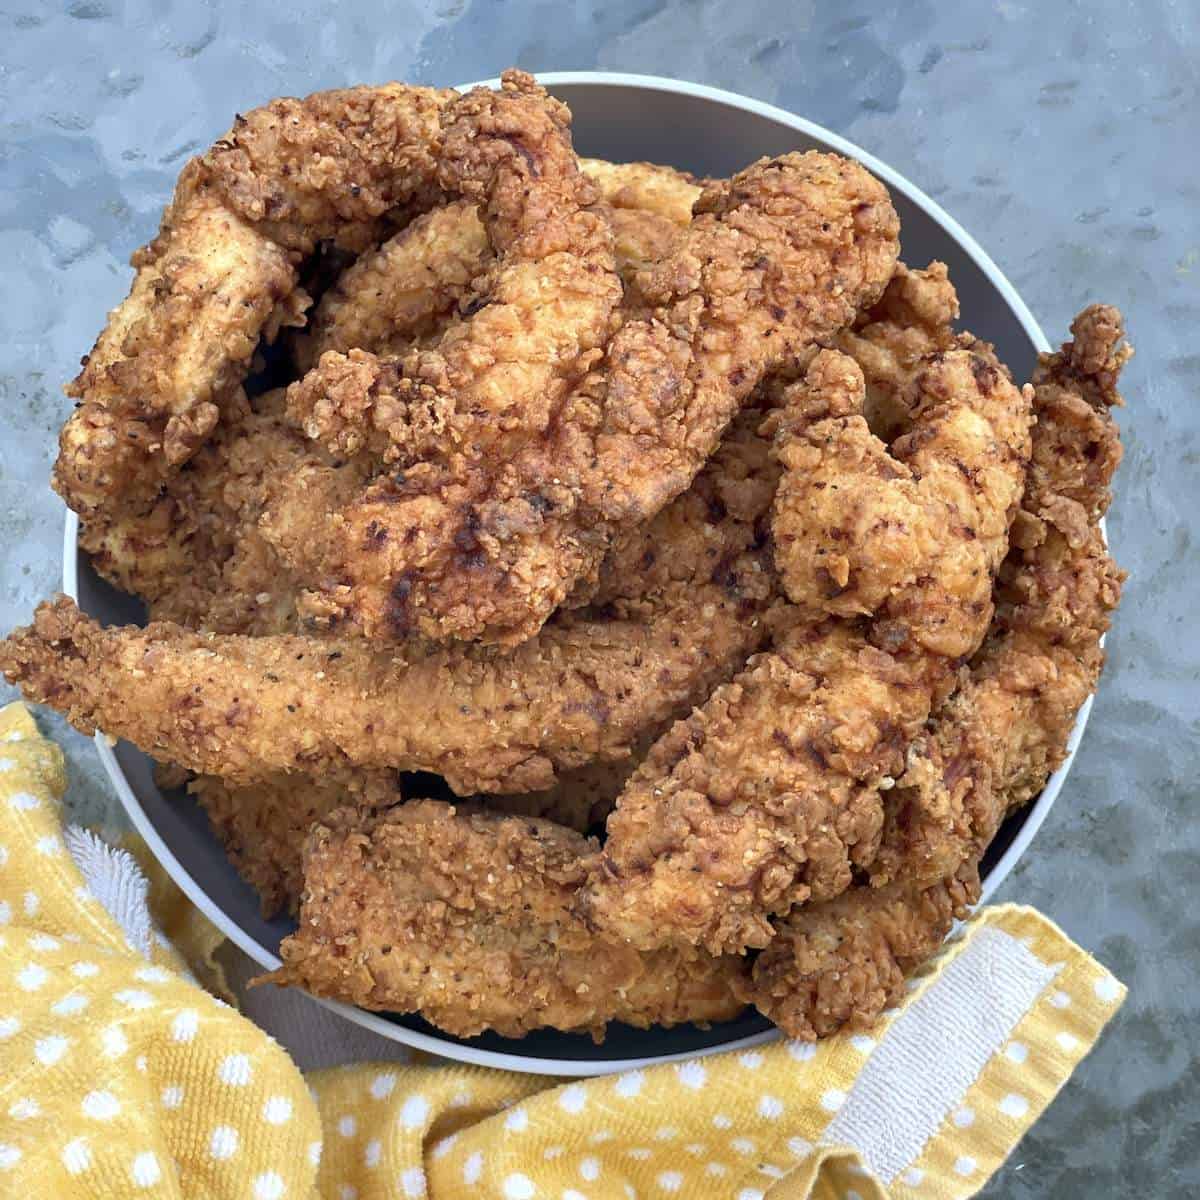
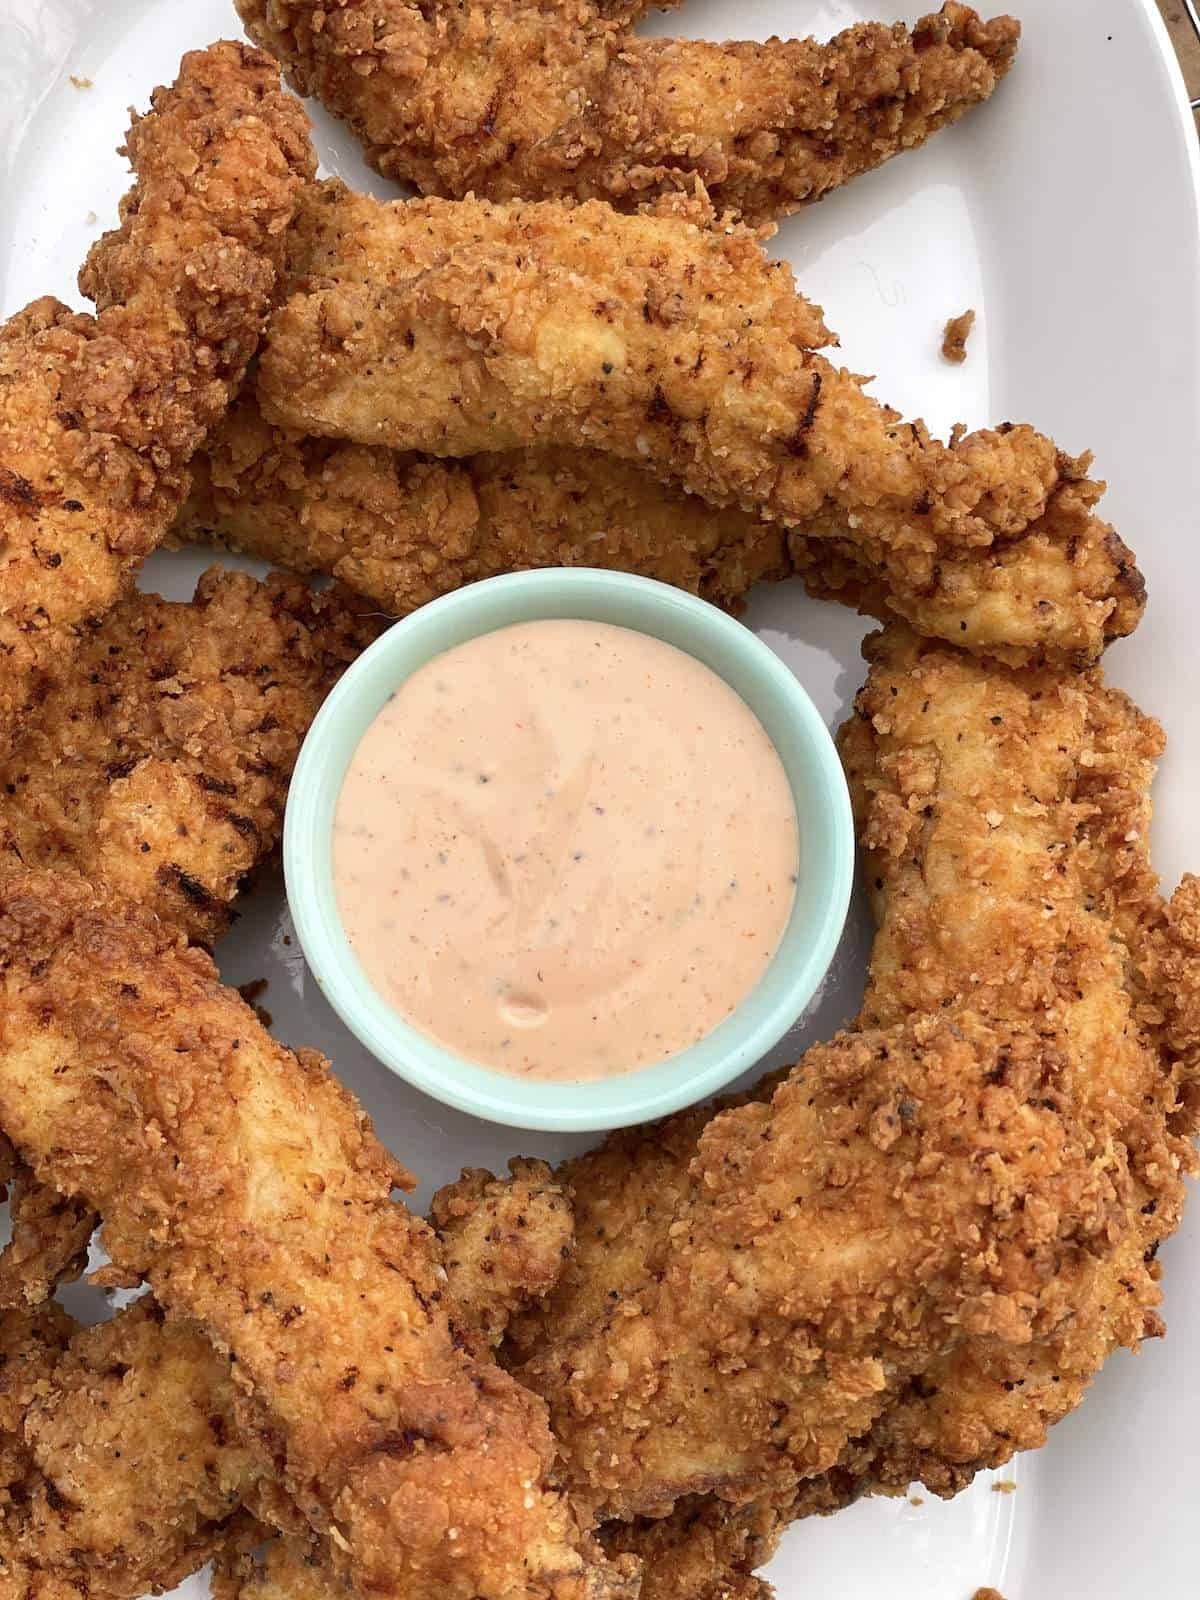
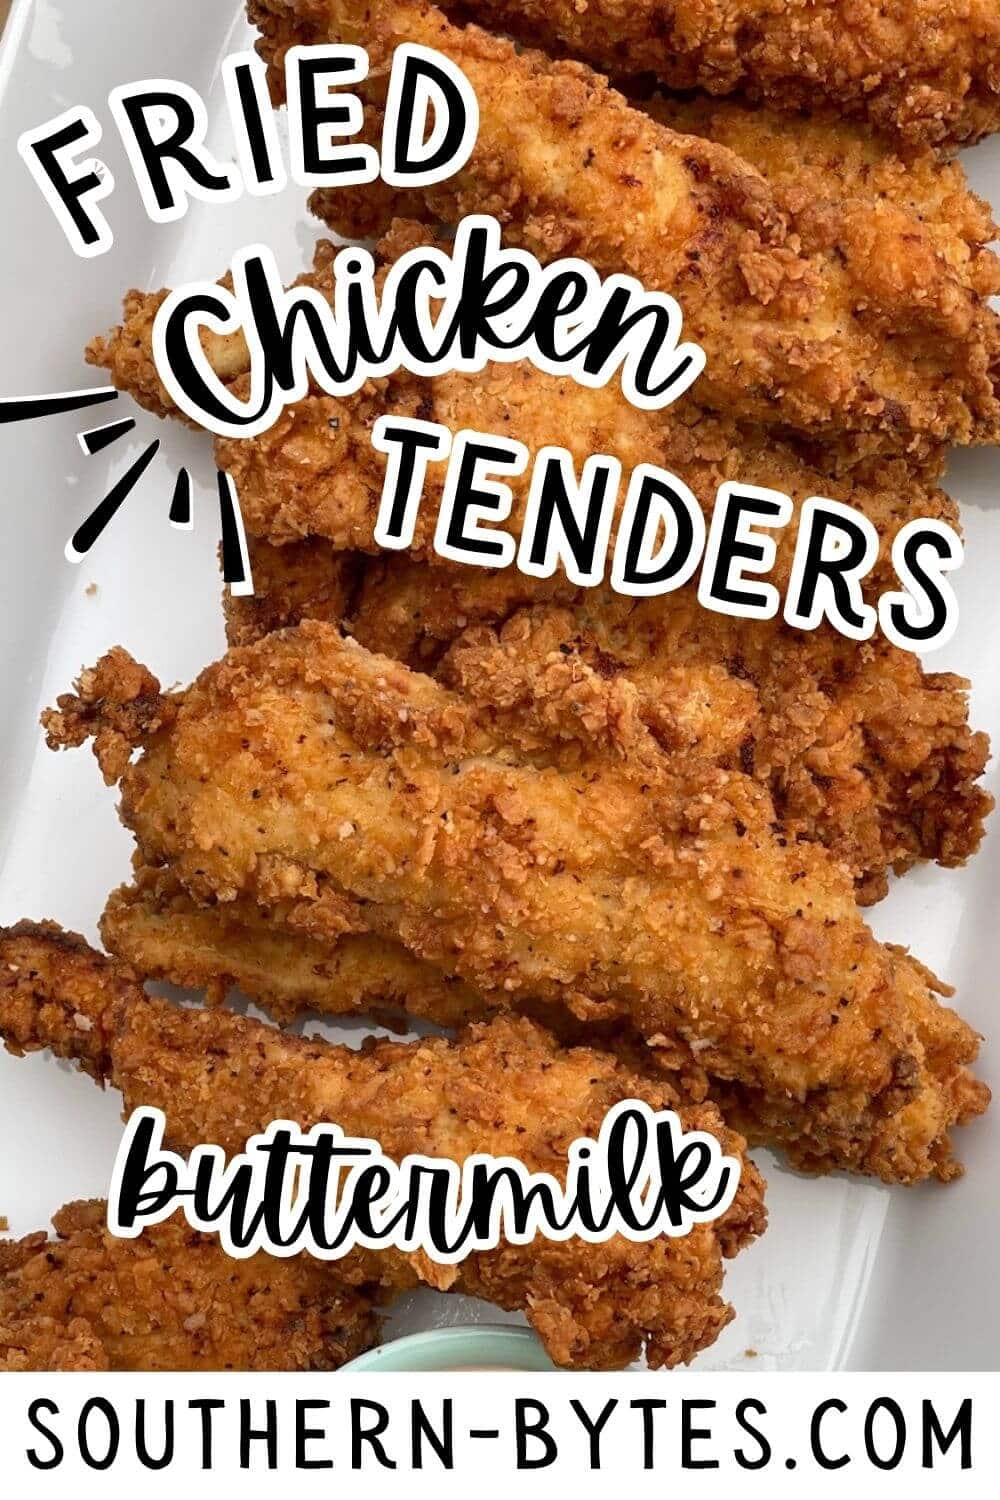
Buttermilk Fried Chicken Tenders are marinated in seasoned buttermilk, breaded in seasoned flour and panko breadcrumbs, and fried in peanut oil until golden brown and crispy. They are absolute perfection.
These Fried Chicken Tenders are crispy and crunchy on the outside and juicy and tender on the inside. Soaking the chicken in buttermilk helps make the chicken really tender, and the breading sticks to it perfectly. A little bit of panko in the breading gives them an extra loud crunch when you bite into them – they are so good.
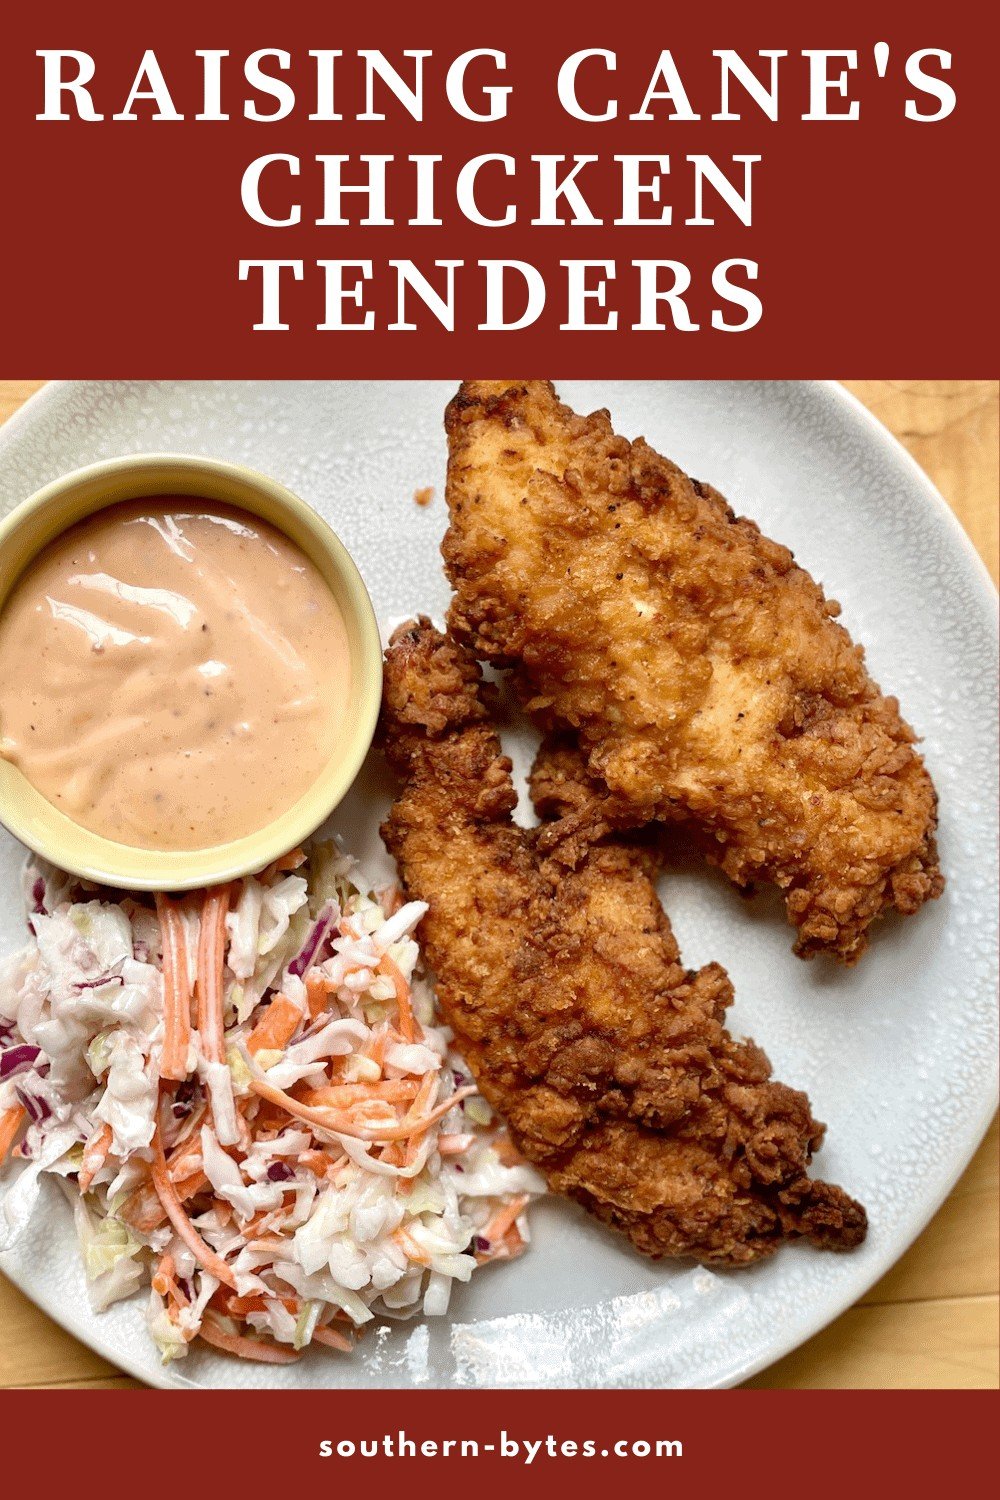
These Buttermilk Fried Chicken Tenders are the closest I have come to recreating Raising Cane’s fried chicken tenders at home. (My husband’s absolute favorite.) Paired with my Cane’s Sauce and some homemade coleslaw, you have the perfect meal at home. (I’m not going to try the fries – just buy a bag of frozen crinkle fries!)
My Cane’s Sauce recipe was one of the first recipes on my site that really took off, and I have had people asking me to keep trying to make their other recipes for years. (I feel your pain if you also live far away from Cane’s!)
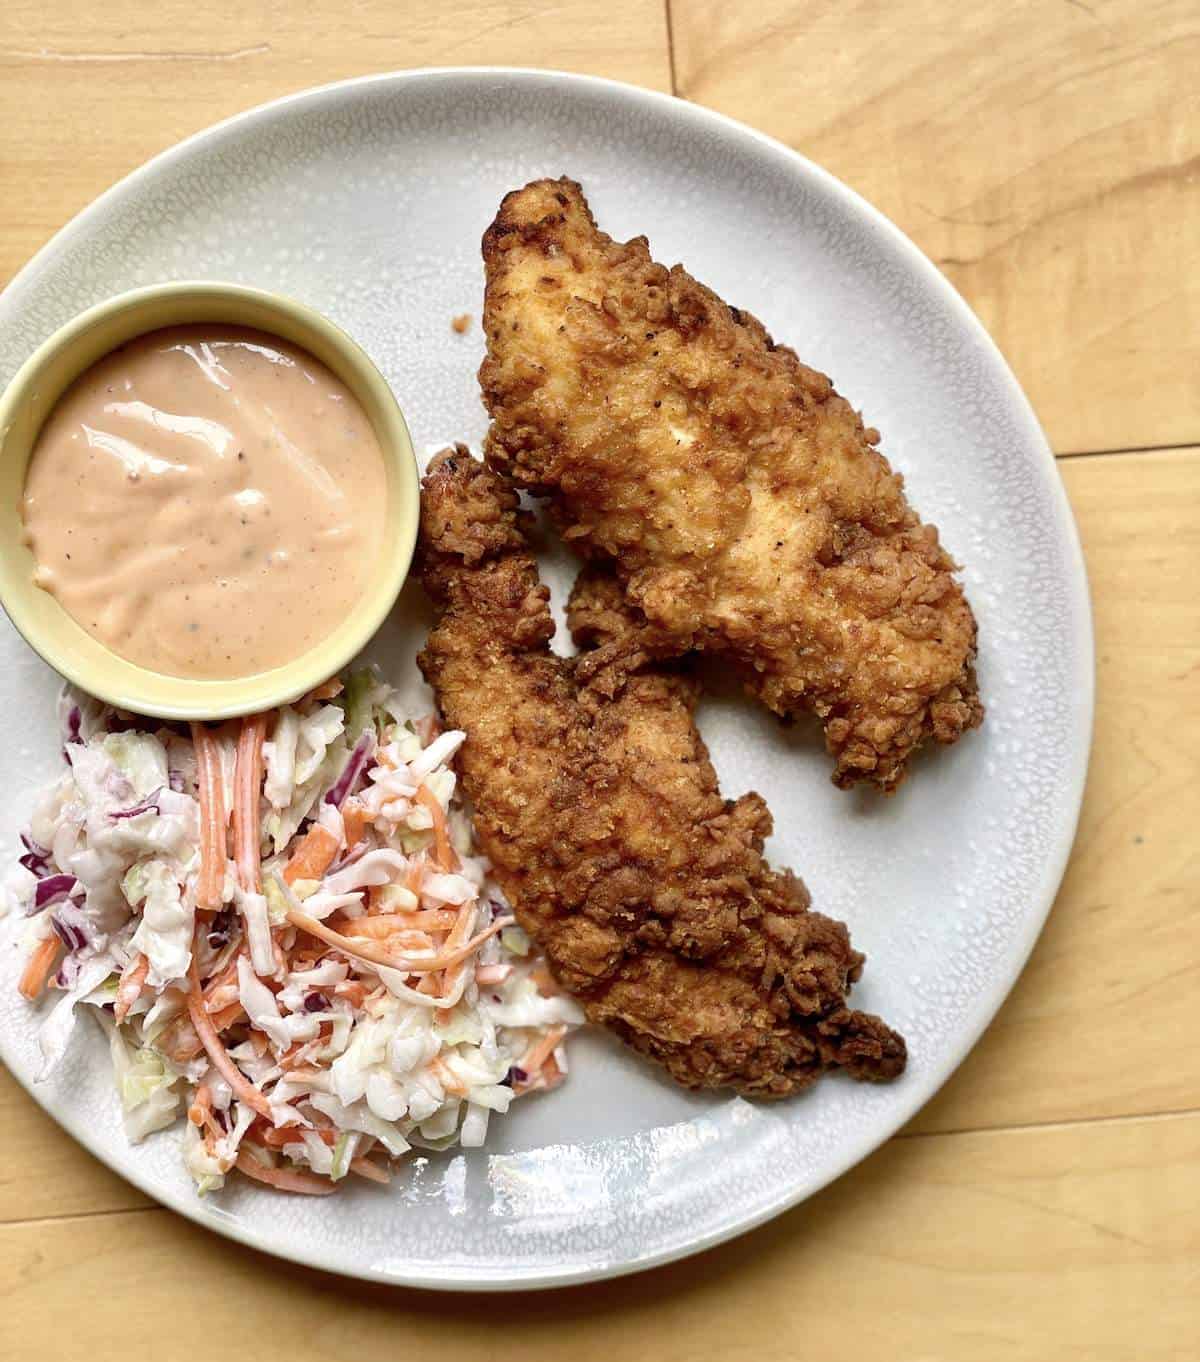
Based on a recipe testing spreadsheet that I started in 2018, I have tested this recipe 29 times. Each time, the tenders have come out good, but they didn’t blow us away. This time, my husband said, “This is the one. You made Cane’s at home.”
I tested it one more time and we agreed that they were perfect.
Fried Chicken Tender Ingredients
I’m a big fan of seasoning, so there is a bunch of seasoning in both the marinade and the breading for these tenders. I think it makes them so flavorful and absolutely worth making. As always, specific measurements and complete cooking instructions are included in the printable recipe card at the bottom of the post.
- Chicken – I use chicken tenderloins. The tenderloins come from a cut on the underside of the chicken breast, and the meat is super tender. Hence, tender-loin. If you don’t have access to tenderloins, you can use breast meat cut into smaller chicken strip-sized pieces. The buttermilk marinade will help tenderize breast meat if you have to use it, so it actually won’t dry out – so either will work.
What’s the difference between chicken tenders and chicken strips?
Chicken strips are just slices of a whole chicken breast – when fried, they can be a little more dry than tenders. The chicken “tender” is the tenderloin muscle that is found under the chicken breast. For this fried chicken tenders recipe, I like to use boneless, skinless “chicken tenderloins.” You can find them in the meat section at the grocery store.
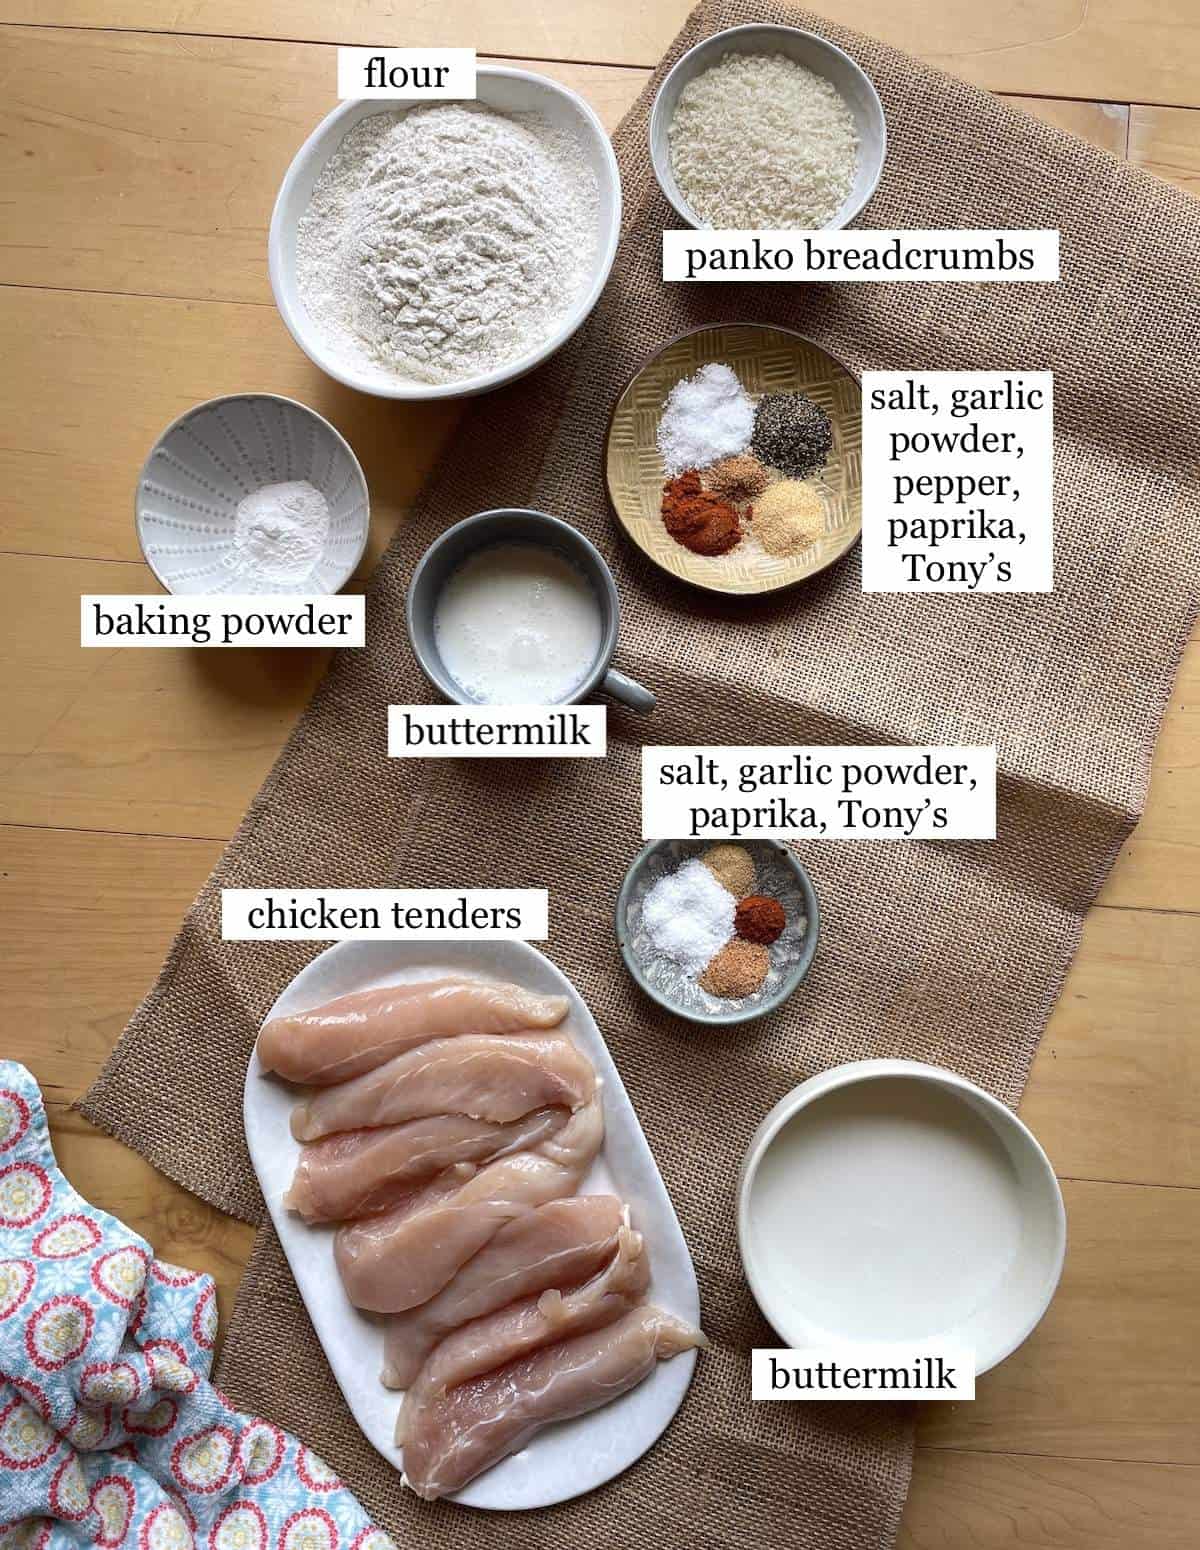
Buttermilk Marinade
- Buttermilk – If you don’t have buttermilk, you should use a high fat milk mixed with 1 tablespoon of white vinegar or lemon juice. The acidity from the buttermilk is important here to tenderize the chicken. You can also thin some Greek yogurt with milk if that is all you have. (Or use kefir.)
- Kosher Salt
- Paprika
- Garlic Powder
- Tony Chachere’s Creole Seasoning
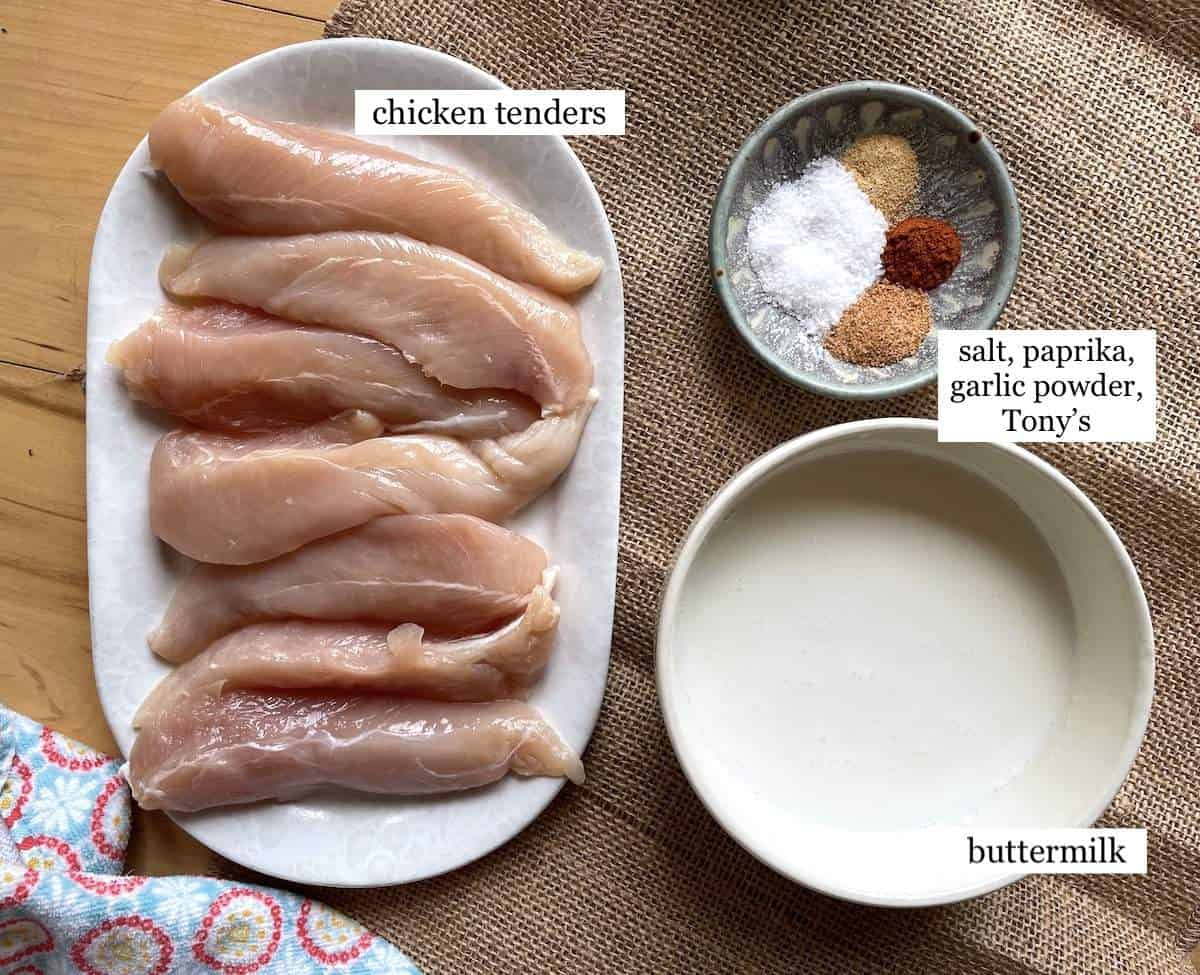
Breading Ingredients
- All-Purpose Flour
- Panko Bread Crumbs – A small amount of panko adds crunch, but just a small amount – otherwise, the breading doesn’t stick to the chicken.
- Buttermilk – Adding buttermilk to the dry ingredients creates clumps in the batter that when fried, get so crunchy and delicious.
- Spices – Kosher Salt, Black Pepper, Paprika, Garlic Powder, and Tony Chachere’s Creole Seasoning
And finally, you also need frying oil.
The Best Oil for Fried Chicken Tenders
The best oil to fry chicken tenders is either peanut oil, vegetable oil, or canola oil. I like to use peanut oil because it has a high smoke point, will not leave a residual flavor on fried chicken, and it’s pretty cheap. (If you have a peanut allergy, obviously, do not use peanut oil.)
Why Use Buttermilk to Soak Chicken Tenders?
Marinating chicken in buttermilk is a great way to tenderize chicken so that it doesn’t dry out and get tough when you fry it. (The acidity and calcium in the buttermilk slowly break down the proteins in the chicken.) It also helps the breading stick to the outside of the chicken.
(Note: This is different than brining chicken, where you soak chicken in salt water for several hours. Brining adds salt and moisture, whereas this method locks in the natural moisture and tenderizes the chicken.)
Equipment Needed
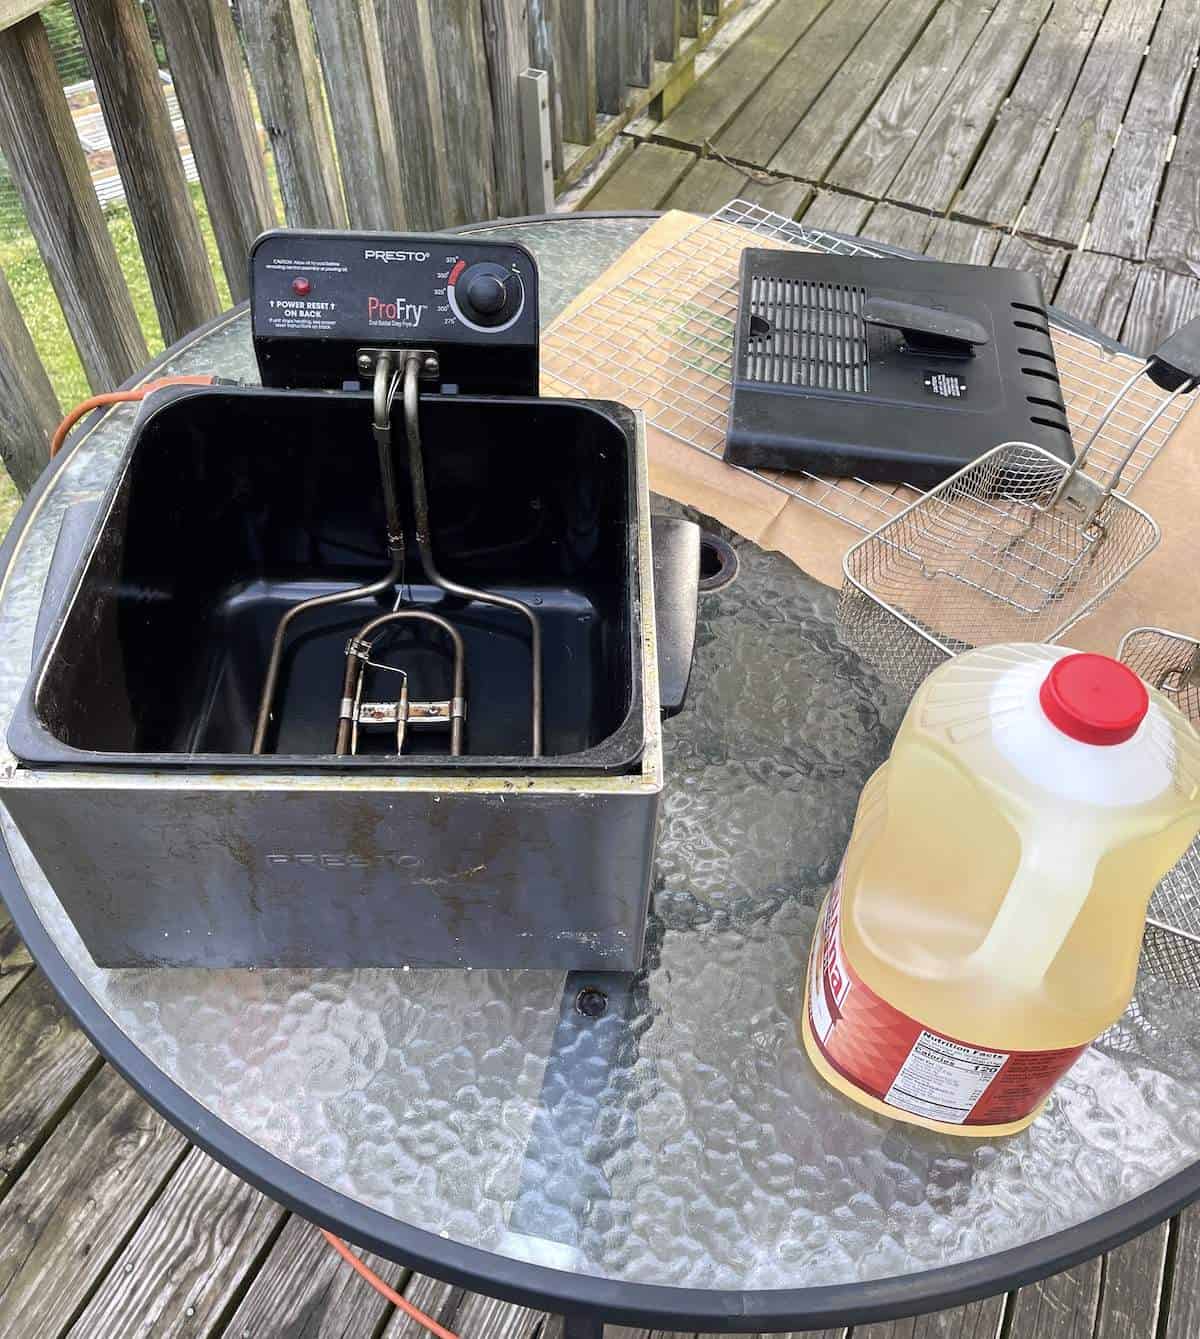
- A Method to Fry Chicken – We use a Deep Fryer or a large shallow pot filled with oil on the stove. (If you use a pot of oil, make sure you have a thermometer.) I like to use a thermometer that I can keep in my oil as opposed to an instant-read thermometer to keep an eye on the oil temperature. The oil temperature will fluctuate while you cook and you don’t want to try to remember to keep checking it. (Adding chicken will drop the temperature so be aware that you might need to adjust the heat.)
- Tongs or a Strainer Spoon
- Various bowls, measuring cups, and spoons
How to Make Fried Chicken Tenders
These chicken tenders are surprisingly easy to make. You will be so surprised at how crunchy they are – just like fast-food chicken tenders!
Marinate the Chicken Tenders
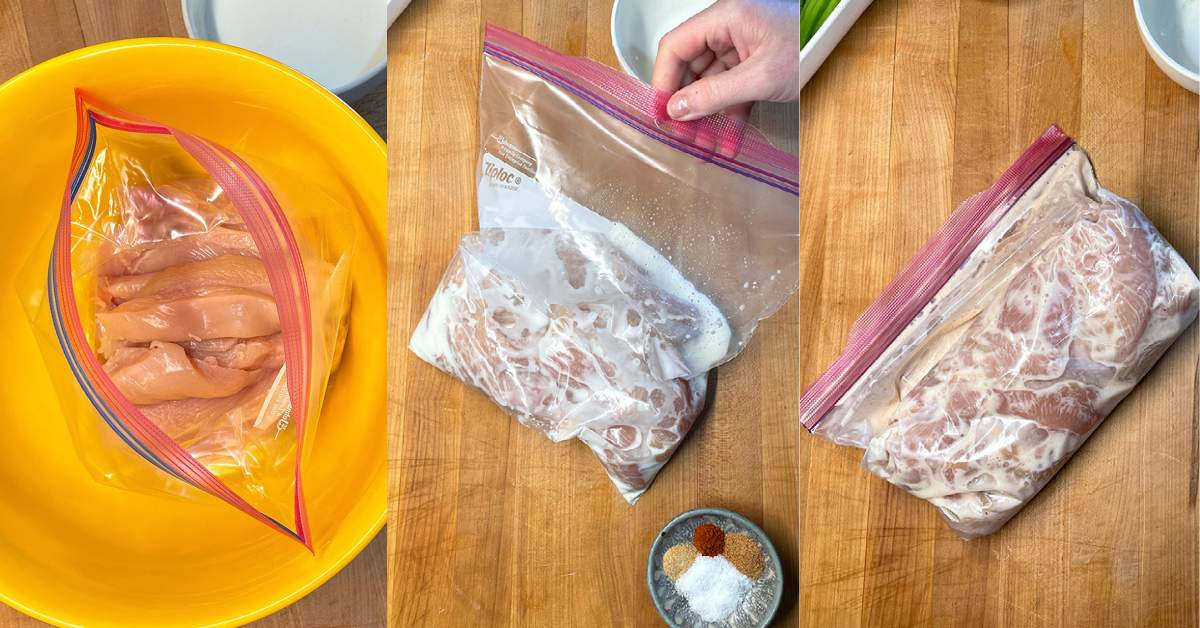
Either early in the morning or the night before you plan on cooking the tenders, get the chicken in the buttermilk marinade. I like to pull the tendon out of the tenders first, but this is optional.
The easiest way to do this is to slot the tendon in between the tines of a fork, then hold/pinch the tendon with a paper towel to get a good grip. Slide the tendon out, using the fork to apply pressure against the tender. It might tear the tender a little, but it should come out in a clean swipe.
If you don’t have tenderloins, you can use breast meat that is cut into tender-sized pieces. (The buttermilk marinade will help tenderize the meat so it won’t dry out.)
- In a large plastic bag or bowl, combine the chicken tenders with the buttermilk, salt, garlic powder, paprika, and Tony’s.
- Massage the marinade into the chicken until it is fully coated, then refrigerate for at least 4 hours, overnight if possible. I will either make them first thing in the morning if I am making tenders for dinner or the night before if I’m making them for lunch.
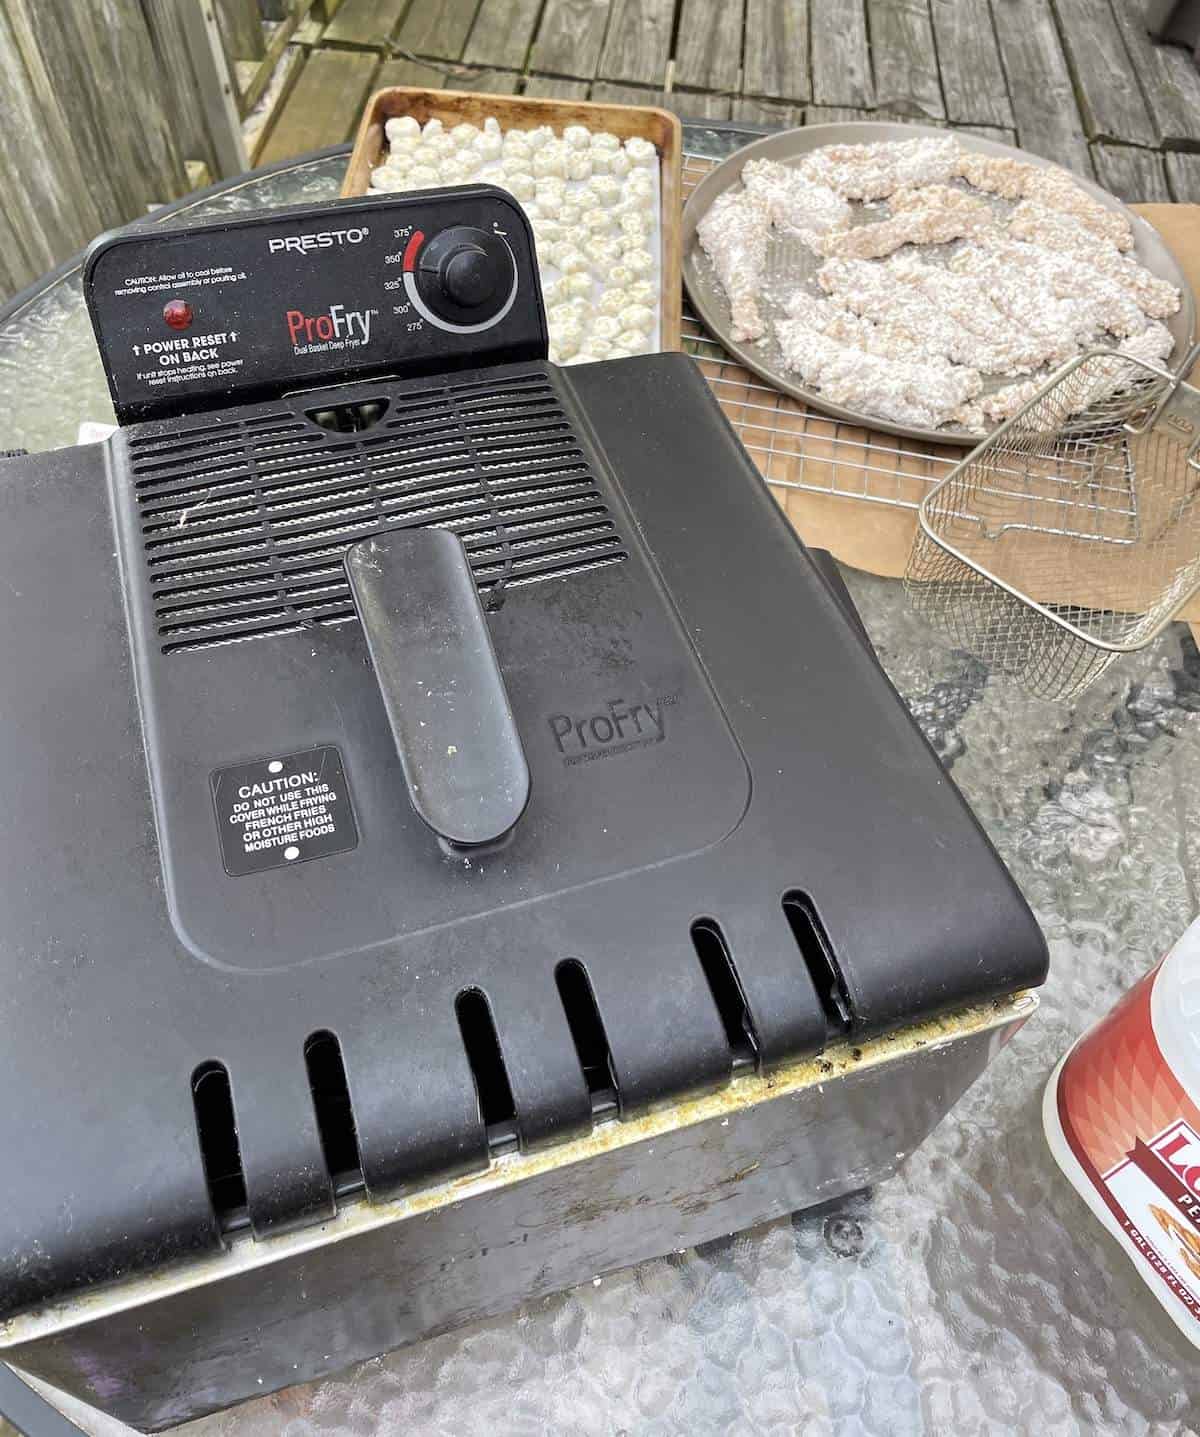
Before breading the chicken, begin preheating the frying oil. The target temperature is 350°F. (Our fryer can take anywhere from 15 – 25 minutes to heat up, depending on the amount of oil.) See below for notes about the quantity of oil.
How to Bread Chicken Tenders
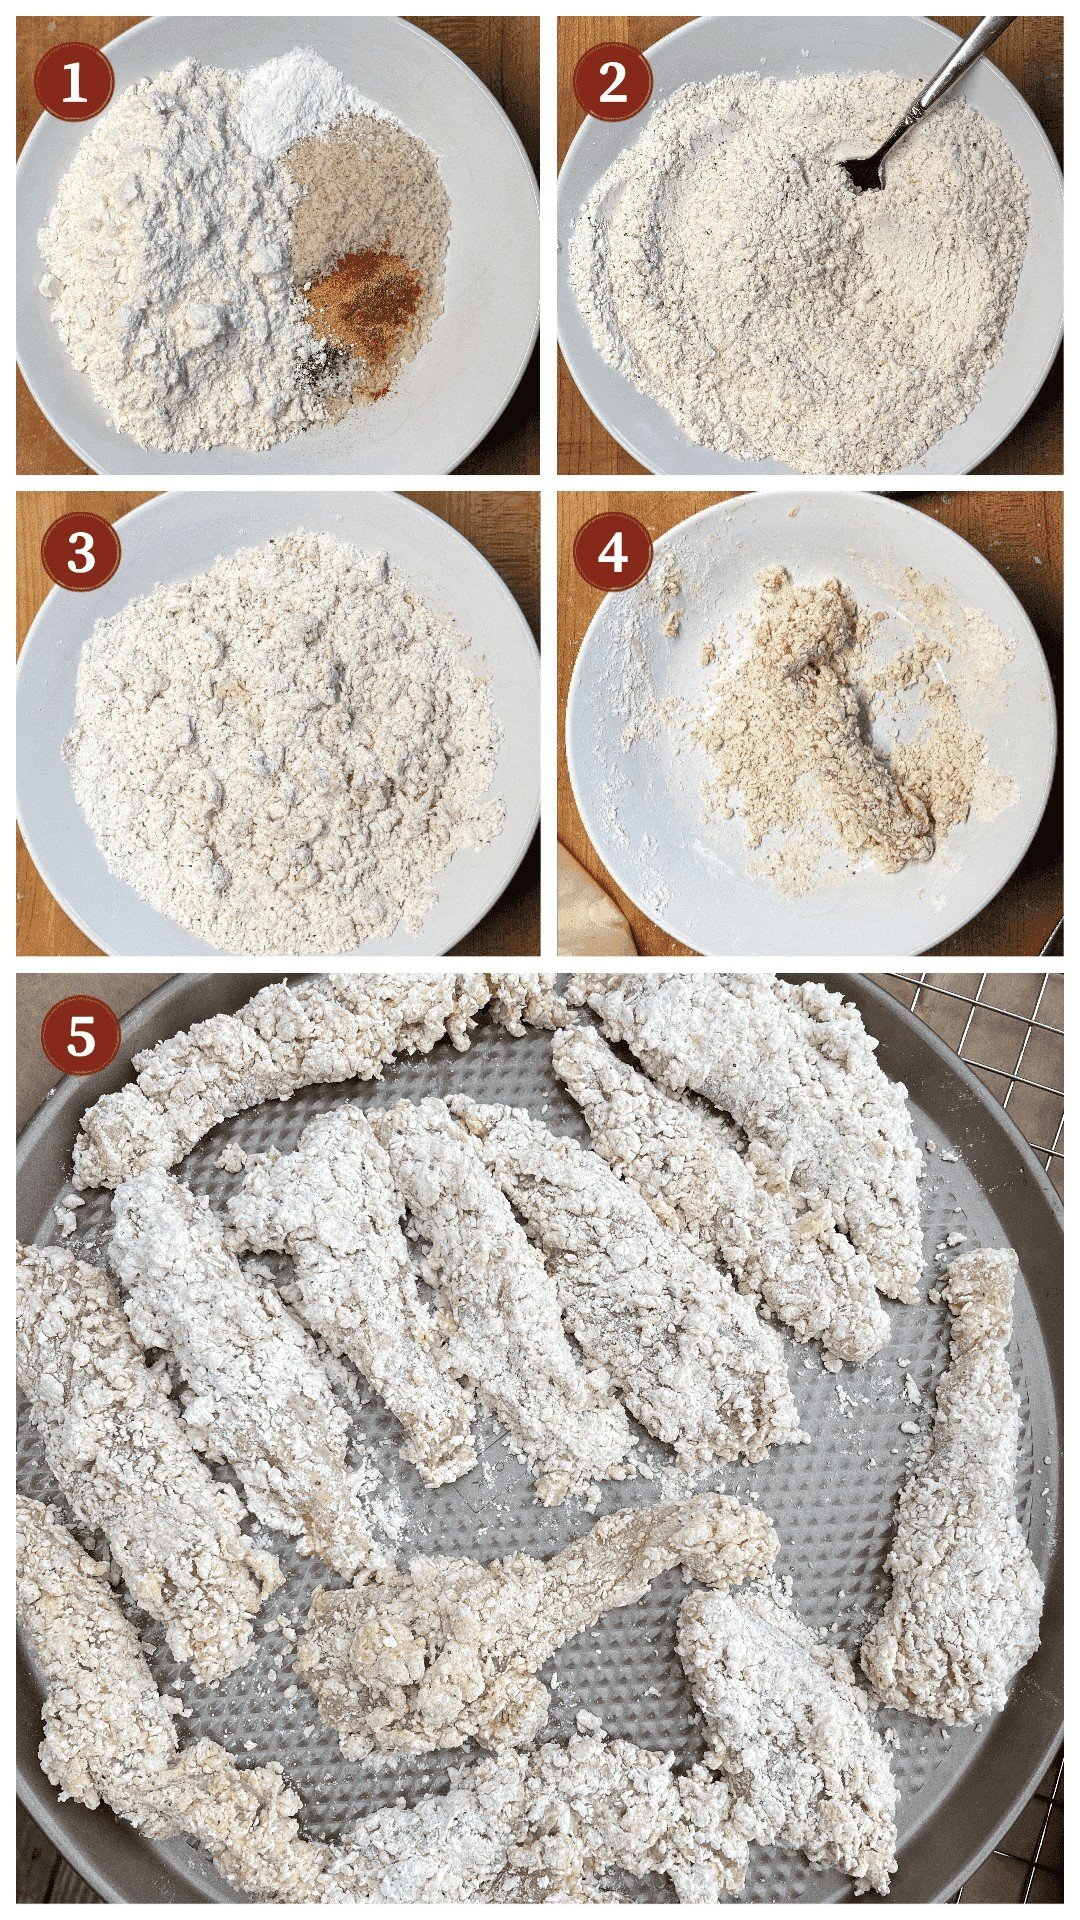
- In a shallow bowl, combine the flour, panko breadcrumbs, baking powder, salt, pepper, garlic powder, paprika, and Tony’s. (Picture 1)
- Toss together with a fork until well combined, then drizzle in the buttermilk and stir until the mixture is clumpy. (Picture 2 – 3)
- Remove the chicken tenders from the marinade a few at a time and place them into the breading mixture.
- Press the chicken firmly into the breading so that the clumps of panko and buttermilk stick to the chicken. (This is what makes the breading crispy/like takeout chicken.) (Picture 4)
- Lay the breaded tenders on a baking sheet or dish, but do not stack them on top of each other. Repeat until all tenders are breaded. (Picture 5)
How to Fry Chicken Tenders
- Check that the oil is heated to 350°F. If I am frying chicken tenders on the stove, I use a thermometer. (If I am using a deep fryer, it self-regulates the temperature, which is really nice.)
- Next, get a draining station set up for the chicken. I like to place a paper grocery bag down with a layer of paper towels on top and a cookie rack on top.
- I like to double-check that the oil is hot enough by dropping a rogue/leftover chunk of breading into the oil. If it starts bubbling up right away, it is ready to go. If the breading sinks and doesn’t start cooking at first, it will absorb a lot of oil and won’t taste very good.
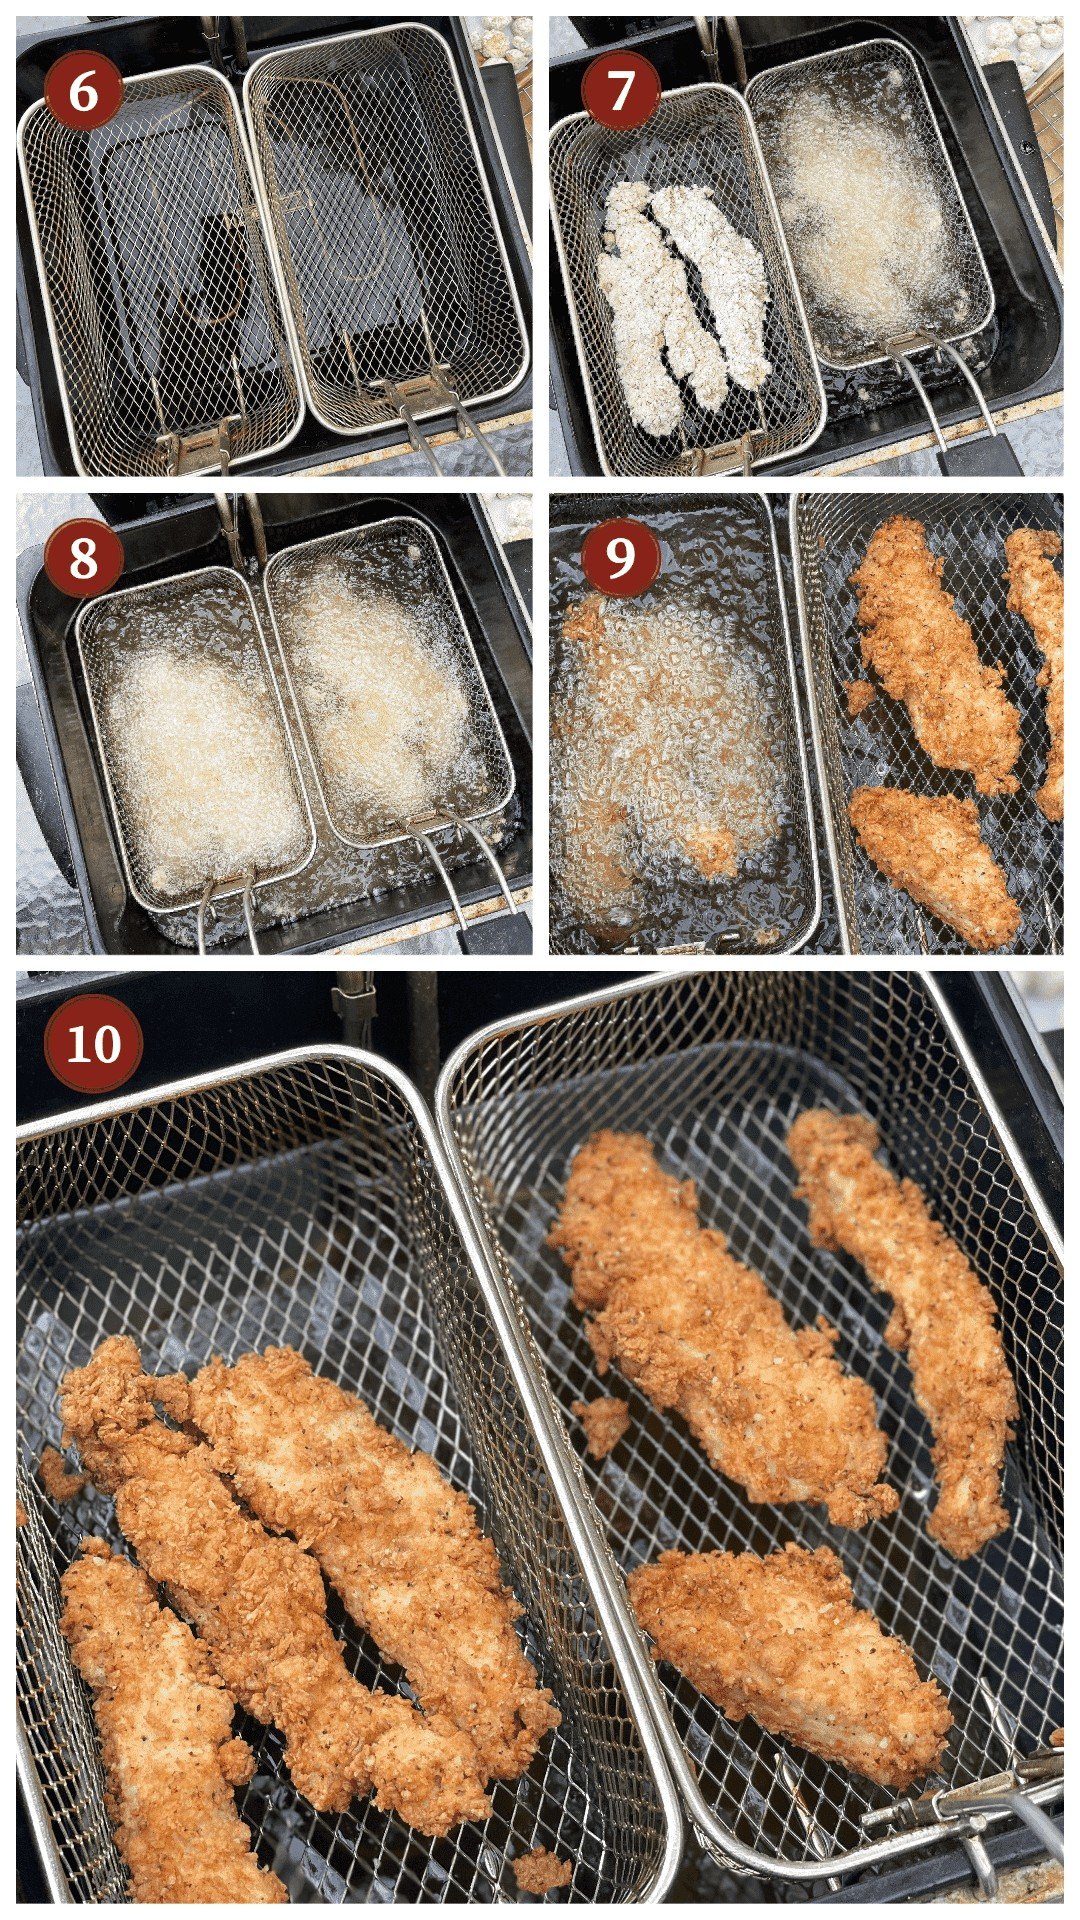
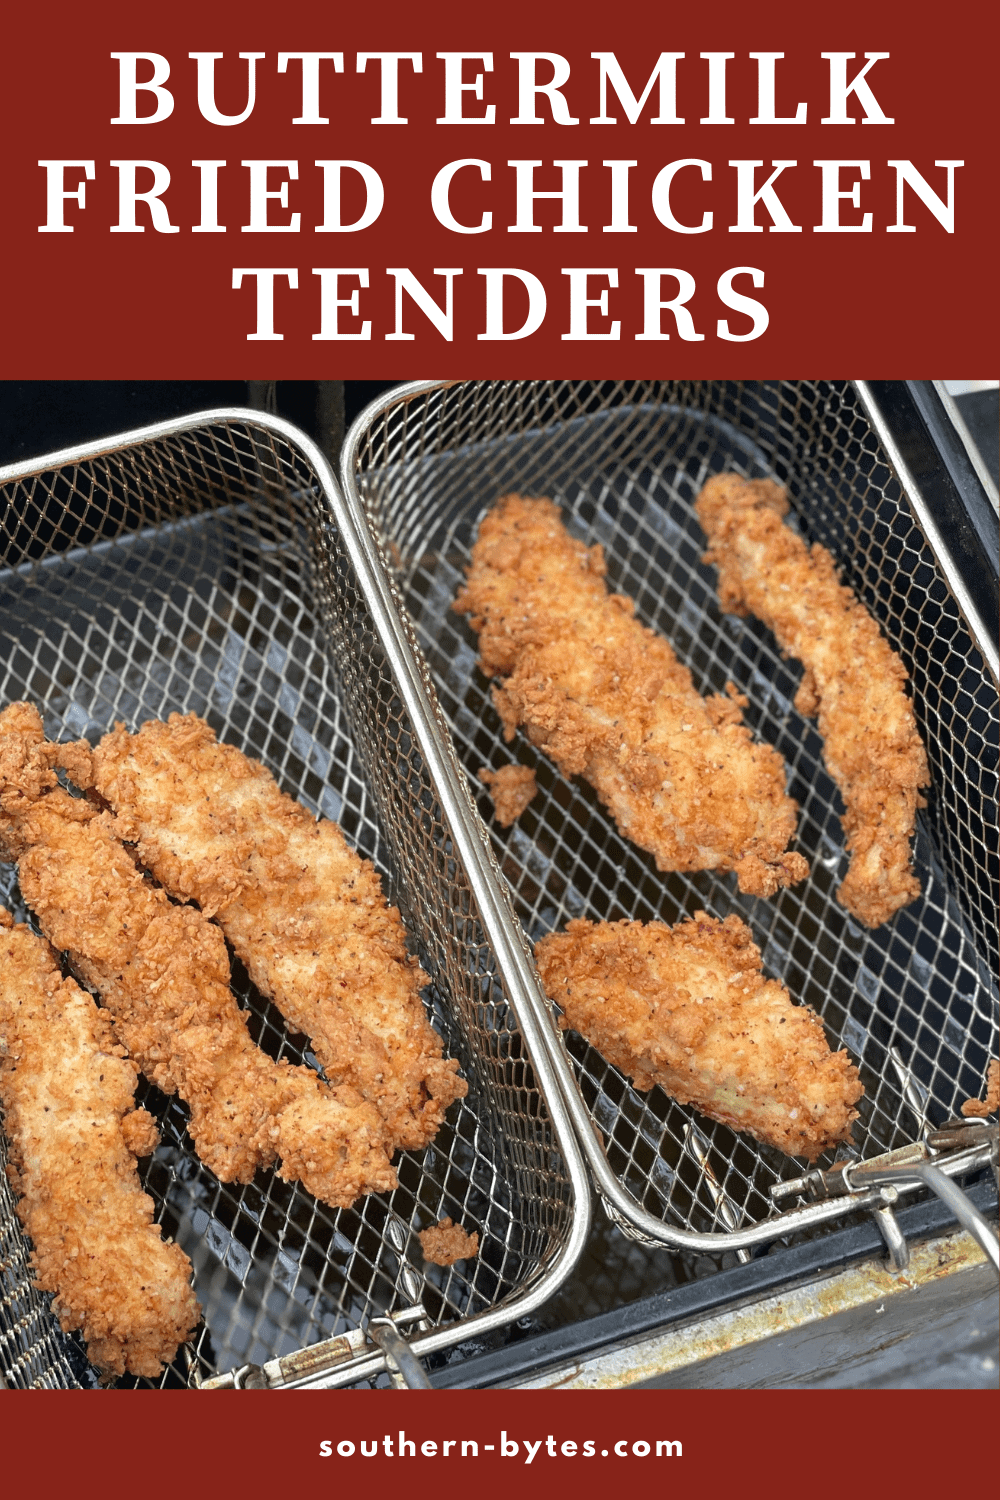
- Using tongs, place a few chicken tenders in the oil but only in one layer. Do not place them on top of each other or they can stick together. (If using a deep fryer, give the basket a shake to make sure the tenders don’t stick to the bottom.) Do not overcrowd the oil as this will drop the temperature and the chicken won’t cook right. (Pictures 6 – 8)
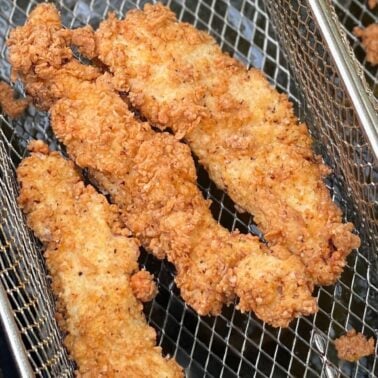
- Cook the tenders until they are golden brown. If they are not fully submerged in oil, flip them over and cook until the second side is also golden. Remove the tenders from the oil when you think they are just about done, as they will continue cooking a little once removed from the oil. (Picture 9)
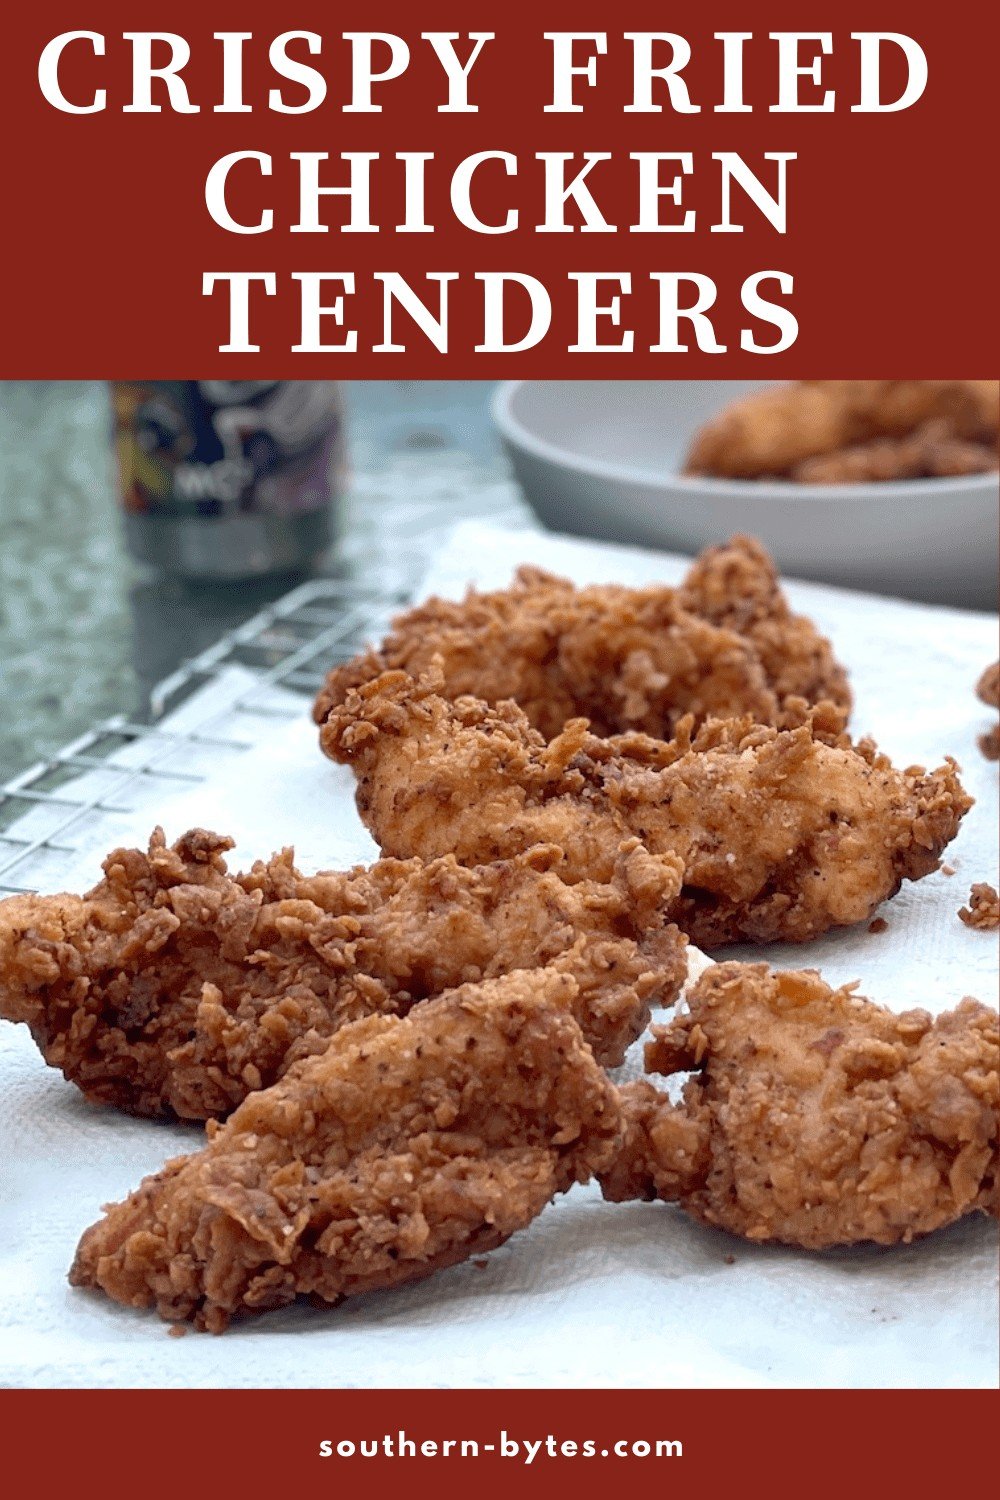
- Drip the excess oil off the tenders, then place them on the cookie rack to drain. (If using a deep fryer, I hang the basket on the side for a minute or two before flipping them onto the pepper towels.) (Picture 10)
- Repeat and fry the rest of the chicken tenders in batches. If you are using a deep fryer, it should go pretty quickly. If you are using the stove, keep an eye on the oil level and the temperature. The temperature might need increasing, or you might need to add more oil. (This is why a thermometer is really helpful.)
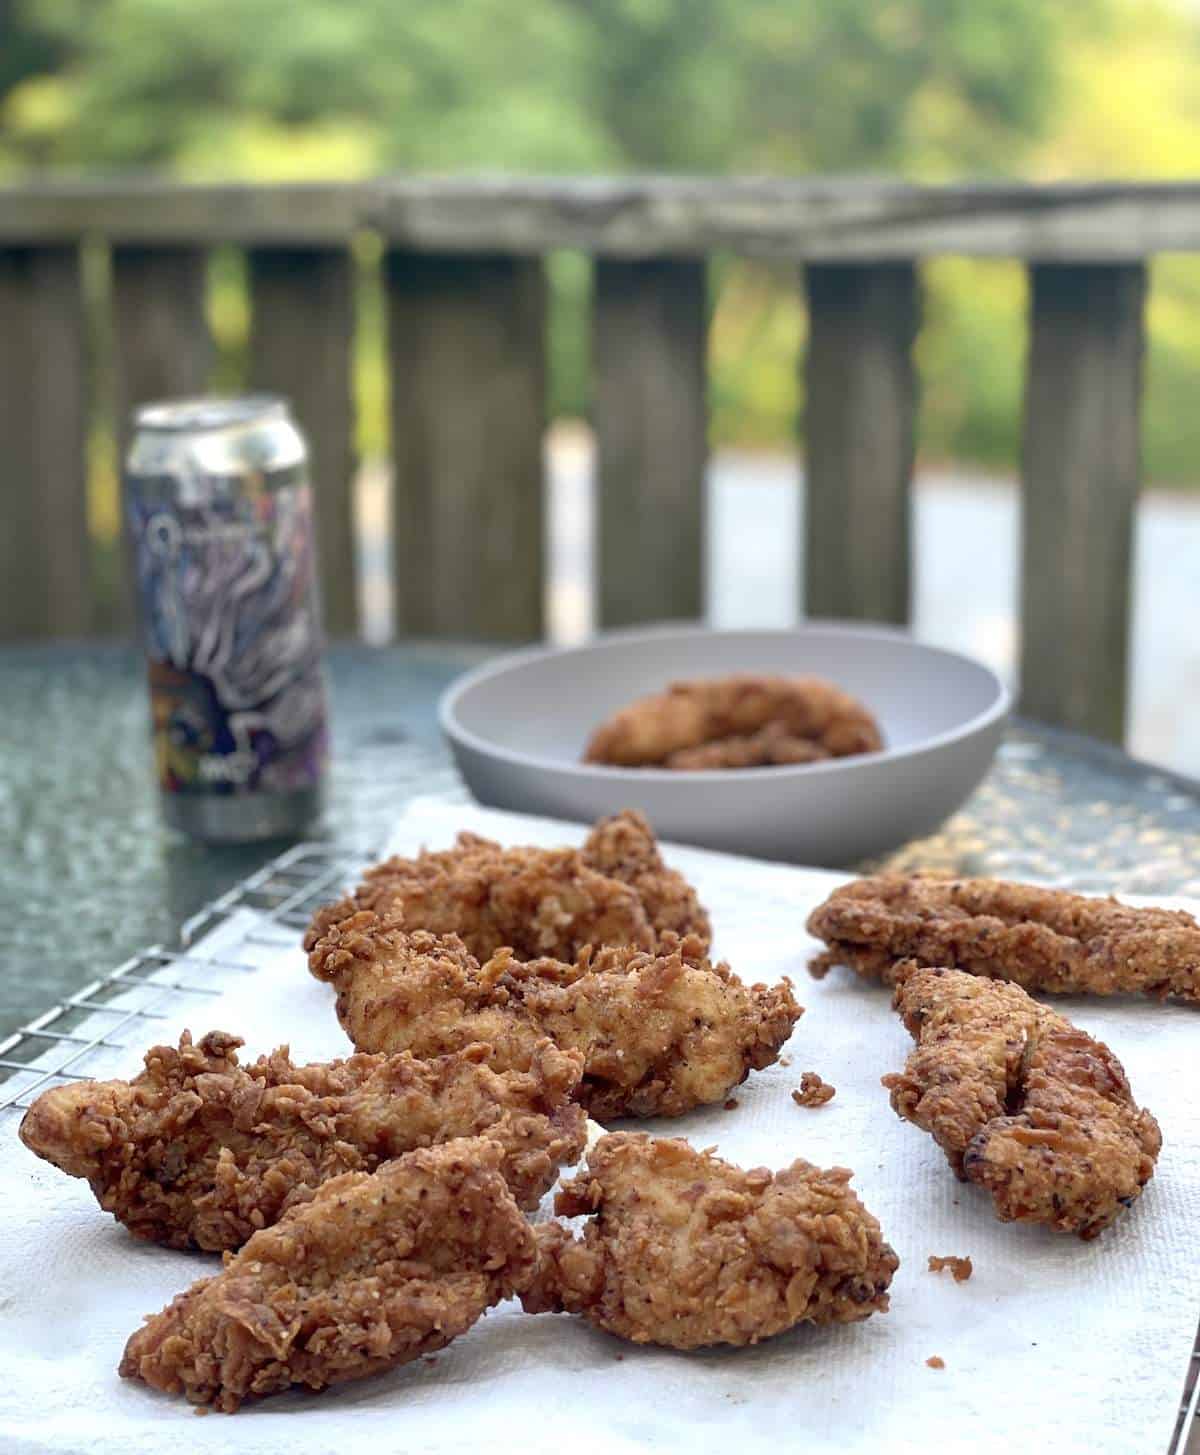
The cooked/drained tenders should be golden brown and perfectly crispy. (Drink alcohol responsibly when frying chicken 😉 )
Keep Chicken Tenders Warm
After draining excess oil from the cooked chicken fingers, transfer them to a wire rack on top of a baking sheet.
Place the baking sheet in a 200°F-225°F oven to keep them warm while you fry the remaining chicken tenders.
Run Out of Breading?
I’ve made this recipe many times, and every once in a while, I run out of breading. I think sometimes the chicken just absorbs more breading. If you happen to run into this situation, use the breading recipe below to make a mini-batch of breading:
- ½ cup all-purpose flour
- a bit less than ¼ cup panko breadcrumbs
- ½ teaspoon baking powder
- ¼ teaspoon kosher salt
- ¼ teaspoon black pepper
- ¼ teaspoon garlic powder
- ¼ teaspoon paprika
- pinch Tony Chachere’s Creole Seasoning (if you don’t have Tony’s, you can use a pinch of cayenne with a pinch of salt)
- 1 tablespoon buttermilk
This should bread about 4 tenders.
Serving
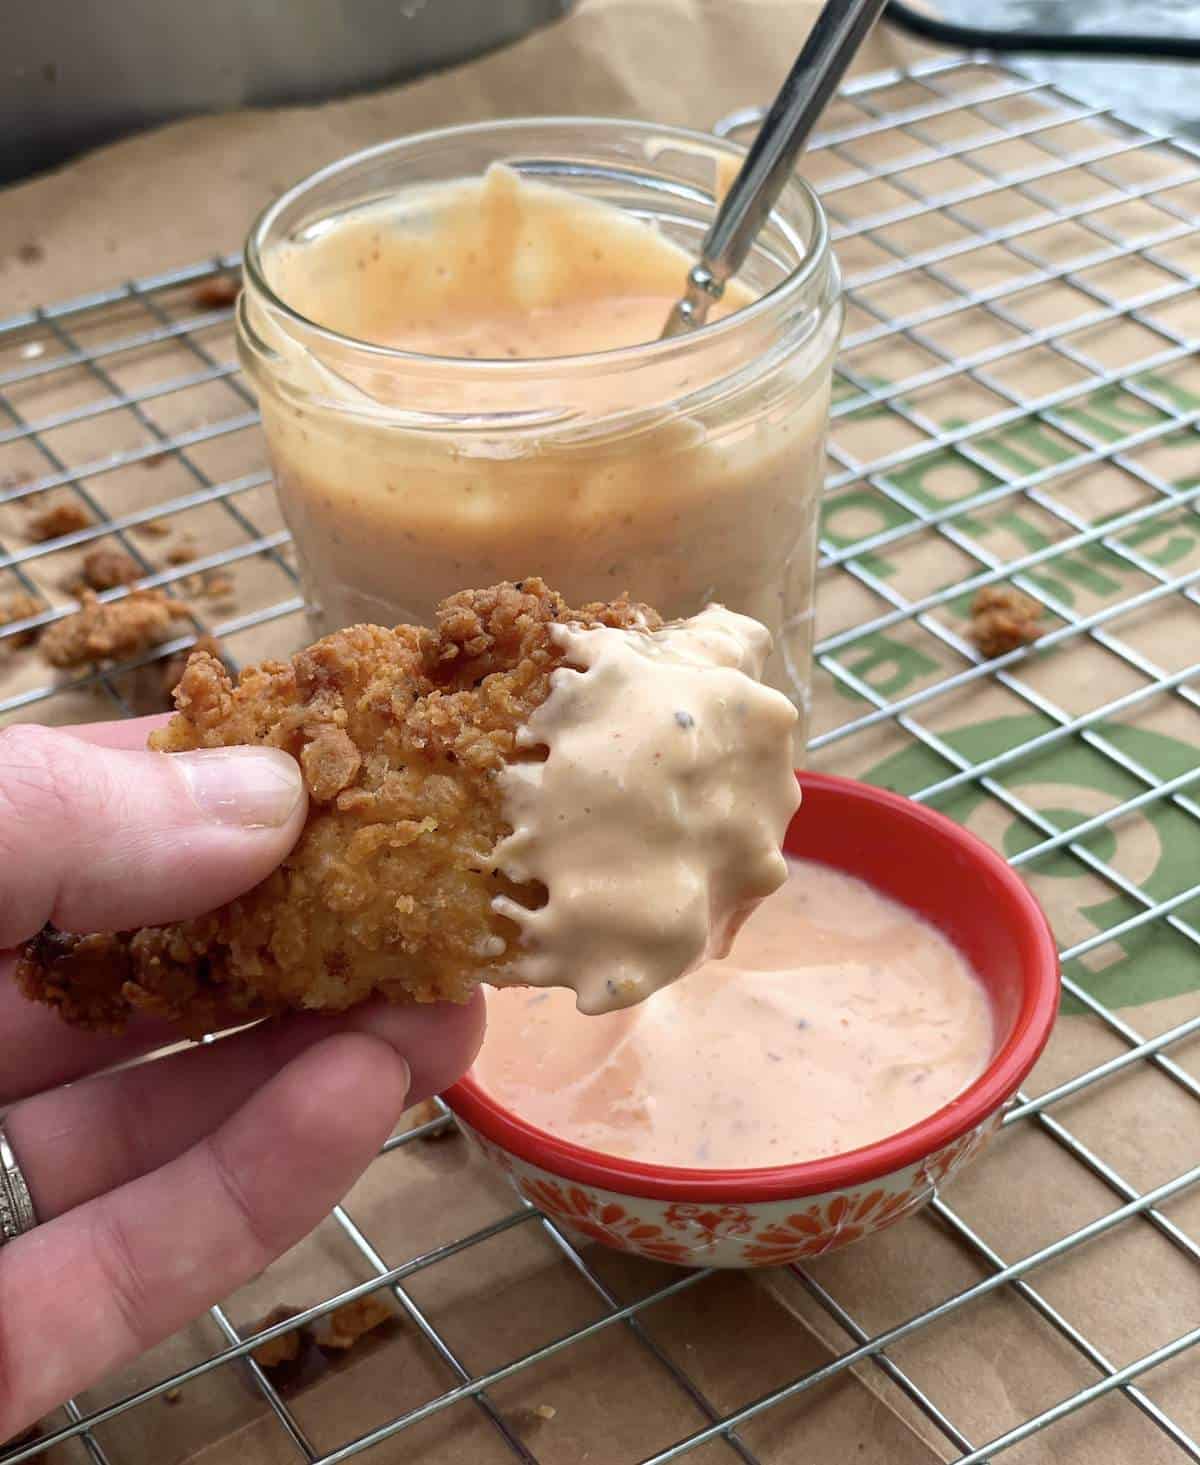
Serve tenders while they are still hot with a delicious dipping sauce. Some of my favorite chicken tender dipping sauces are:
- Cane’s Sauce
- Chick-Fil-A Sauce (A Honey Mustard/Barbecue Combo Sauce)
- Ranch Dressing
- Boom Boom Sauce
Recipe Yield
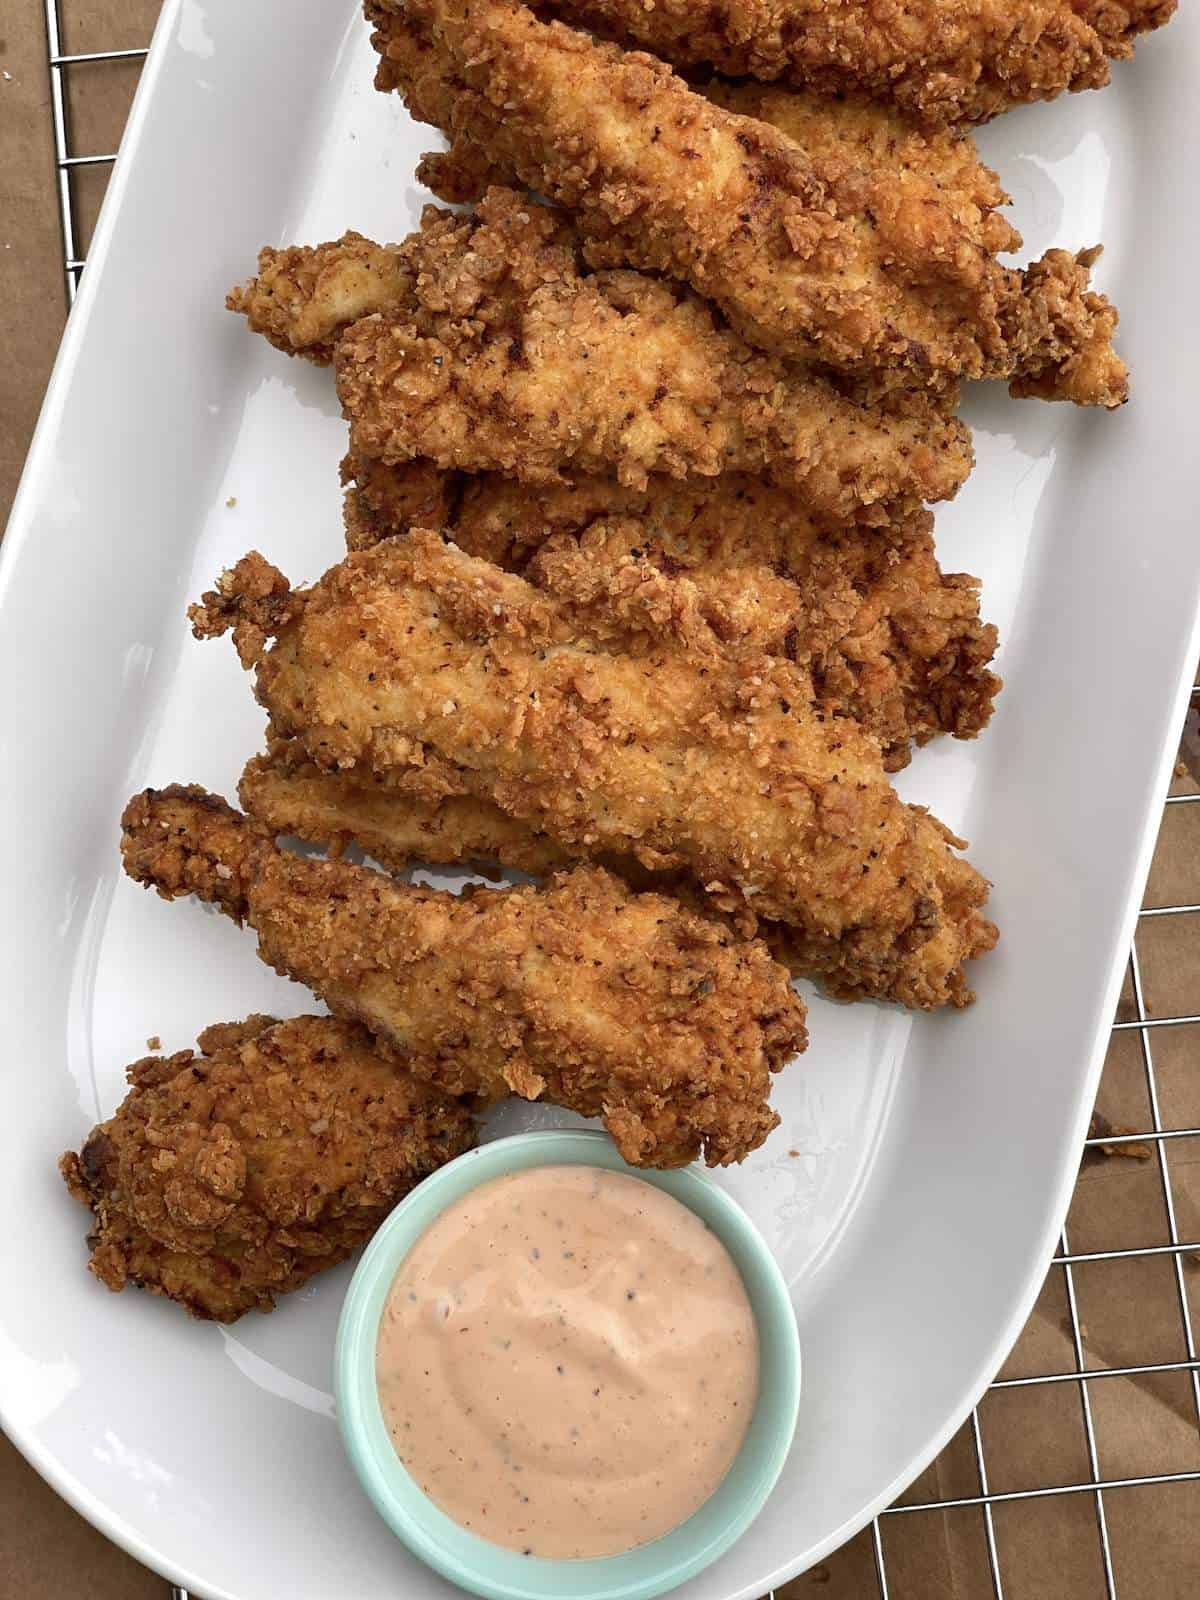
Two pounds of chicken tenderloins will make 12-14 tenders, which should serve 4-6 people eating 2-3 tenders each.
Recipe Tips
- Soak the chicken in buttermilk for as long as you can. Soaking the chicken in seasoned buttermilk not only adds a ton of flavor, but it also tenderizes the chicken and makes it super juicy. When the tenders are fried, they won’t dry out.
- Freeze chicken tenders for later. When I break out the fryer, I want to be sure it is going to be worth my while. I will make a double batch of tenders and freeze some for easy reheating for another night! (And I will usually make some fried okra to go along with dinner.) Simply cook the chicken tenders as directed in the recipe, let them cool, then toss them in a freezer bag and freeze for up to 3 months.
- Don’t stack the uncooked, breaded tenders. When breading the tenders, spread them out as best you can on a baking sheet. If you stack them on top of each other, they will stick together and the breading will come unstuck from the chicken and it won’t be awesome.
- Don’t Overcook the Tenders. Chicken tenders might be more cooked than they appear when still immersed in oil. Lift them out with a fryer basket or tongs to check periodically to be sure that they don’t overcook. Also, remember that they will continue cooking for a little once they are removed from the oil.
Have You Tried This Recipe?
Please rate it and leave a comment below. I would love to hear what you think!
Buttermilk Fried Chicken Tenders
Ingredients
For the Marinade
- 2 pounds chicken tenderloins
- 1 cup buttermilk
- 1 teaspoon kosher salt
- ¼ teaspoon garlic powder
- ¼ teaspoon paprika
- ½ teaspoon Tony Chachere's Creole Seasoning if you don't have Tony's, you can use ¼ tsp cayenne with a pinch more salt
For the Breading
- 1 ½ cups all-purpose flour
- ½ cup panko breadcrumbs
- 1 ½ teaspoons baking powder
- ¾ teaspoon kosher salt
- ¾ teaspoon black pepper
- ¾ teaspoon garlic powder
- ¾ teaspoon paprika
- ¼ teaspoon Tony Chachere's Creole Seasoning again, if you don't have Tony's, you can use ¼ tsp cayenne with a pinch more salt
- 3 tablespoons buttermilk
For Frying
- 4 cups peanut oil (use a larger quantity if using a deep fryer)
Instructions
Marinate the Chicken
- In a large plastic bag or bowl, combine the chicken tenders with the buttermilk, salt, garlic powder, paprika, and Tony's.2 pounds chicken tenderloins, 1 cup buttermilk, 1 teaspoon kosher salt, ¼ teaspoon garlic powder, ¼ teaspoon paprika, ½ teaspoon Tony Chachere's Creole Seasoning
- Massage the marinade into the chicken until it is fully coated, then refrigerate for at least 4 hours, overnight if possible.
Bread the Chicken
- Before breading the chicken, begin preheating the frying oil. The target temperature is 350°F. (Our fryer can take anywhere from 15 – 25 minutes to heat up depending on the amount of oil.) See below for notes about the quantity of oil.4 cups peanut oil
- In a shallow bowl, combine the flour, panko breadcrumbs, baking powder, salt, pepper, garlic powder, paprika, and Tony's.1 ½ cups all-purpose flour, ½ cup panko breadcrumbs, 1 ½ teaspoons baking powder, ¾ teaspoon kosher salt, ¾ teaspoon black pepper, ¾ teaspoon garlic powder, ¾ teaspoon paprika, ¼ teaspoon Tony Chachere's Creole Seasoning
- Toss together with a fork until well combined, then drizzle in the buttermilk and stir until the mixture is clumpy.3 tablespoons buttermilk
- Remove the chicken tenders from the marinade a few at a time and place them into the breading mixture.
- Press the chicken firmly into the breading so that the clumps of panko and buttermilk stick to the chicken. (This is what makes the breading crispy/like takeout chicken.)
- Lay the breaded tenders on a baking sheet or dish, but do not stack them on top of each other. Repeat until all tenders are breaded.
Fry the Chicken
- Check that the oil is heated to 350°F. If I am frying chicken tenders on the stove, I use a thermometer. If I am using a deep fryer, it self regulates the temperature, which is really nice.
- Next, get a draining station set up for the chicken. I like to place a paper grocery bag down with a layer of paper towels on top and a cookie rack on top.
- I like to double-check that the oil is hot enough by dropping a rogue/leftover chunk of breading into the oil. If it starts bubbling up right away, it is ready to go. If the breading sinks and doesn't start cooking at first, it will absorb a lot of oil and won't taste very good.
- Using tongs, place a few chicken tenders in the oil but only in one layer. Do not place them on top of each other or they can stick together. (If using a deep fryer, give the basket a shake to make sure the tenders don't stick to the bottom.) Do not overcrowd the oil as this will drop the temperature and the chicken won't cook right.
- Cook the tenders until they are golden brown. If they are not fully submerged in oil, flip them over and cook until the second side is also golden.
- Drip the excess oil off the tenders, then place them on the cookie rack to drain. (If using a deep fryer, I hang the basket on the side for a minute or two before flipping them onto the pepper towels.)
- Repeat and fry the rest of the chicken tenders in batches. If you are using a deep fryer, it should go pretty quickly. If you are using the stove, keep an eye on the oil level and the temperature. It might need increasing and you might need to add more oil. (This is why a thermometer is really helpful.)
- Serve tenders while they are still hot with a delicious dipping sauce.
Video
Notes
Tips
- If you marinate the chicken tenders in a bag, place the bag in a bowl, just in case it leaks.
- Chicken tenders might be more cooked than they appear when still immersed in oil. Lift them out of the oil with a fryer basket or tongs to check them periodically to be sure that they don’t overcook. Also, remember that they will continue cooking for a little once they are removed from the oil.
- I’ve made this recipe many times, and every once in a while, I run out of breading. I think sometimes the chicken just absorbs more breading. If you happen to run into this situation, use the breading recipe below to make a mini-batch of breading:
– a bit less than ¼ cup panko breadcrumbs
– ½ teaspoons baking powder
– ¼ teaspoon kosher salt
– ¼ teaspoon black pepper
– ¼ teaspoon garlic powder
– ¼ teaspoon paprika
– pinch Tony Chachere’s Creole Seasoning again, if you don’t have Tony’s, you can use pinch cayenne with a pinch more salt
– 1 tablespoon buttermilk This should bread about 4 tenders. Note: The nutritional information was calculated assuming that ½ cup of the oil is absorbed into the chicken tenders when frying. Freezer-Friendly Instructions: If I am going through the effort of breaking out the fryer and coating myself in Eau-de-fried chicken, I want to be sure it is going to be worth my while. I like to make a double batch of tenders and freeze some for easy reheating for a busier night! Just cook the chicken tenders as directed in the recipe, let them cool, completely then toss them in a freezer bag and freeze for up to 3 months. I usually vacuum seal them for extended freshness. Credit for the breading technique in this recipe should be given to Once Upon a Chef – adding buttermilk to the dry ingredients totally makes the recipe!
Special Equipment Needeed
Nutrition
Nutrition information is approximate and is automatically calculated, so should only be used as a guide.
🙋♀️ Frequently Asked Questions
Yes! Soaking chicken in buttermilk will make it so juicy and tender. The acidity and calcium in the buttermilk will get to work denaturing the proteins in the chicken and will make sure it doesn’t get tough when it is cooked. It must be soaked for at least 1 hour to see any results, however. (And at least 4 hours for this recipe.)
Chicken should be soaked in buttermilk for a minimum of 1 hour to tenderize the chicken. (Any less won’t do anything but get the chicken wet.) Chicken should not be soaked in buttermilk for longer than 48 hours however or it will start breaking down and will get mushy.
Unfortunately, no. The reason buttermilk makes chicken so tender is because it’s acidic and this helps to denature the proteins in the meat and this makes it less tough when it is cooked. Regular milk won’t have the same effect. BUT, you can make a faux buttermilk by combining one cup of regular milk with 1 tablespoon of vinegar or lemon juice and using that as the marinade.
Yes. The acidity in yogurt will also tenderize the chicken. It does require marinating for at least two hours for the yogurt to really get into the chicken and start breaking down the proteins as yogurt is thicker than milk so keep that in mind.
Buttermilk is a marinade, not a brine. The calcium and acid in the buttermilk work to slowly break down the proteins in chicken to make it tender, but do so without the chicken absorbing a lot of water as would happen with a water-based brine. (Buttermilk also sticks to the surface of the chicken, helping breading stick and keep the natural moisture locked inside the chicken.)
Differently from a brine, buttermilk is not adding salt or moisture to chicken – it is helping the chicken retain its natural moisture while also breaking down proteins to prevent toughness in the meat.
Storage & Freezing
Chicken tenders can be stored in an air-tight container in the refrigerator for up to a week
How to Freeze Chicken Tenders
If I am going through the effort of breaking out the fryer and coating myself in Eau-de-fried chicken, I want to be sure it is going to be worth my while. I like to make a double batch of tenders and freeze some for easy reheating for a busier night!
Just cook the chicken tenders as directed in the recipe, let them cool completely, then toss them in a freezer bag and freeze for up to 3 months. I usually vacuum seal them for extended freshness.
What to Serve with Crispy Fried Chicken Tenders
When I make chicken tenders at home, we like to eat like we are having our favorite fast food at home (Raising Cane’s!) I will make crispy fried chicken, creamy coleslaw, Cane’s Sauce, and a side of fries. (I don’t make the Texas toast yet, but my husband would love me to try!)
If you don’t want to make a Cane’s meal at home, here are some other great Southern sides:
I just finished a new post with more recipes of What to Serve with Chicken Tenders, if you are looking for more ideas!
Tips to Store a Deep Fryer
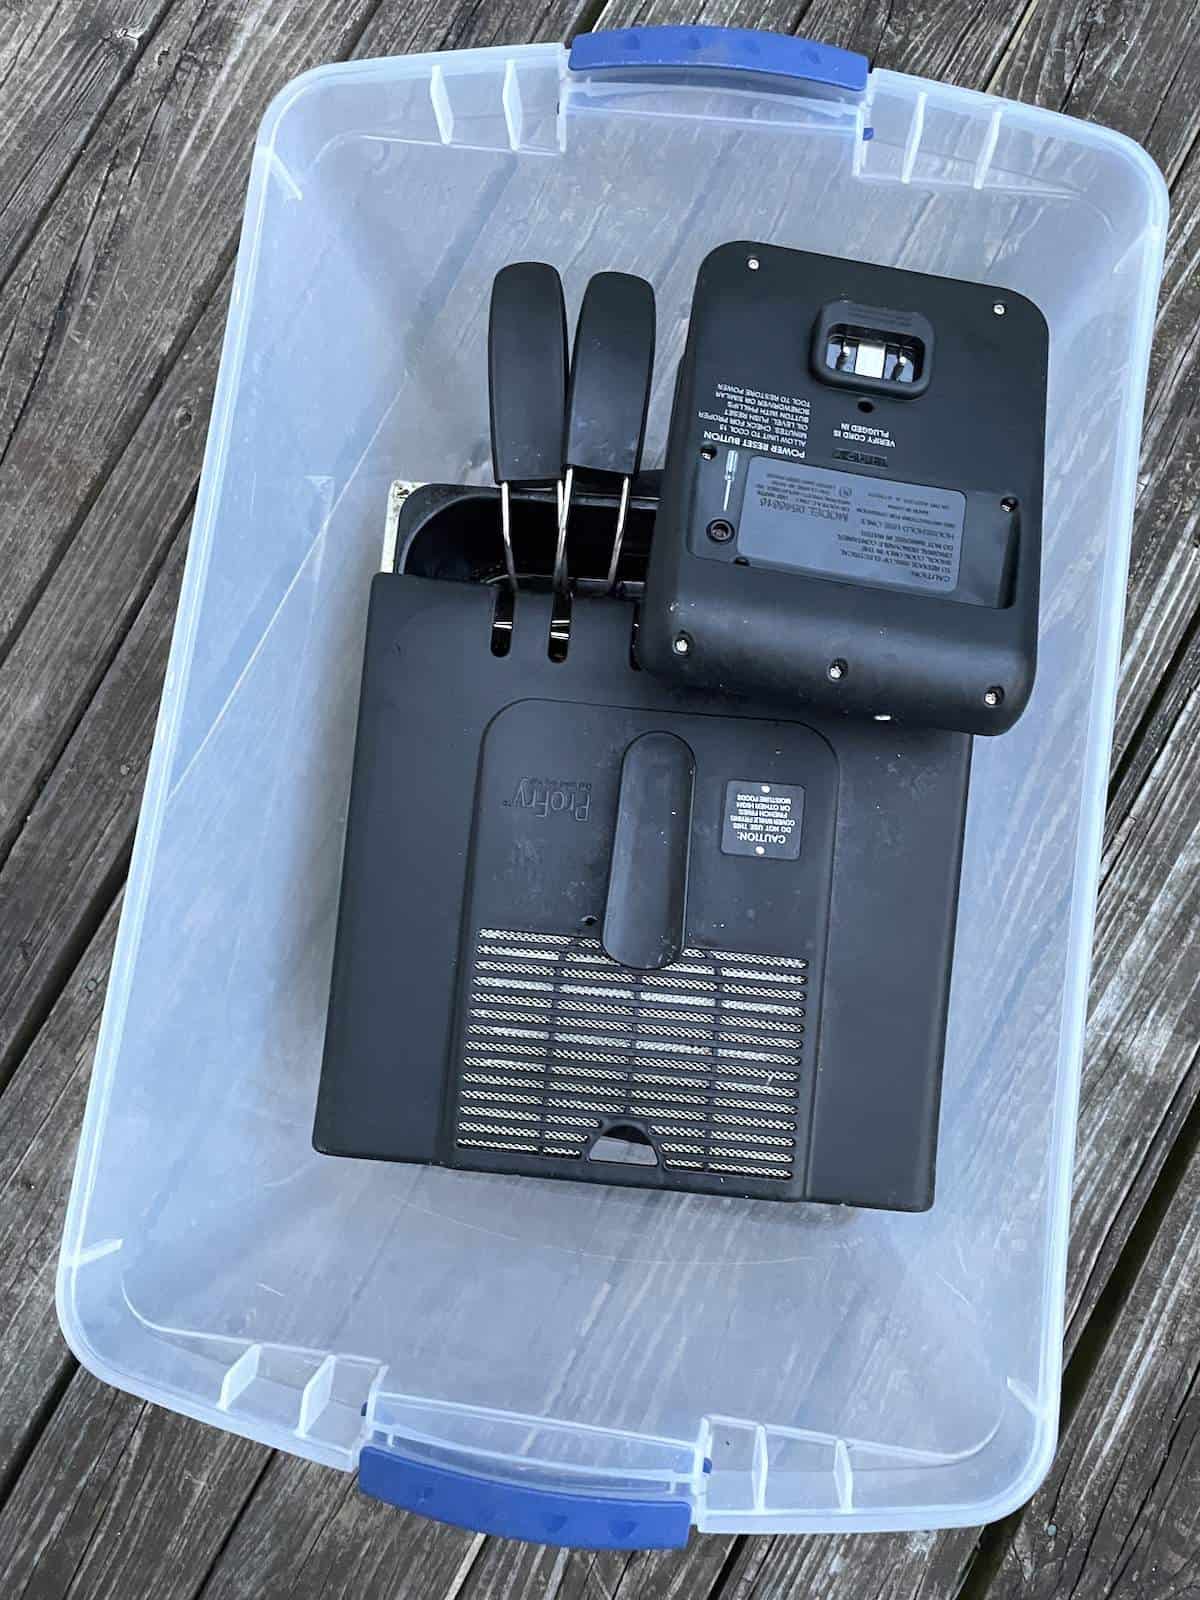
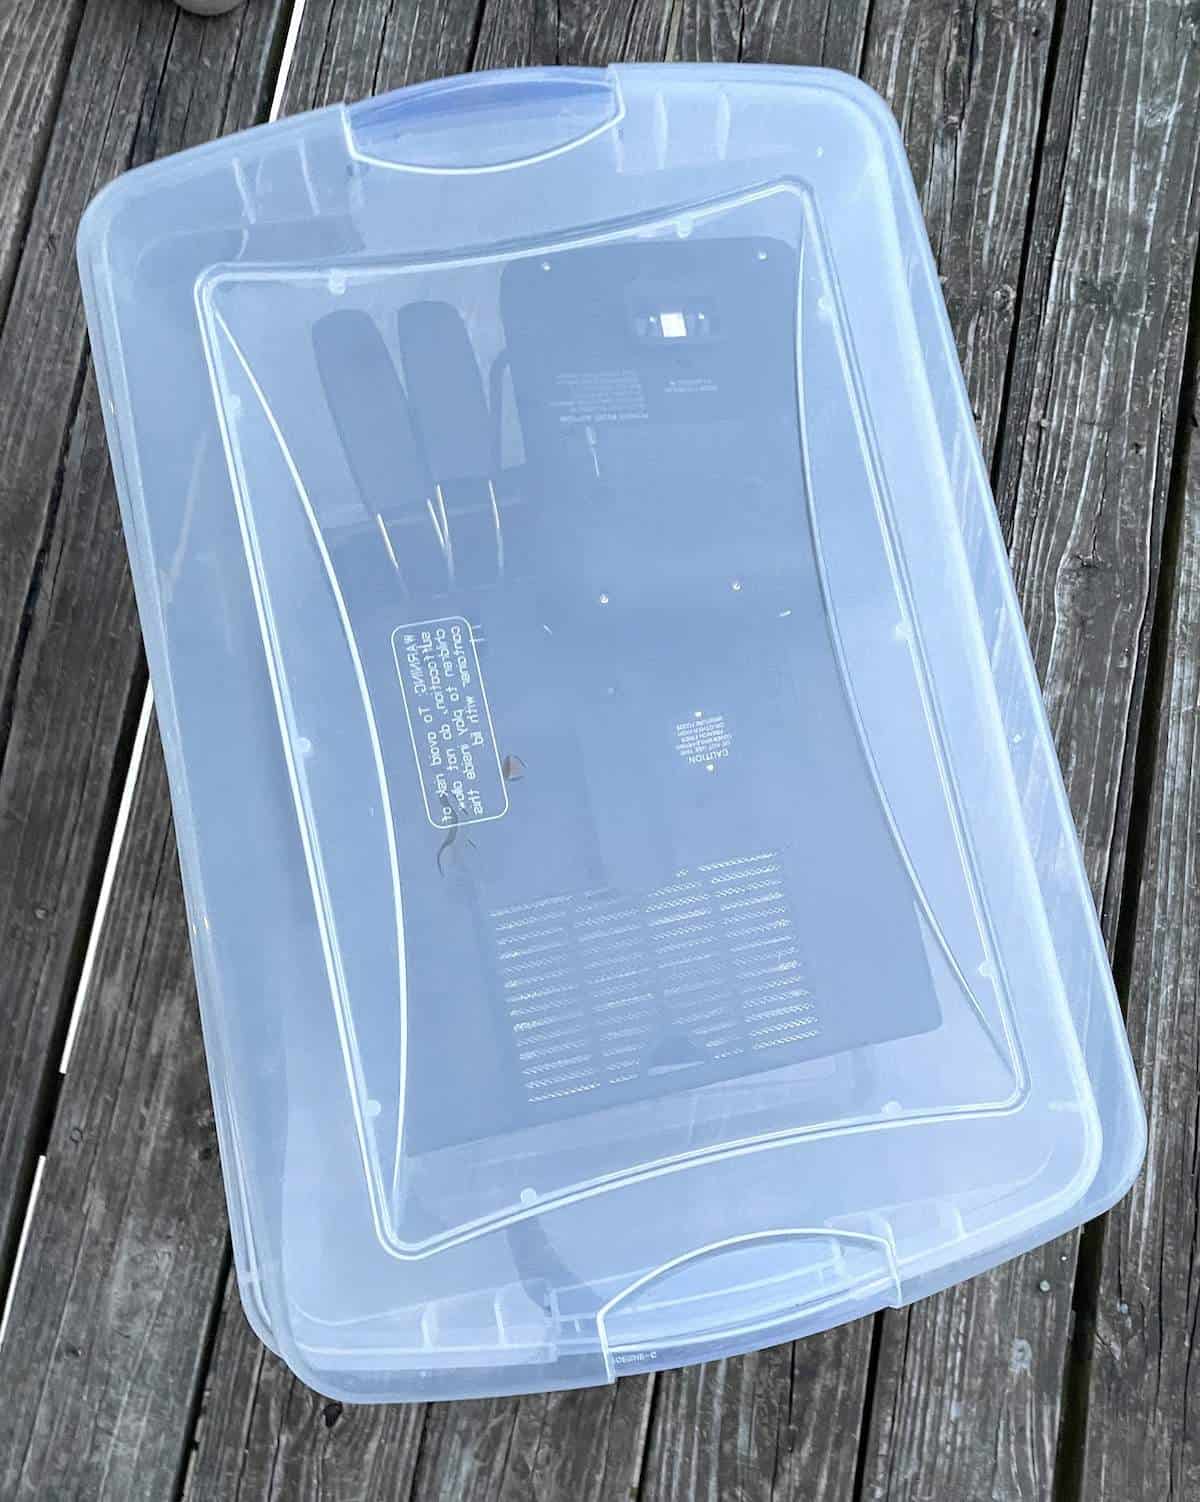
I like to store my deep fryer in a plastic storage bin. I let the oil cool completely, then close it off in a bin. In the summer, I use my deep fryer pretty often, so I keep it easily accessible and reuse the oil several times. (Fried green tomatoes, fried okra, fried catfish, fried crappie… we’re busy around here!)
How to Reuse Fryer Oil
If there is a lot of sediment in the oil, I will strain it through a fine-mesh sieve into a large bowl, then pour the clean oil back into the fryer. If I am not going to use the fryer often – often for us is once a week or more – I will filter it into a bowl, then pour it into a few jars so that I can reuse it when needed.
I store the fryer and jars in a bin. This bin lives on our back porch or in the back corner of our garage. Easy to get to and easy to use. (I use it outside with an extension cord as well, so our house doesn’t smell like fried food.)
If I plan on frying fish, I reduce the amount of oil and use a smaller amount, then dispose of it when I’m finished. (I don’t like to reuse oil that I have fried fish in because it takes on a fishy smell.)
If anything burns in the oil or if it starts to smoke, it should be disposed of.




Excellent recipe! I’ve made another “Cain’s” copycat chicken tender recipe and sauce, and they were nothing like the real Cain’s recipe. Thanks for sharing!
Ive tried many recipes from brining to soaking in buttermilk, some with egg, some with cornstarch/flour mix. This was hands down the best. The coating stayed on the chicken w/o getting soggy and the chicken was tender with a clean bite through, not chewy
I’m so glad to hear this 🙂 Thanks for sharing your review!
This recipe is perfect and absolutely delicious!!! My sons devoured them, I had to make more! This is one of those recipes that needs no modifications. Thanks for sharing!
I’m SO happy to hear that! Glad you loved them!
Very good! I followed your recipe and they were exactly what I was looking for in a fried chicken tender. Don’t skip the buttermilk but I only soaked mine for 15 minutes and they were delicious. This one is a keeper.
I’m so glad you liked them!
Wow!! These were so good. I live in Pittsburgh, Pa and they are opening a Raising Canes near us soon. Tons of hype around it. I love that I don’t even have to go and try it now because we can just make these! Thank you so much!
Got a 2 pound bag of Chicken Tenders from my neighbor so I started searching for good recipe and I am so glad I found this on!I cut the tenders in half and served them to a small gathering I had with the Rasing Cane Sauce. These were the crispiest chicken tenders any of us had, and of course the sauce was to die for. I will with some help and a very large vat of peanut oil be making theses for my New Years Eve party. Well worth the work that goes into making them.
I’m so glad they were enjoyed! They are a lot of work, but they are so good!
Wow, these were phenomenal! So crunchy and the seasoning was perfect. Made this along with the Cane’s sauce recipe, and what a great combo. Felt like I was eating at the real deal.
I’m so glad you liked them! They are a favorite at our house!