Homemade Cornmeal is such a fun way to embrace your inner homesteader. It is an all-day project to make, but it is so worth it in the end. Homemade cornmeal is sweeter, richer, and heartier than any cornmeal that you can buy in the store. Plus, it really is FUN to make.
We picked a TON of corn a few weeks ago at a friend’s house, and I REALLY wanted to try dehydrating some of it to see if we could turn it into cornmeal. (I’m really starting to embrace the homestead life over here.) If you end up with too much extra corn, you can also make fried corn on the cob or maque choux.
I didn’t really have a recipe or instructions, so these instructions are what I did, where I just kind of “winged it,” and it turned out great. I also tested the recipe again using some frozen corn to make sure that it would work for people who don’t have fresh corn, and it turned out great this way as well! If you don’t want to make your own, here are some great cornmeal substitutes.
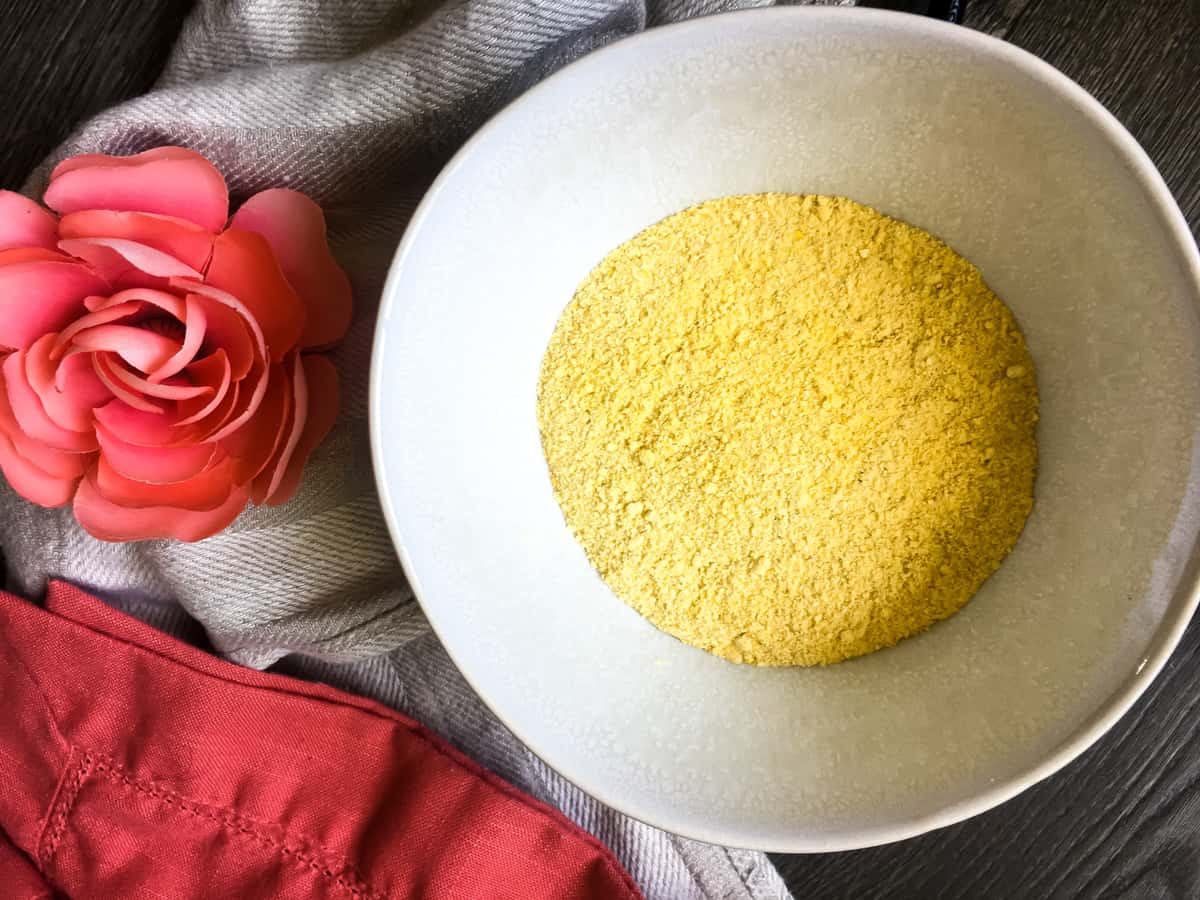
Table of Contents
- 🥘 Ingredients Needed
- 🍽 Equipment Needed
- 🥣 How to Make It
- Part 1a: To Make Cornmeal Using Whole Corn
- Part 1b: To Make Cornmeal Using Frozen Corn Kernels
- Part 2: For Both Fresh & Frozen Corn
- 🙋♀️ Frequently Asked Questions
- 🍳 Serving Suggestions & Uses
- What is the Yield with Homemade Cornmeal?
- 🥫 Storage/Shelf Life/Reheating
- ✏️ Helpful Tips
- How to Make Homemade Cornmeal Recipe
🥘 Ingredients Needed
- Corn – Ideally, you should use freshly picked corn on the cob (we used a variety called Kandy Korn that is really sweet) or frozen corn (much easier if you are just making this for a fun project), but I don’t recommend using canned corn.
🍽 Equipment Needed
- An Instant Pot or large pot/microwave – whatever you need for your preferred method to cook your corn. (I like to cook corn in my Instant Pot.)
- A corn peeler or sharp knife – I have always used a sharp knife to chop corn off the cobs, but a peeler makes it SO much easier and you get so much more corn.
- A dehydrator – We got a big boss of a dehydrator for a wedding present – an Excalibur – and it is AWESOME for drying everything. If that isn’t in your budget, you can use something like our previous dehydrator – they run about $30/$40 or less if you can get one from Bed Bath and Beyond with a coupon. I actually got mine at Goodwill for $5 a few years ago.
- A cheap spice grinder or food processor – We use the coffee grinder that my husband bought in grad school. I think it was like $15 at Walmart. They don’t sell that exact one anymore, but this one is close. (It just needs to have sharp metal blades and be easy to use. Nothing fancy needed!)
- An oven
- A baking sheet
- Desiccant packets – I explained these in more detail down in the instructions, but basically these are moisture absorbing packets that will keep your food from growing mold.
🥣 How to Make It
Making homemade cornmeal is a labor of love. It has a few steps, and while it seems a little time-consuming, most of the time is spent hands-off, waiting for the corn to dry out.
Part 1a: To Make Cornmeal Using Whole Corn
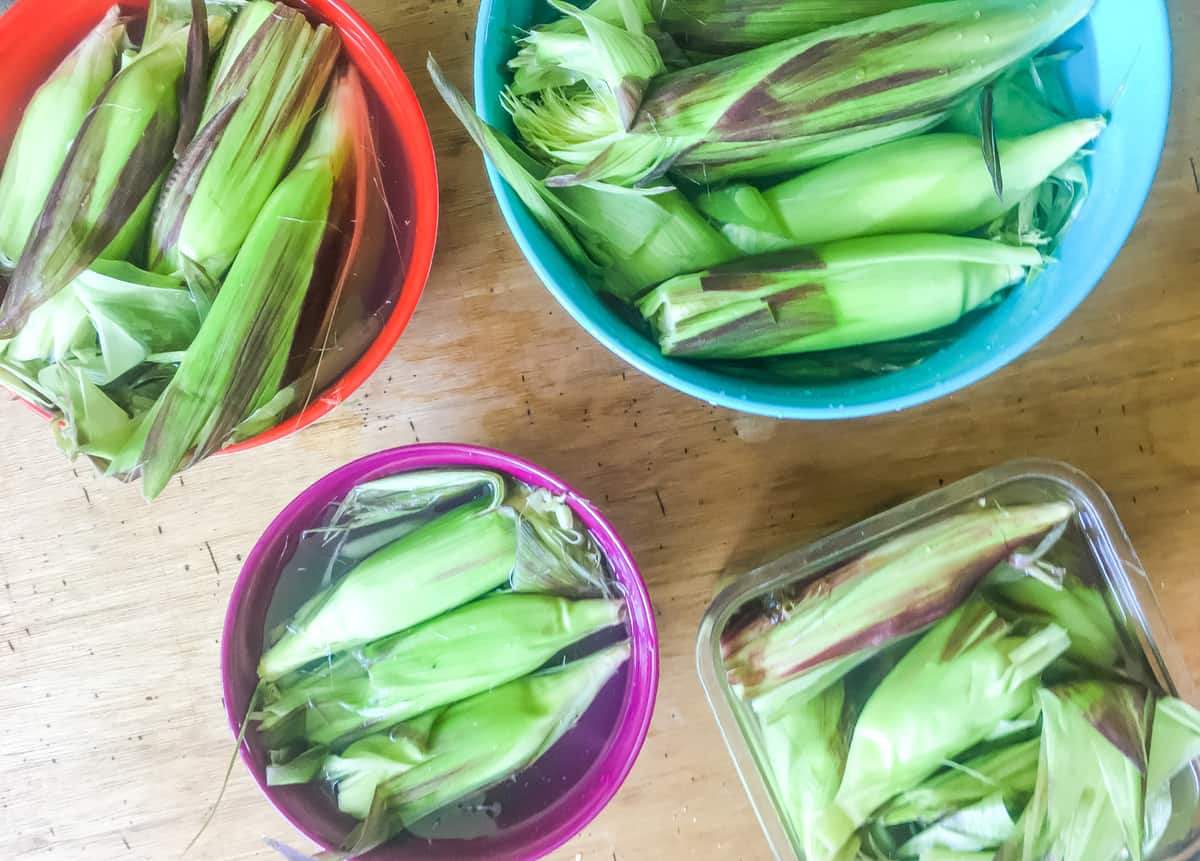
If you are using freshly picked corn, I highly recommend soaking it for 15 – 20 minutes in water. We do this to take care of the caterpillars and other bugs that try to hitch a ride into the house.
After soaking, drain the water and clean up the ears of corn – cutting off the thick stem on the end but leaving the husks on.
Next, cook your corn using your favorite method. I like to make corn using an Instant Pot using the method in this blog post (but not cooking it as long as I would if I was eating it.) You can also cook corn in the microwave or by boiling the corn in water, just don’t overcook it.
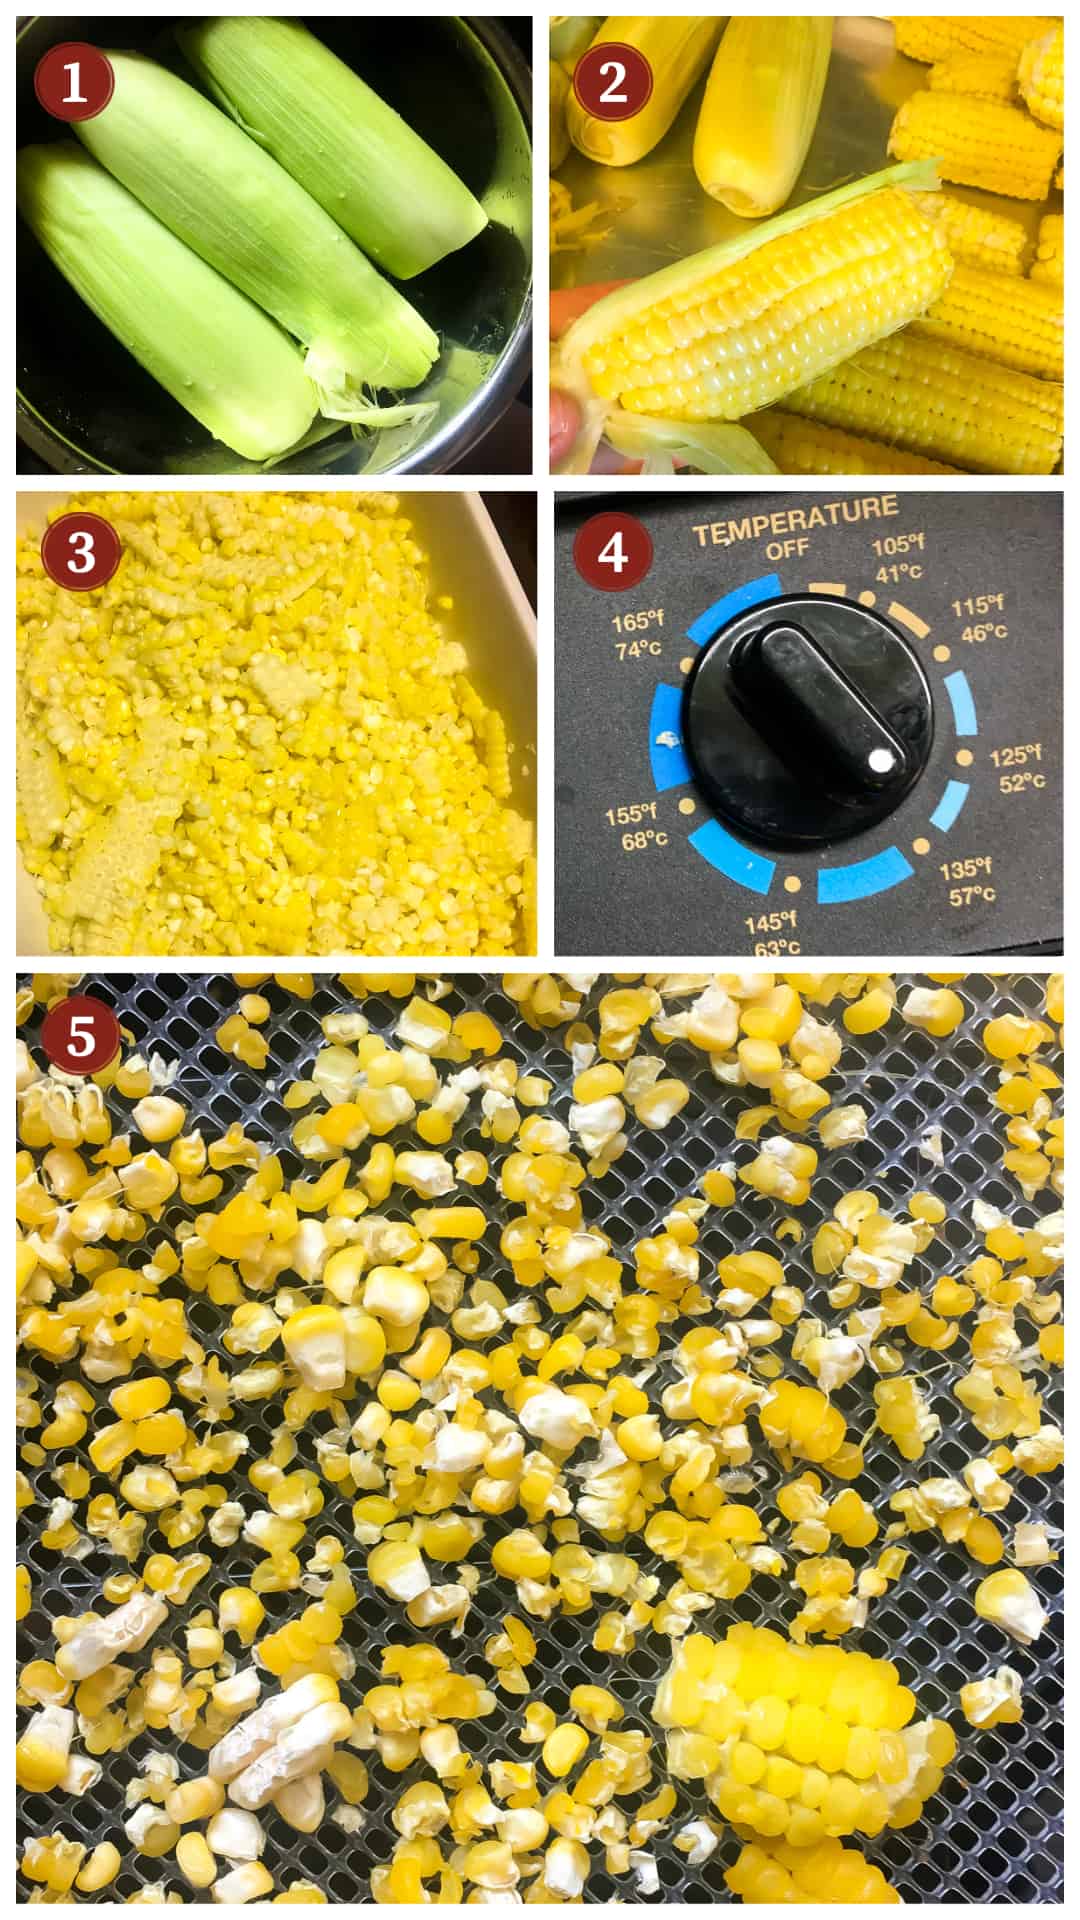
To make corn in your Instant Pot, put 1 1/2 cups of water in your Instant Pot (use 2 cups for an 8 quart Instant Pot) and place a trivet or sling in the bottom. Stack as much corn as you can fit in layers, alternating directions so the corn is always perpendicular to the layer above and below it. (Picture 1)
Once your Instant Pot is stacked with corn, put the lid on and close the vent to Sealing. Set the Instant Pot to Manual Mode at High Pressure for 2 minutes. This will just lightly cook the corn – just the right amount. If you are using homegrown corn and your ears of corn are really small, try cooking for only 1 minute. (Either way, you want it cooked to the amount where it would seem a little underdone if you were to eat it.)
After the two minutes are up, Quick Release the pressure and remove the corn from your Instant Pot. Let it cool enough that it can be handled (Picture 2), then remove the husks and cut the kernels off of the ears of corn. (I like to do this with a corn peeler.) (Picture 3)
When all the corn is cut off the cobs, spread the kernels onto a lined tray of a dehydrator. You don’t necessarily have to line the tray, but I have found that fewer kernels fall through the holes of the dehydrator if you line the tray with parchment paper.
Set the dehydrator to 125 – 135°F* (I have found 135 to be fine, but some dehydrators get really hot at 135) and let the corn dehydrate for 8 – 12 hours. Check at 6 hours and shake the corn around a little to make sure it isn’t sticking to the tray. Also, break apart any large pieces.
*If your dehydrator doesn’t have a temperature setting, just turn it on and let it start drying. Check on it every few hours just to make sure it isn’t getting too hot.
Skip to Part 2 when your corn is dry.
Part 1b: To Make Cornmeal Using Frozen Corn Kernels
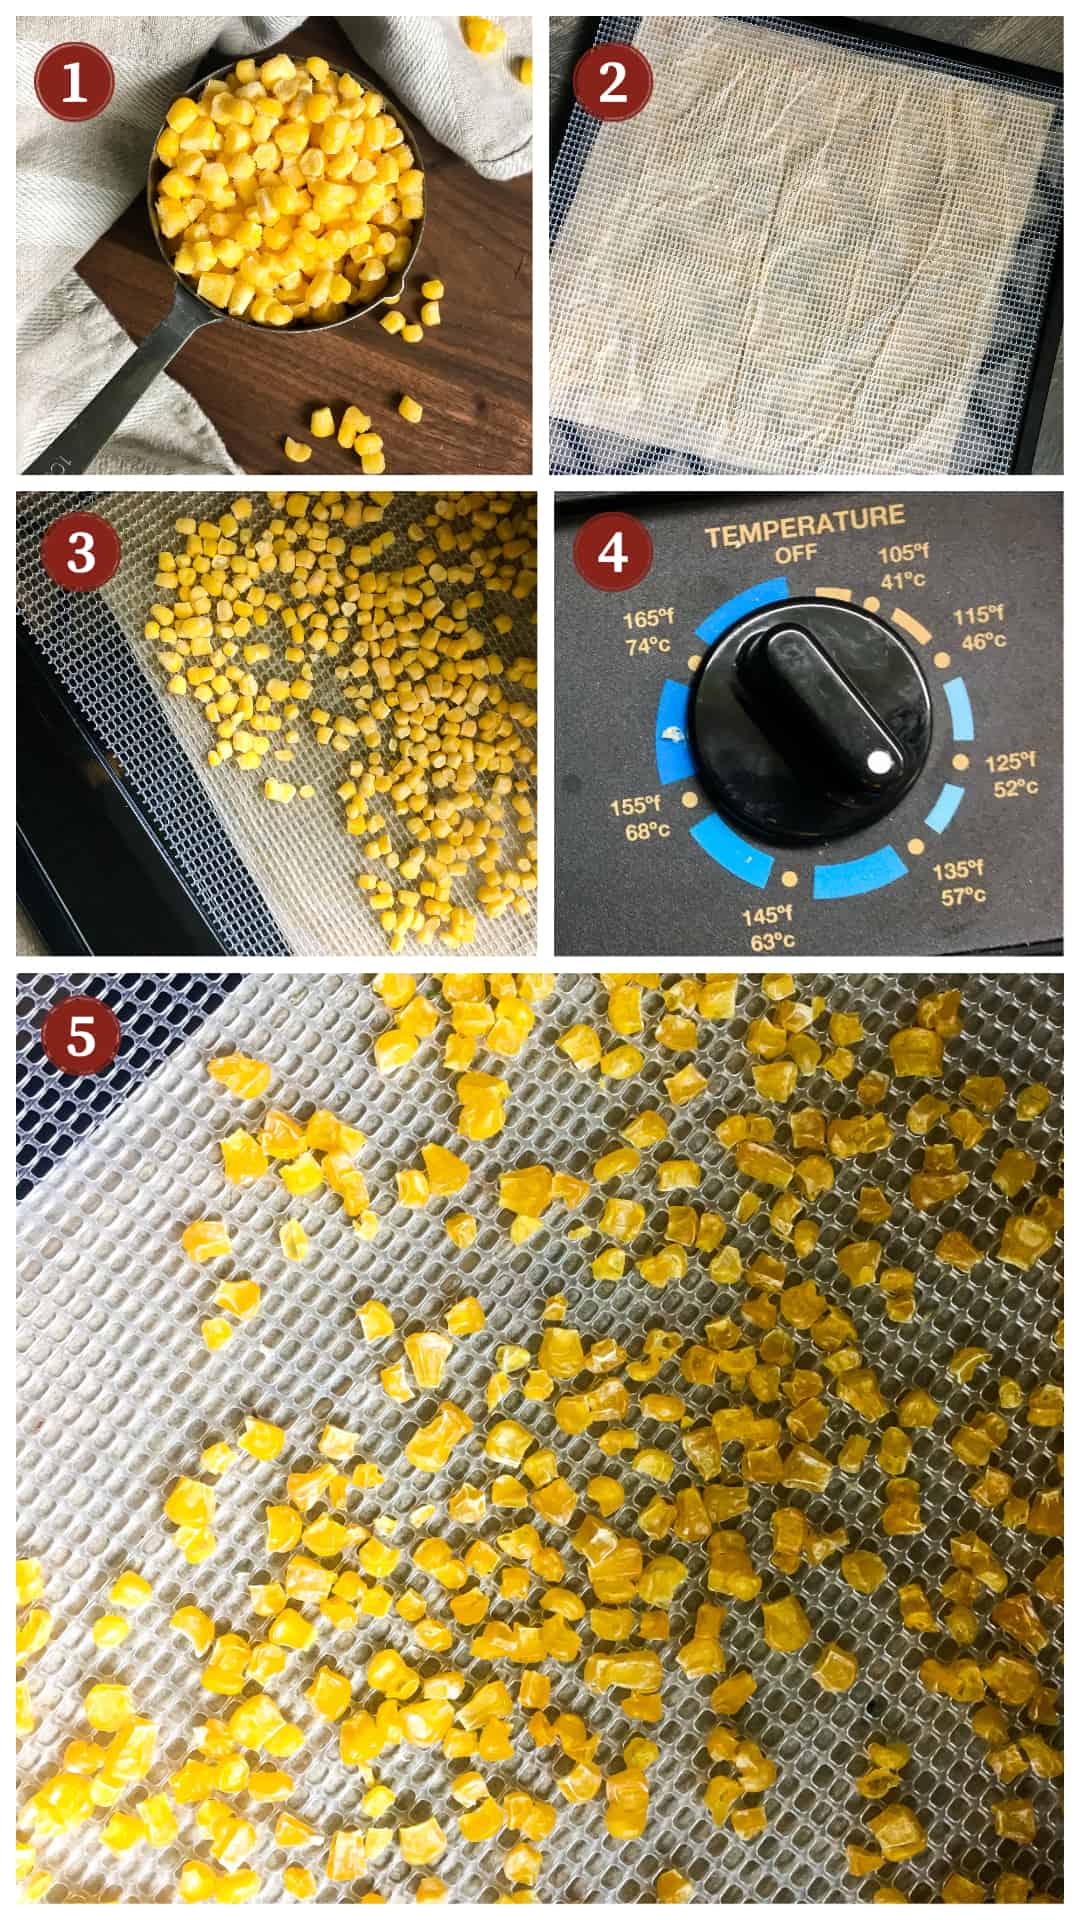
Dump frozen corn out onto a lined tray of a dehydrator. You don’t necessarily have to line it, but I have found that fewer kernels fall through the holes of the dehydrator if you line the tray with parchment paper. (Picture 2 – 3)
Set your dehydrator to 135°F and let the corn dehydrate for 8 – 12 hours. Check at 6 hours and shake the corn around a little to make sure it isn’t sticking to the tray.
Part 2: For Both Fresh & Frozen Corn
Using either preparation method, when your corn is done drying, the rest of the process is the same.
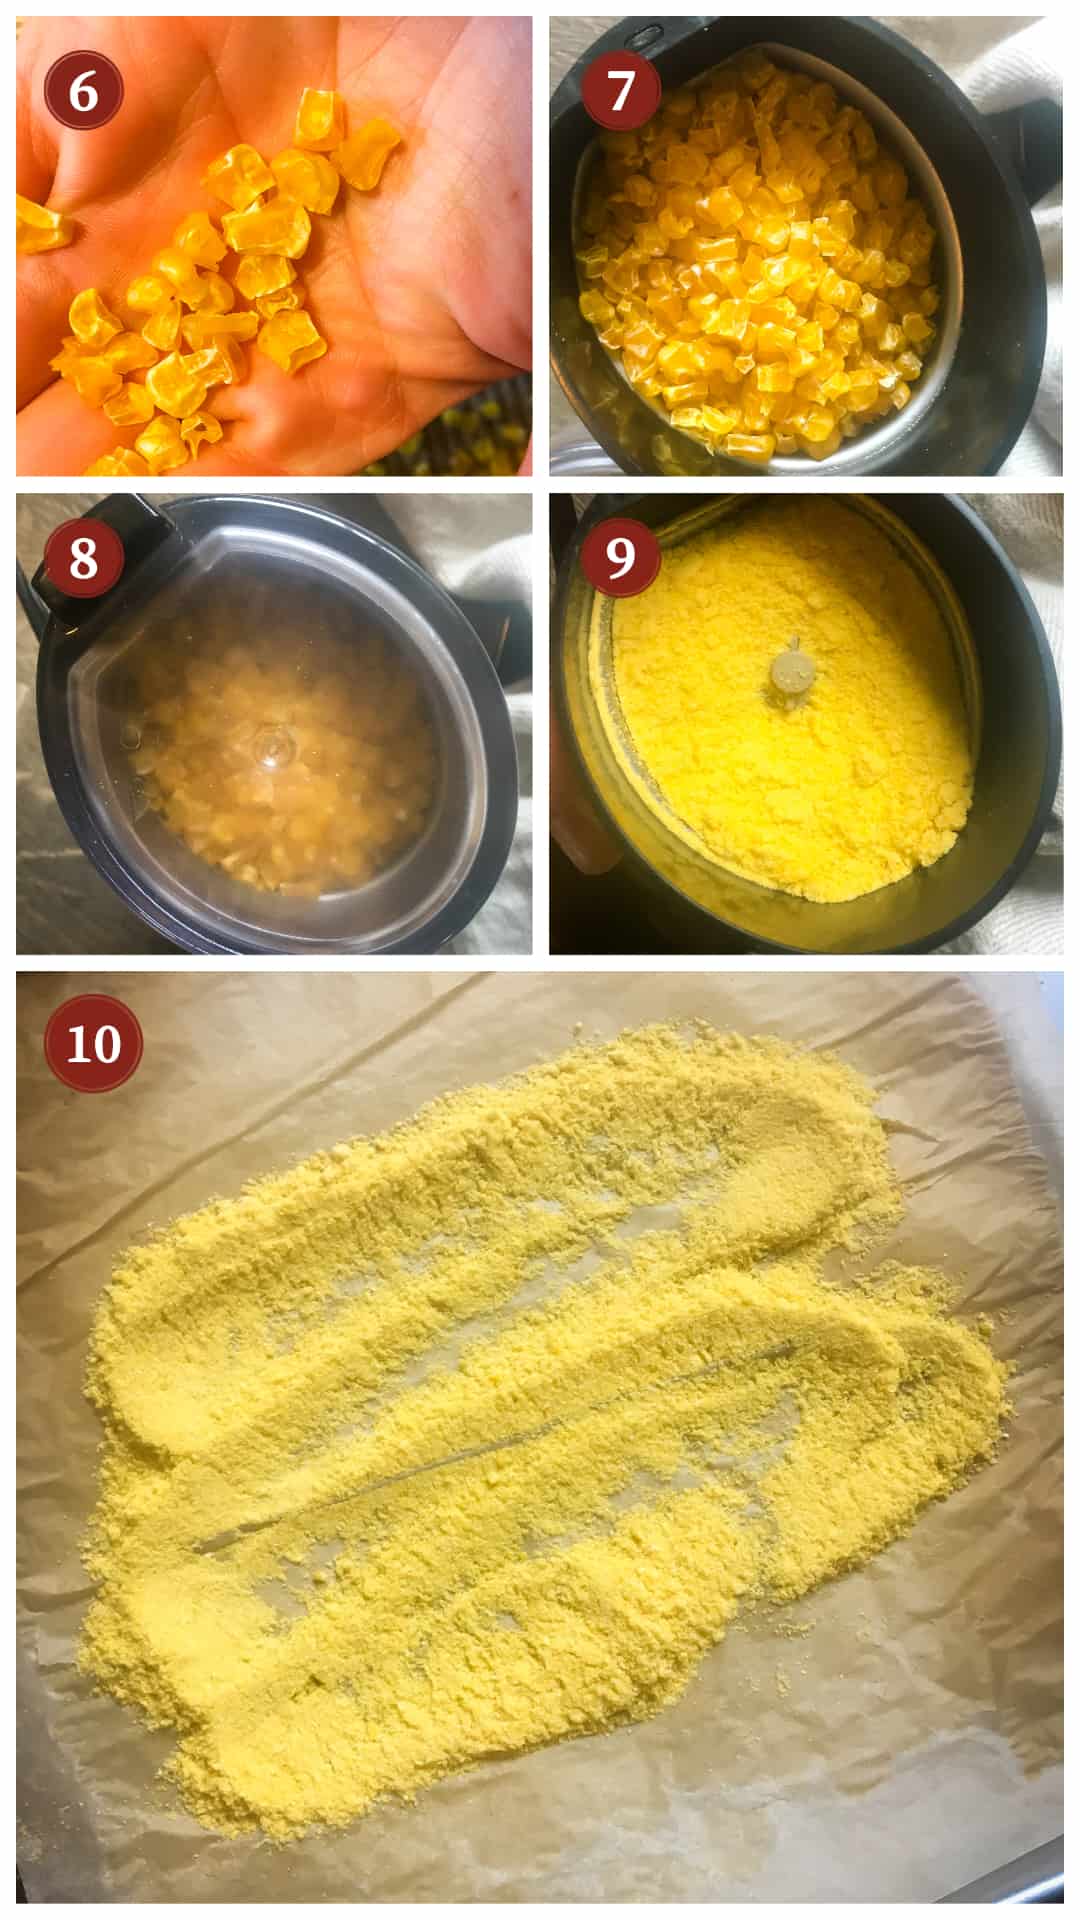
First, be sure that the corn is totally dry. If there is any dampness, you will end up with a corn paste. The corn is dry when you squeeze the kernels and you can’t squeeze them. If you drop them, they should sound like plastic and if you smash them they should break and not squish. Think of the texture of the vegetables in those ramen noodle cups.
Next, add some of the corn spice grinder. (You likely won’t be able to fit all of it in at one time so it is totally fine to grind it in batches.) (Picture 7)
Put the lid on the grinder and grind it up. (Picture 8) This part you can control a little – if you want the cornmeal on the coarse side, you can leave some bigger chunks – if you want it really fine, grind it really fine. (Picture 9)
Once all of the corn is ground up, either use the cornmeal right away or dry out in the oven to make sure it is totally dry. (Picture 10)
To dry out cornmeal, spread it out on a piece of parchment paper (not a silicone baking sheet, see below why not) and bake it for about 5 minutes at 175 – 200°F (as low as your oven will go), stirring it around once or twice. (Picture 10) This step is just to suck out any remaining moisture from the cornmeal.
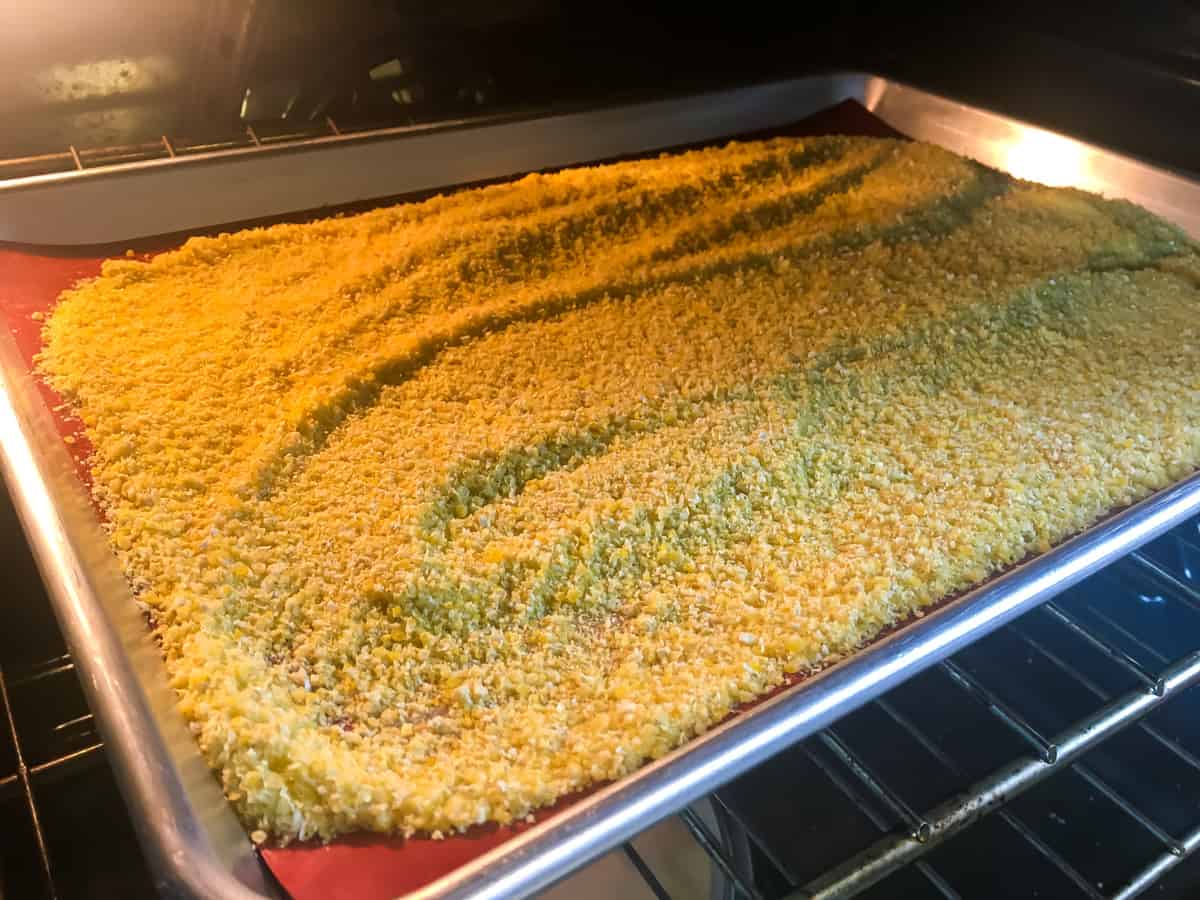
A fun mistake that I made so you don’t have to: I did try baking my cornmeal on a silicone baking sheet (see below), but it got pretty stuck and I lost some of it, so I definitely recommend using parchment paper or a piece of aluminum foil.
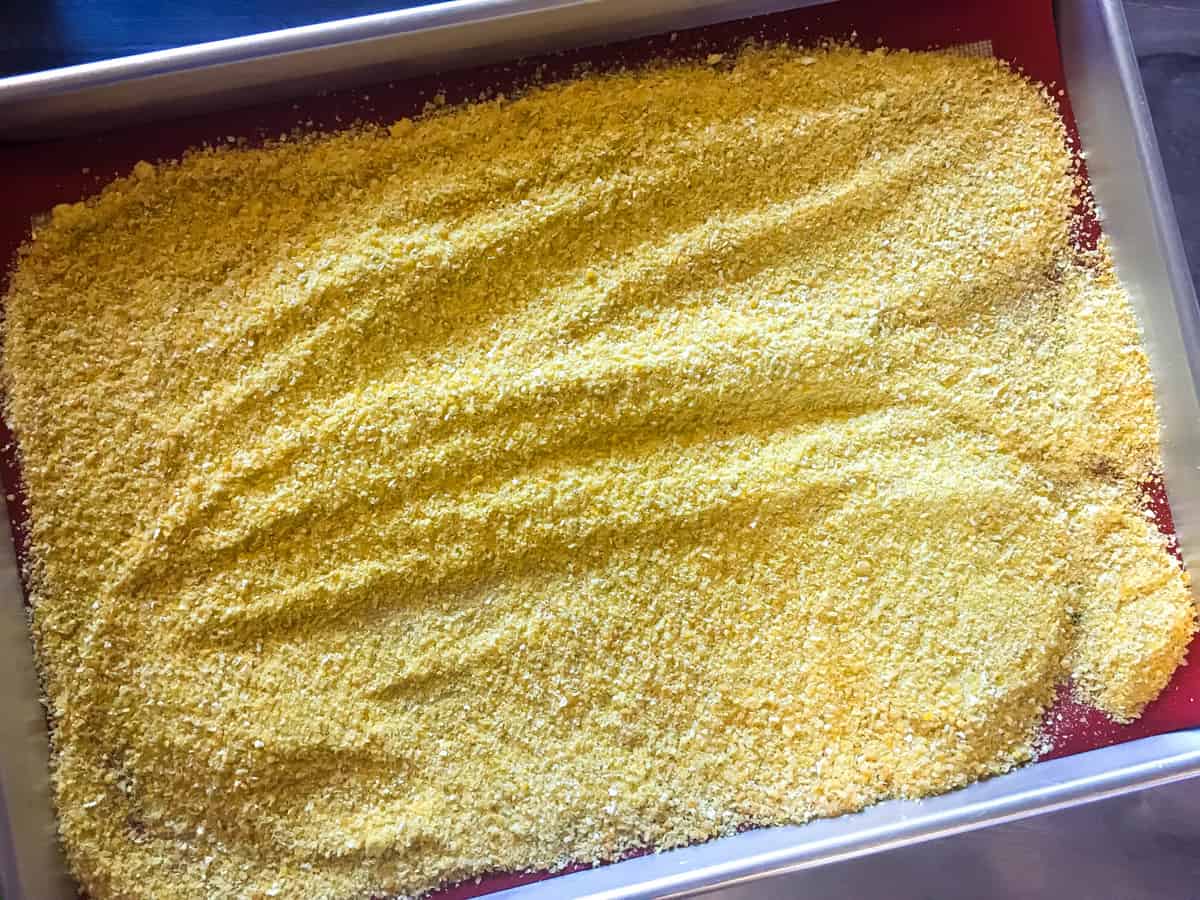
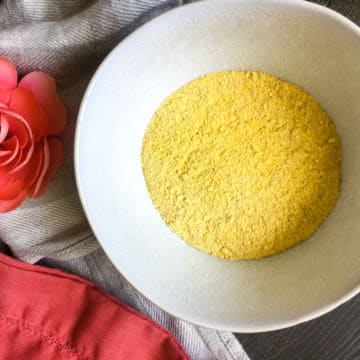
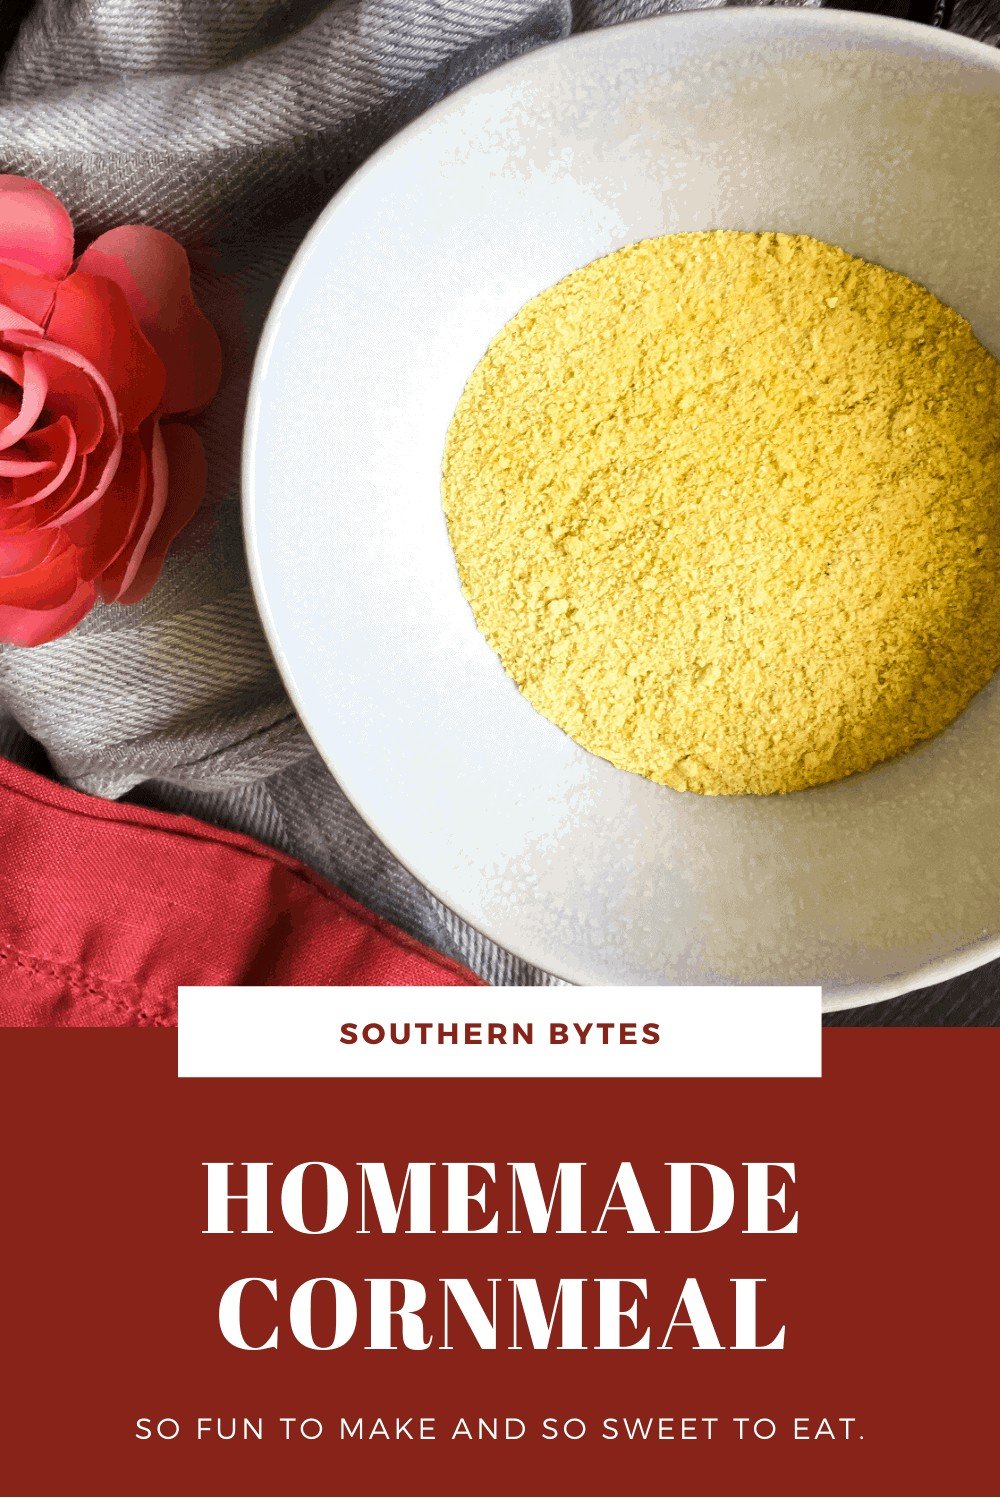
I love that it is such a rich yellow color and you can really see that it is made from actual corn.
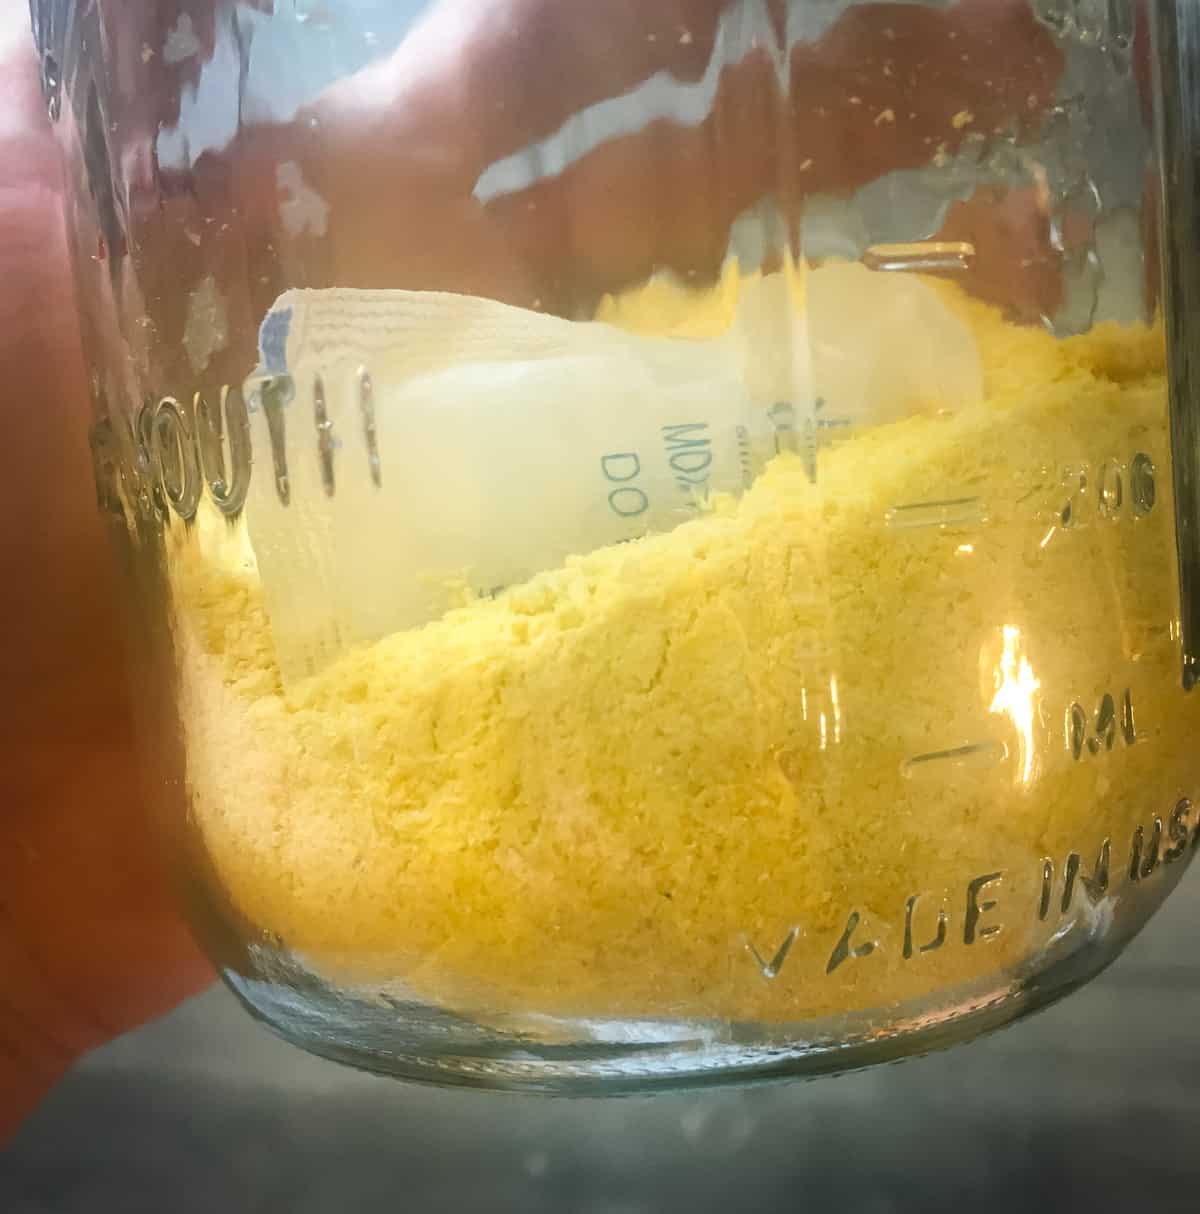
When the corn has cooled off and is dry, store it in a REALLY airtight container – I mean this – not a bag or a cheap plastic container, but something that has a good seal – with a desiccant packet to absorb any excess moisture.
To Condition the Cornmeal
For the first few days after making the cornmeal, try to give it a good shake a couple of times a day to make sure no clumps form. If you don’t see clumps after about 5 days, you should be all set. For long term storage, I will vacuum seal it, but if it is going to be used soon that isn’t necessary.
What is a Desiccant Pack/Packet?
Desiccant packets are those little silica gel packets you find in your new shoes that say “DO NOT EAT!!” all over them. The idea is that they should actively absorb any moisture in the container that they are stored in so that whatever they are stored with does not; so dehydrated foods, leather goods, etc. Be sure that you use a food-safe brand and that you use the right size for your storage. (You don’t need a 50 gram pack in a small mason jar!)
I like to use Wisedry 5 gram Packs for most of my food storage. They are small enough for a jar, and the beads change color to a dark green when saturated with moisture so you know to change out the pack. (Once you take out a pack, you can “recharge it” by drying it back out and reusing it, which is also really cool.)
🙋♀️ Frequently Asked Questions
Stone ground cornmeal is made by grinding up dried corn between two slowly moving stones. It is much coarser than bagged cornmeal, so it would be similar to this recipe if you don’t grind your cornmeal to finely. The coarser texture helps you get more of the corny flavor in your baked goods. It might be fun to find someone able-bodied (and motivated) and try to get them to grind up some corn with a mortar and pestle to see what flavor you can develop!
Typically, cornmeal is made out of field corn, which is the type of corn that is mass grown by farmers for things like livestock feed, corn syrup, corn starch, ethanol, etc. Sweet corn is what you get when you buy corn on the cob, so your homemade cornmeal will be sweeter than the stuff in the bag. (So good!)
If you don’t have a spice grinder, you can use a food chopper or food processor just be careful of overheating.
Yep! You can dehydrate your corn in the oven. Set the heat as low as you can possibly set it (mine only gets to 180°F) and spread the kernels out on a cookie sheet covered with parchment paper or a baking mat. The unfortunate thing about an oven is it can get too hot, so you might have to keep turning the heat on and off to keep from burning the corn.
You can also put it outside in the sun and let the sun do all the work, just watch out for creatures. At our house, any food left unattended outside is fair game for the birds and squirrels 😉
🍳 Serving Suggestions & Uses
I love using homemade cornmeal to make Skillet Cornbread, Southern Fried Catfish, or for the topping of a Tamale Pie. It is a little thicker and grittier and is so much sweeter, so the flavor is incredible.
Other Uses for Homemade Cornmeal
- Cornmeal Mush
- Polenta
- Cornmeal Pancakes aka Johnny Cakes
What is the Yield with Homemade Cornmeal?
I had to make this recipe more than once to make sure I could come up with at least some kind of measure of just how much cornmeal you can make from a starting quantity.
For the homegrown corn, I had a LOT of random sizes of ears of corn, so I used weight as a measure.
After cooking the corn, starting out with cobs included, I had 1,979 grams (4.36 lbs) of corn.
After cutting the corn off the cobs, I had 868 grams (1.91 lbs.)
After drying the kernels I had 262.5 grams (0.58 lbs.)
When all was said and done and ground up, accounting for the cornmeal that I lost when it got stuck to the baking mat, I had 260 grams so around 0.57 lbs, and this was around 1 3/4 cups coarsely ground cornmeal.
For the frozen corn, I used measuring cups only. 1 cup of frozen corn made a little over half a cup of dried kernels and amounted to half a cup of cornmeal.
So, 1 cup of corn ~= 1/2 cup of cornmeal.
🥫 Storage/Shelf Life/Reheating
As long as you keep your cornmeal dry, it will last a long time. A desiccant packet will help with this, but you can also store the cornmeal in the freezer for longevity or even vacuum seal it.
✏️ Helpful Tips
- This is a fun project to do but the dehydration process can take a while. I like to do it over two days starting in the evening, so the corn can dehydrate overnight while I am sleeping. Just make sure you turn the dehydrator on right as you go to bed so it doesn’t end up running for 14 hours 😉 When you wake up, the corn should be ready to grind up!
- If you have a huge harvest of corn or if corn is really cheap at your grocery store, cornmeal can be a fun gift to make to give to family members. I know my family loves when I show up with jars of things – I sometimes wonder if they are disappointed when I don’t bring treats!
Have You Tried This Recipe?
Please rate it and leave a comment below. I would love to hear what you think!
How to Make Homemade Cornmeal
Ingredients
- 4 cups corn use however much corn on the cob or frozen corn you want – 1 cup of corn will yield 1/2 a cup of cornmeal
- water
Instructions
Part 1a: To Make Cornmeal Using Whole Corn
- If you are using freshly picked corn, I highly recommend soaking it for 15 – 20 minutes in water. We do this to take care of the caterpillars and other bugs that try to hitch a ride into the house.
- After soaking, drain the water and clean up the ears of corn – cutting off the thick stem on the end but leaving the husks on.
- Next, cook your corn using your favorite method. I like to make it in my Instant Pot using the method in this blog post (but not cooking it as long as I would if I was eating it.) You can also make it in the microwave or by boiling the corn in water.
- To make corn in your Instant Pot, put 1 1/2 cups of water in your Instant Pot (use 2 cups for an 8 quart Instant Pot) and place a trivet or sling in the bottom. Stack as much corn as you can fit in layers, alternating directions so the corn is always perpendicular to the layer above and below it.
- Once your Instant Pot is stacked with corn, put the lid on and close the vent to Sealing. Set the Instant Pot to Manual Mode at High Pressure for 2 minutes. This will just lightly cook the corn, just the right amount. If you are using homegrown corn and your ears of corn are really small, try cooking for only 1 minute. (Either way, you want it cooked to the amount where it would seem a little underdone if you were to eat it.)
- After the two minutes are up, Quick Release the pressure and remove the corn from your Instant Pot. Let it cool enough that it can be handled, then remove the husks and cut the kernels off of the ears of corn. (I like to do this with a corn peeler.)
- When all the corn is cut off the cobs, spread the kernels onto a lined tray of a dehydrator. You don't necessarily have to line the tray, but I have found that fewer kernels fall through the holes of the dehydrator if you line the tray with parchment paper.
- Set the dehydrator to 125 – 135°F (I have found 135 to be fine, but some dehydrators get really hot at 135) and let the corn dehydrate for 8 – 12 hours.* Check at 6 hours and shake the corn around a little to make sure it isn't sticking to the tray. Also, break apart any large pieces.
- Skip to Part 2 when your corn is dry.
Part 1b: To Make Cornmeal Using Frozen Corn Kernels
- Dump frozen corn out onto a lined tray of a dehydrator. You don't necessarily have to line it, but I have found that fewer kernels fall through the holes of the dehydrator if you line the tray with parchment paper.
- Set your dehydrator to 125 – 135°F and let the corn dehydrate for 8 – 12 hours.* (I have found 135 to be fine, but some dehydrators get really hot at 135.) Check at 6 hours and shake the corn around a little to make sure it isn't sticking to the tray.
Part 2: For Both Fresh & Frozen Corn
- Using either preparation method, when your corn is done drying, the rest of the process is the same.
- First, be sure that the corn is totally dry. If there is any dampness, you will end up with a corn paste. The corn is dry when you squeeze the kernels and you can't squeeze them. If you drop them, they should sound like plastic and if you smash them they should break and not squish. Think of the texture of the vegetables in those ramen noodle cups.
- Next, add some of the corn spice grinder. (You likely won't be able to fit all of it in at one time so it is totally fine to grind it in batches.)
- Put the lid on the grinder and grind it up. If you want the cornmeal on the coarse side, you can leave some bigger chunks – if you want it really fine, grind it really fine.
- Once all of the corn is ground up, either use the cornmeal right away or dry out in the oven to make sure it is totally dry.
- To dry out cornmeal, spread it out on a piece of parchment paper (not a silicone baking sheet) and bake it for about 5 minutes at 175 – 200°F (as low as your oven will go), stirring it around once or twice.
- When the corn has cooled off and is dry, store it in a REALLY airtight container – I mean this – not a bag or a cheap plastic container, but something that has a good seal – with a desiccant packet to absorb any excess moisture.
To Better Condition the Cornmeal
- For the first few days after making it, try to give it a good shake a couple of times a day to make sure no clumps form. Then you should be all set. For long term storage, I will vacuum seal it, but if it is going to be used soon that isn't necessary.
Video
Notes
Storage/Shelf Life
As long as you keep your cornmeal dry, it will last a long time. A desiccant packet will help with this, but you can also store the cornmeal in the freezer for longevity or even vacuum seal it.Tips
- This is a fun project to do but the dehydration process can take a while. I like to do it over two days starting in the evening, so the corn can dehydrate overnight while I am sleeping. Just make sure you turn the dehydrator on right as you go to bed so it doesn’t end up running for 14 hours 😉 When you wake up, the corn should be ready to grind up!
- If you have a huge harvest of corn or if corn is really cheap at your grocery store, cornmeal can be a fun gift to make to give to family members. I know my family loves when I show up with jars of things – I sometimes wonder if they are disappointed when I don’t bring treats!
What is the Yield with Homemade Cornmeal?
For the homegrown corn, I had a LOT of random sizes of ears of corn, so I used weight as a measure. After cooking the corn, starting out with cobs included, I had 1,979 grams (4.36 lbs) of corn. When all was said and done and ground up, accounting for the cornmeal that I lost when it got stuck to the baking mat, I had 260 grams so around 0.57 lbs, and this was around 1 3/4 cups coarsely ground cornmeal. For the frozen corn, I used measuring cups only. 1 cup of frozen corn made a little over half a cup of dried kernels and amounted to half a cup of cornmeal. So, 1 cup of corn ~= 1/2 cup of cornmeal.Special Equipment Needeed
- a baking sheet
Nutrition
Nutrition information is approximate and is automatically calculated, so should only be used as a guide.



Did you know you can leave the corn on the stalk until it’s dry and skip the cooking and dehydration steps entirely
Yes! You definitely can. We have a hard time doing that here because of squirrels and chipmunks and rain, but if you are able, it definitely makes it easier!
“The corn is dry when you squeeze the kernels” How do I squeeze out the kernels?
Hey Chanel, It says “The corn is dry when you squeeze the kernels and you can’t squeeze them.” That means that when you squeeze them, they aren’t squishy – so there isn’t any “give” in the kernel. If there is any internal moisture, you will get a paste when you grind up the kernels and that’s not ideal. (You can also end up with mold growing if it isn’t totally dry!) I asked my husband to help me think of examples and we landed on candy Nerds and gummy bears. You want the kernels to be like Nerds – where if you were to hit them with a hammer, they would shatter into a million pieces. (As opposed to a squishy gummy bear.) If the kernels seem a little soft, just dehydrate them a little longer until they harden up. Hope that helps!