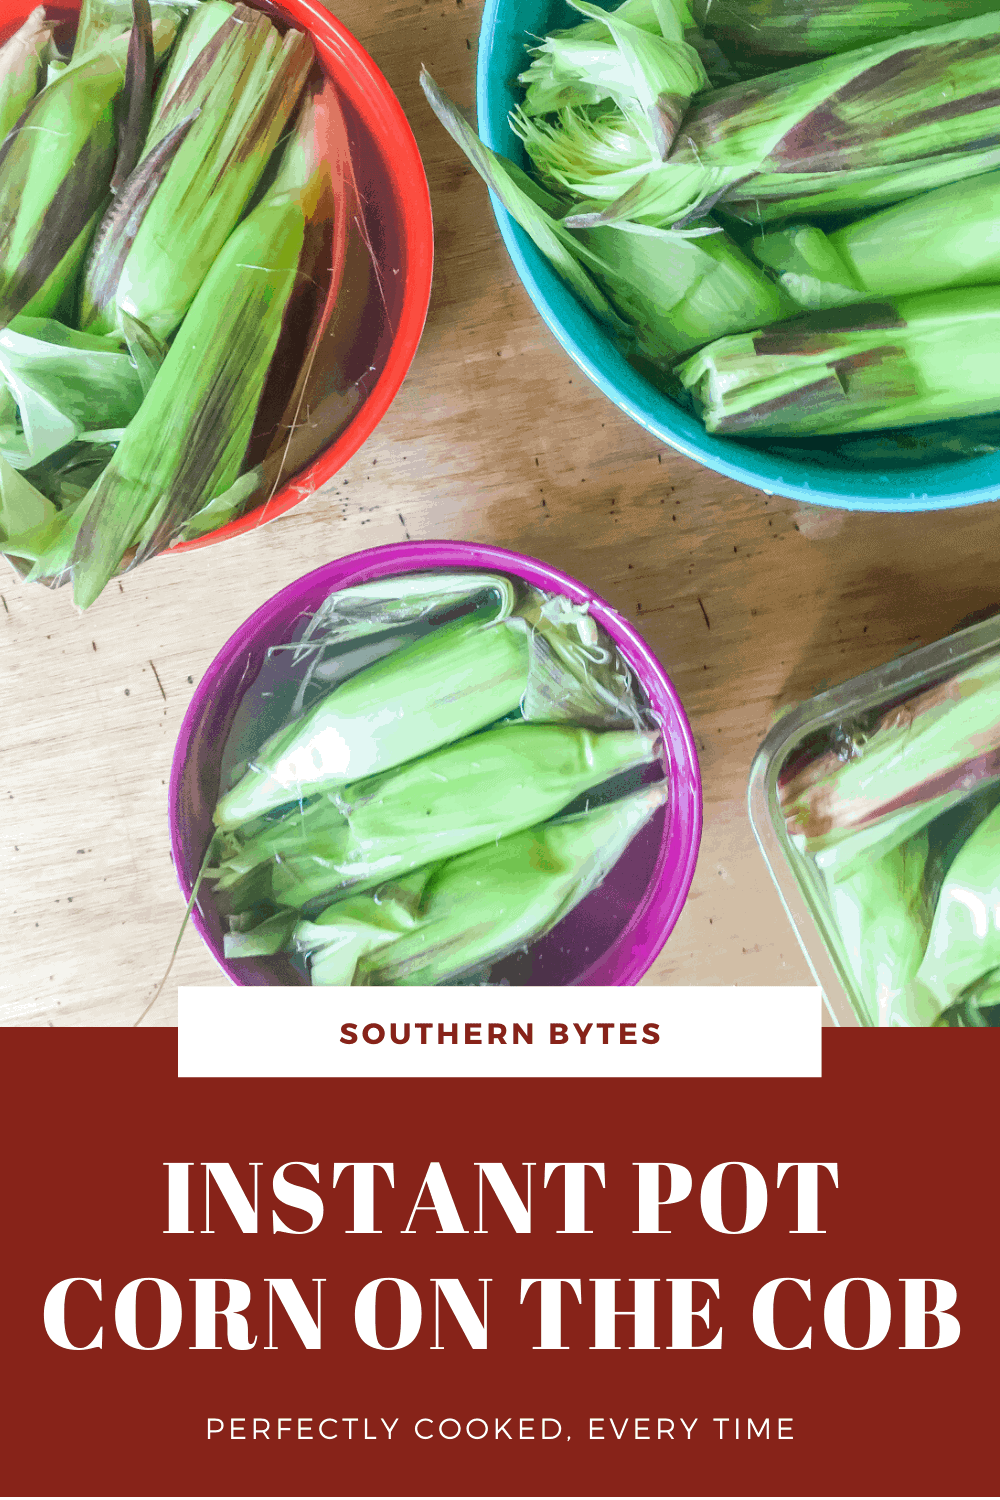
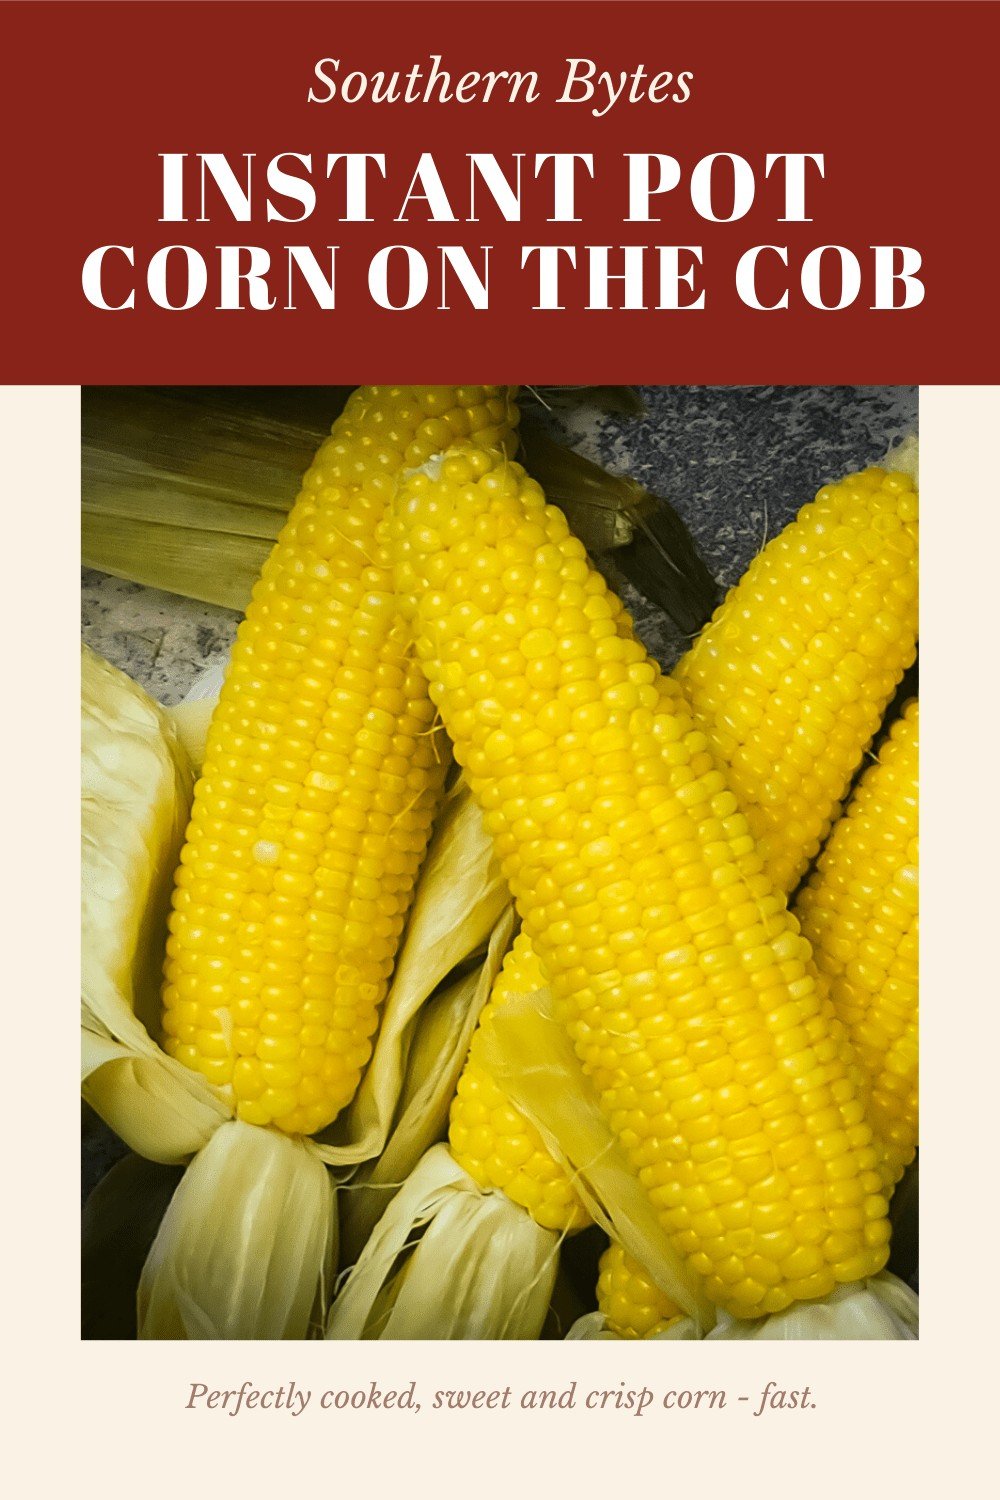

There is no easier way to make Corn on the Cob than in an Instant Pot. It is quick, easy, and so reliable – the corn always comes out so tender, juicy, and delicious.
We love it when summertime rolls around because the farmer’s market opens back up, and we have access to tons of great fresh produce. One of our favorite things to get is sweet summer corn on the cob. We love to make fried corn on the cob, homemade cornmeal, corn maque choux, and this buttery corn on the cob.
Until recently, we used to always boil corn to cook it. Cooking corn on the cob in the Instant Pot is so much easier and so much faster, and the corn is always so juicy. (I hate having to boil water in the summer!) The Instant Pot is my favorite way to cook corn because it makes perfect corn on the cob every time.

Table of Contents
- 🥘 Ingredients Needed
- How Long Does Fresh Corn on the Cob Last?
- 🍽 Equipment Needed
- How to Make Instant Pot Corn on the Cob
- 🙋♀️ Frequently Asked Questions
- Ways to Use Instant Pot Corn on the Cob
- How to Store Leftover Cooked Corn
- ✏️ Helpful Tips
- How to Pressure Cook Corn in and Instant Pot for a Crowd
- 🍲 Looking for More Instant Pot Recipes
- Easy Instant Pot Recipes
- Instant Pot Corn on the Cob Recipe
🥘 Ingredients Needed
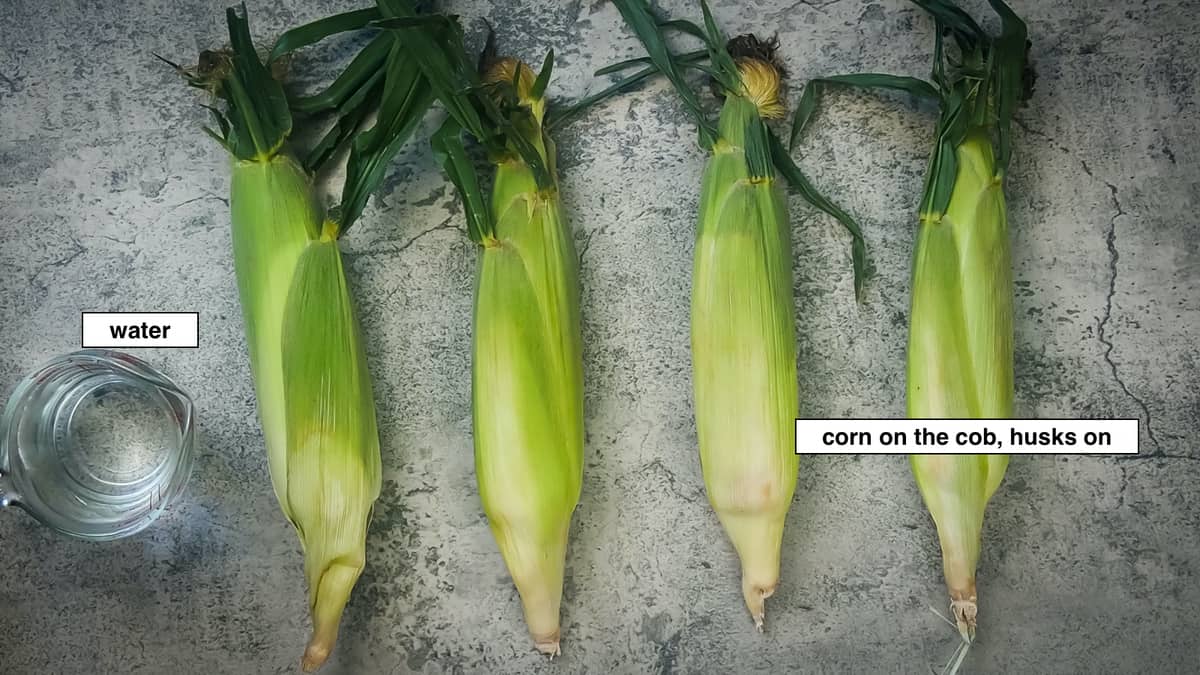
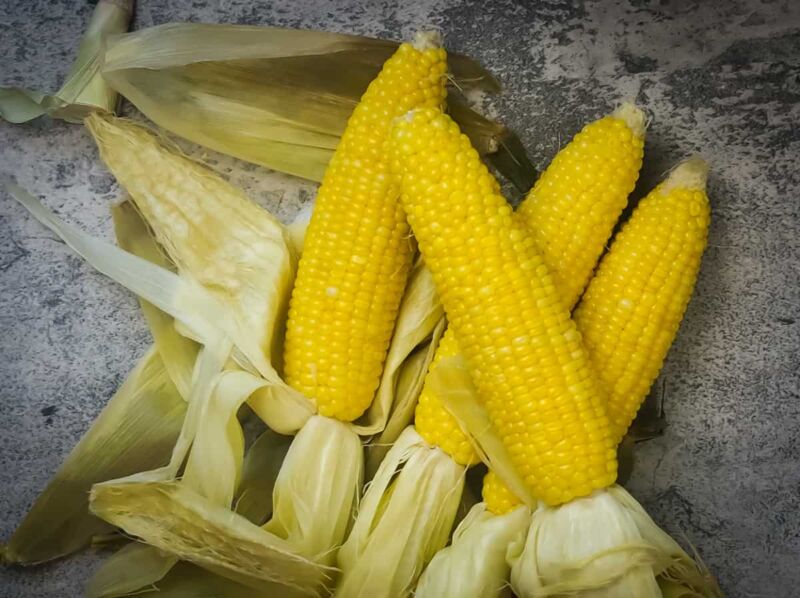
- Corn on the Cob – In the husks if available.
- Water
- Optional: Butter, Milk, & Salt.
How Long Does Fresh Corn on the Cob Last?
Fresh corn on the cob will last 3 – 5 days in the refrigerator if you keep the husks on, depending on whether it was picked locally or if it was from the store and has been in transit for a few days. If it was just picked, it can last a week. If you take the husks off, it will start to dry out within a day or two.
🍽 Equipment Needed
- An Instant Pot – I like to use my 3-quart for small, homegrown ears and my 6-quart for the larger ones from the grocery store.
- A trivet, sling, or steamer basket for the Instant Pot – If you do not have one, you can make a little raft out of aluminum foil or put down some mason jar rings. You just need something to line the inner pot of the Instant Pot with something to keep the corn off the bottom of the pot and out of the water.
- Corn Shucker – If you are just going to eat your corn right off the cob, you don’t need one of these, but if you like to take your corn off the cob to serve for kids, make salads, creamed corn, etc.
How to Make Instant Pot Corn on the Cob
Corn on the cob is one of our favorite summer side dishes, and pressure-cooking corn in Instant Pot is a great way to speed up the process of cooking sweet corn.
It is one of my favorite instant pot recipes as it is one of the most reliable ways to cook delicious corn, and you can cook as many ears of corn at a time as you can fit in your Instant Pot.
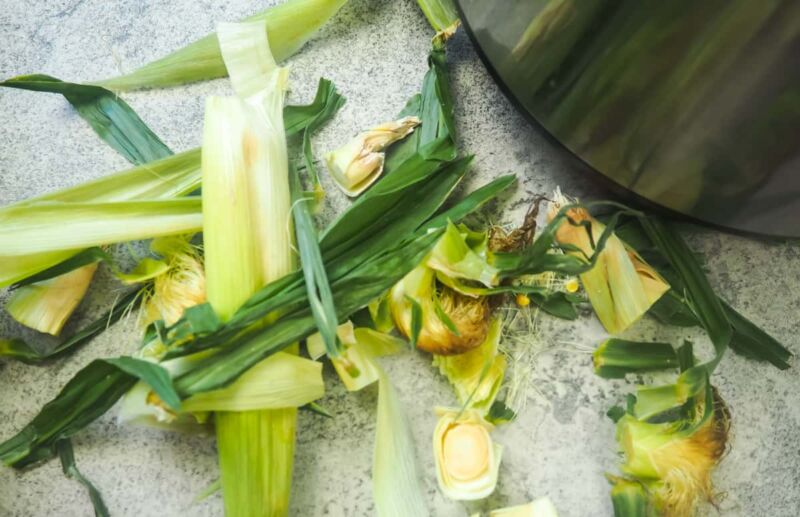
First, keep the corn in the husk and chop the end off of the corn cobs. (Picture 1) Usually, there is an inch or two that you can cut off the ear of corn, depending on the variety of the corn.
The end that you cut off is the side that grows out from the plant, and the opposite end that you peel open when you shuck it. This will make it easier to fit the corn in your Instant Pot. When we buy fresh corn, we will also peel back the “open” end, where you can see the corn, to check for bug damage and kernels that didn’t fully form. There’s no point in cooking that, so chop that off as well.
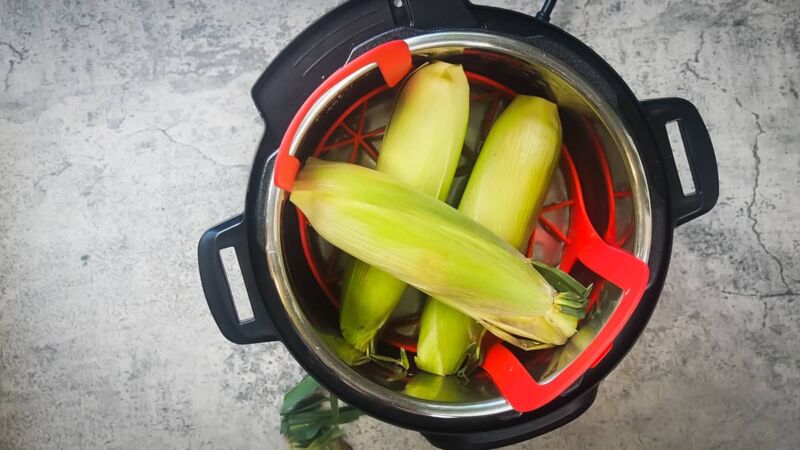
Next, pour water into the Inner Pot of the Instant Pot. I use 1 ½ cups of water per four (large) to six (smaller) ears of corn in my 6-quart Instant Pot. If you are using an 8-quart Instant Pot, you can fit more corn and should use 2 cups of water. (Picture 2)
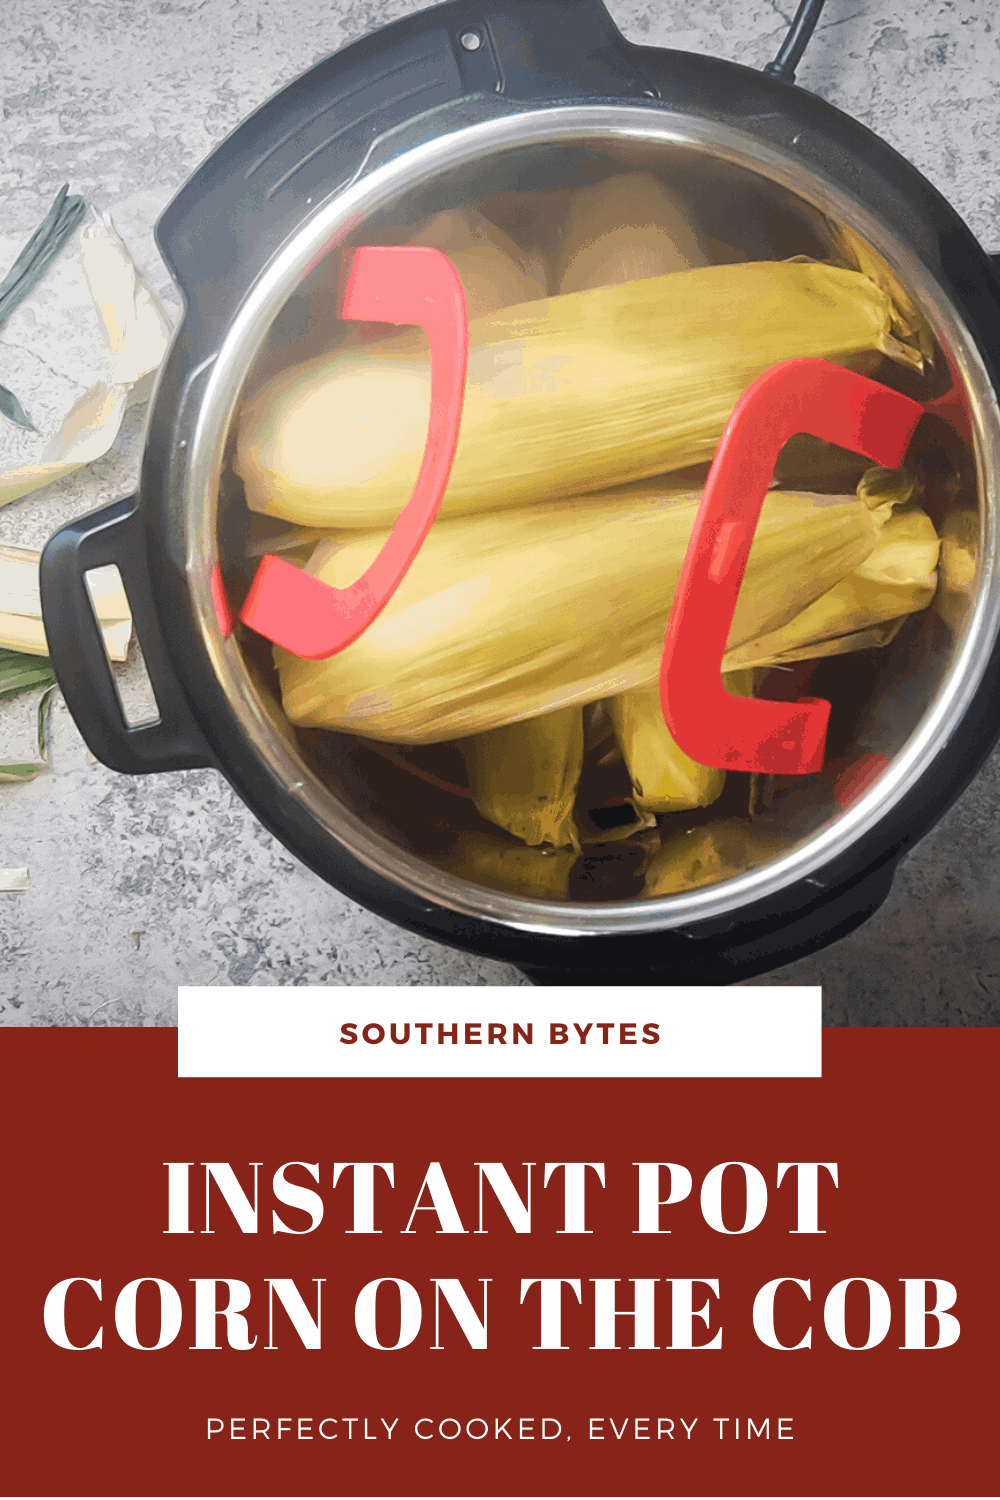
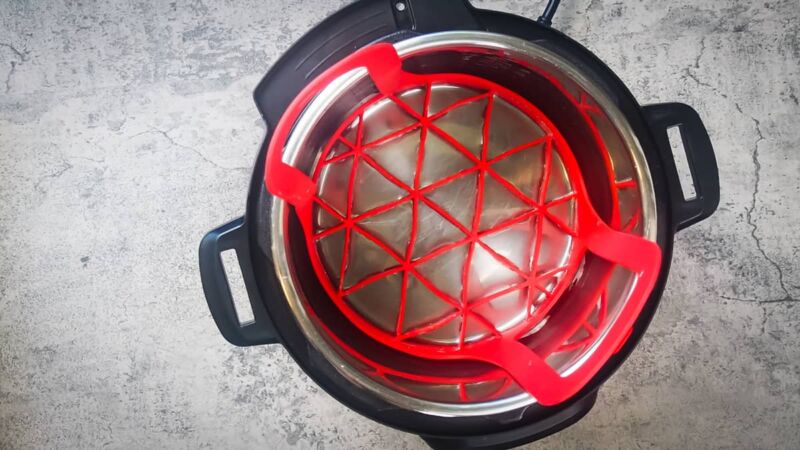
Now, place a sling or trivet into your Instant Pot. (Picture 3) This will keep the corn out of the water and will also make it easier to remove the corn when it is done cooking. (If you don’t have a trivet, you can make two cylinders of aluminum foil and lay the corn perpendicularly across them or put down some rings from mason jars – whatever you need to do just to keep the corn off the bottom and out of the water. Do not use anything that is flammable or anything that can burn, break, or melt.)
Next, stack the corn perpendicularly in layers on top of the trivet so the steam and pressure can flow freely through (and so it doesn’t collapse into a big mushy pile.) (Picture 4 – 5)

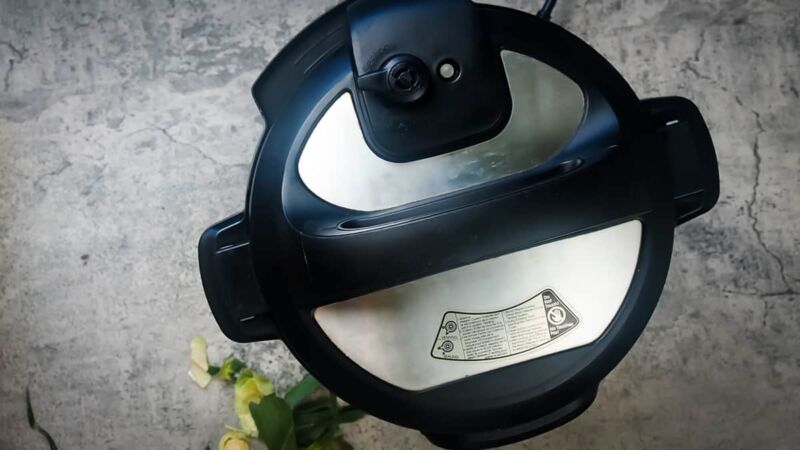
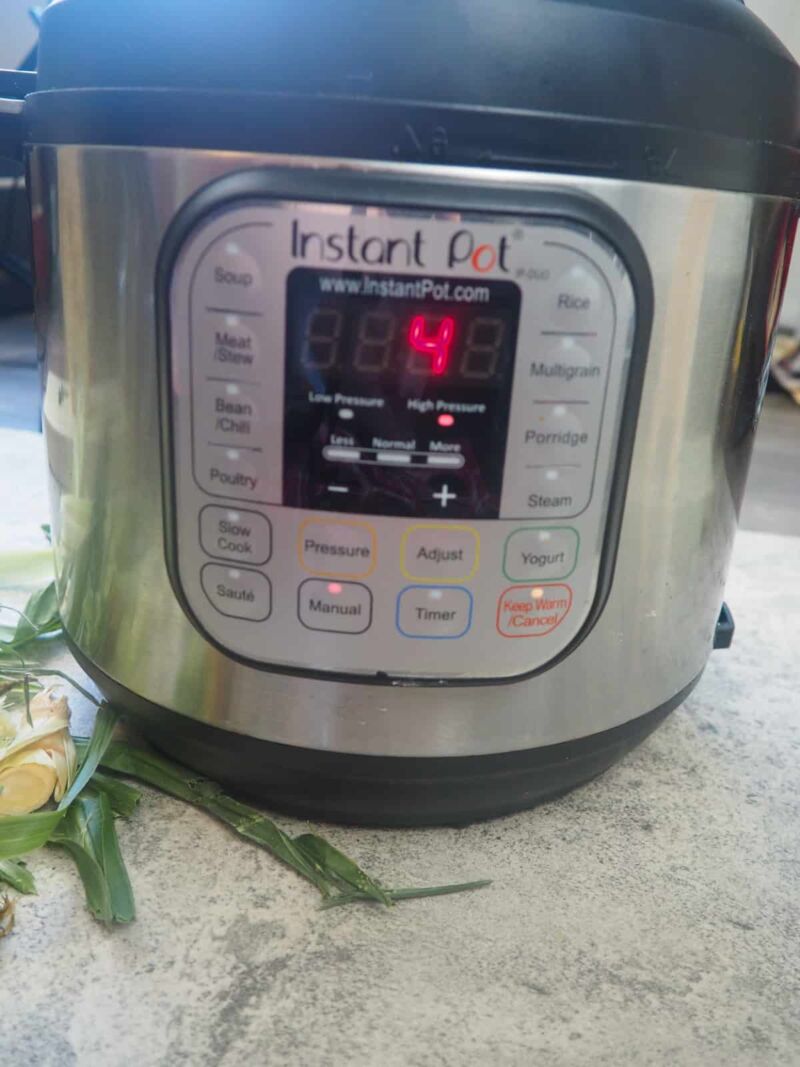
Put the lid on the Instant Pot and close the knob/vent so it points to the Sealing position. (Picture 6) Using the +/- buttons (or the dial), set it to Pressure Cook/Manual Mode at High Pressure for 3 – 4 minutes if you are cooking the corn with the husks on and 2 minutes if you removed the husks. (Picture 7)
It can take 5 to 10 minutes for the Instant Pot to come to pressure, but then it will cook quickly. When the cooking cycle is complete, press the Cancel/Off button (Picture 8) and immediately turn the knob to the venting position, and carefully do a Quick Release (QR) to release the pressure. (Picture 9)
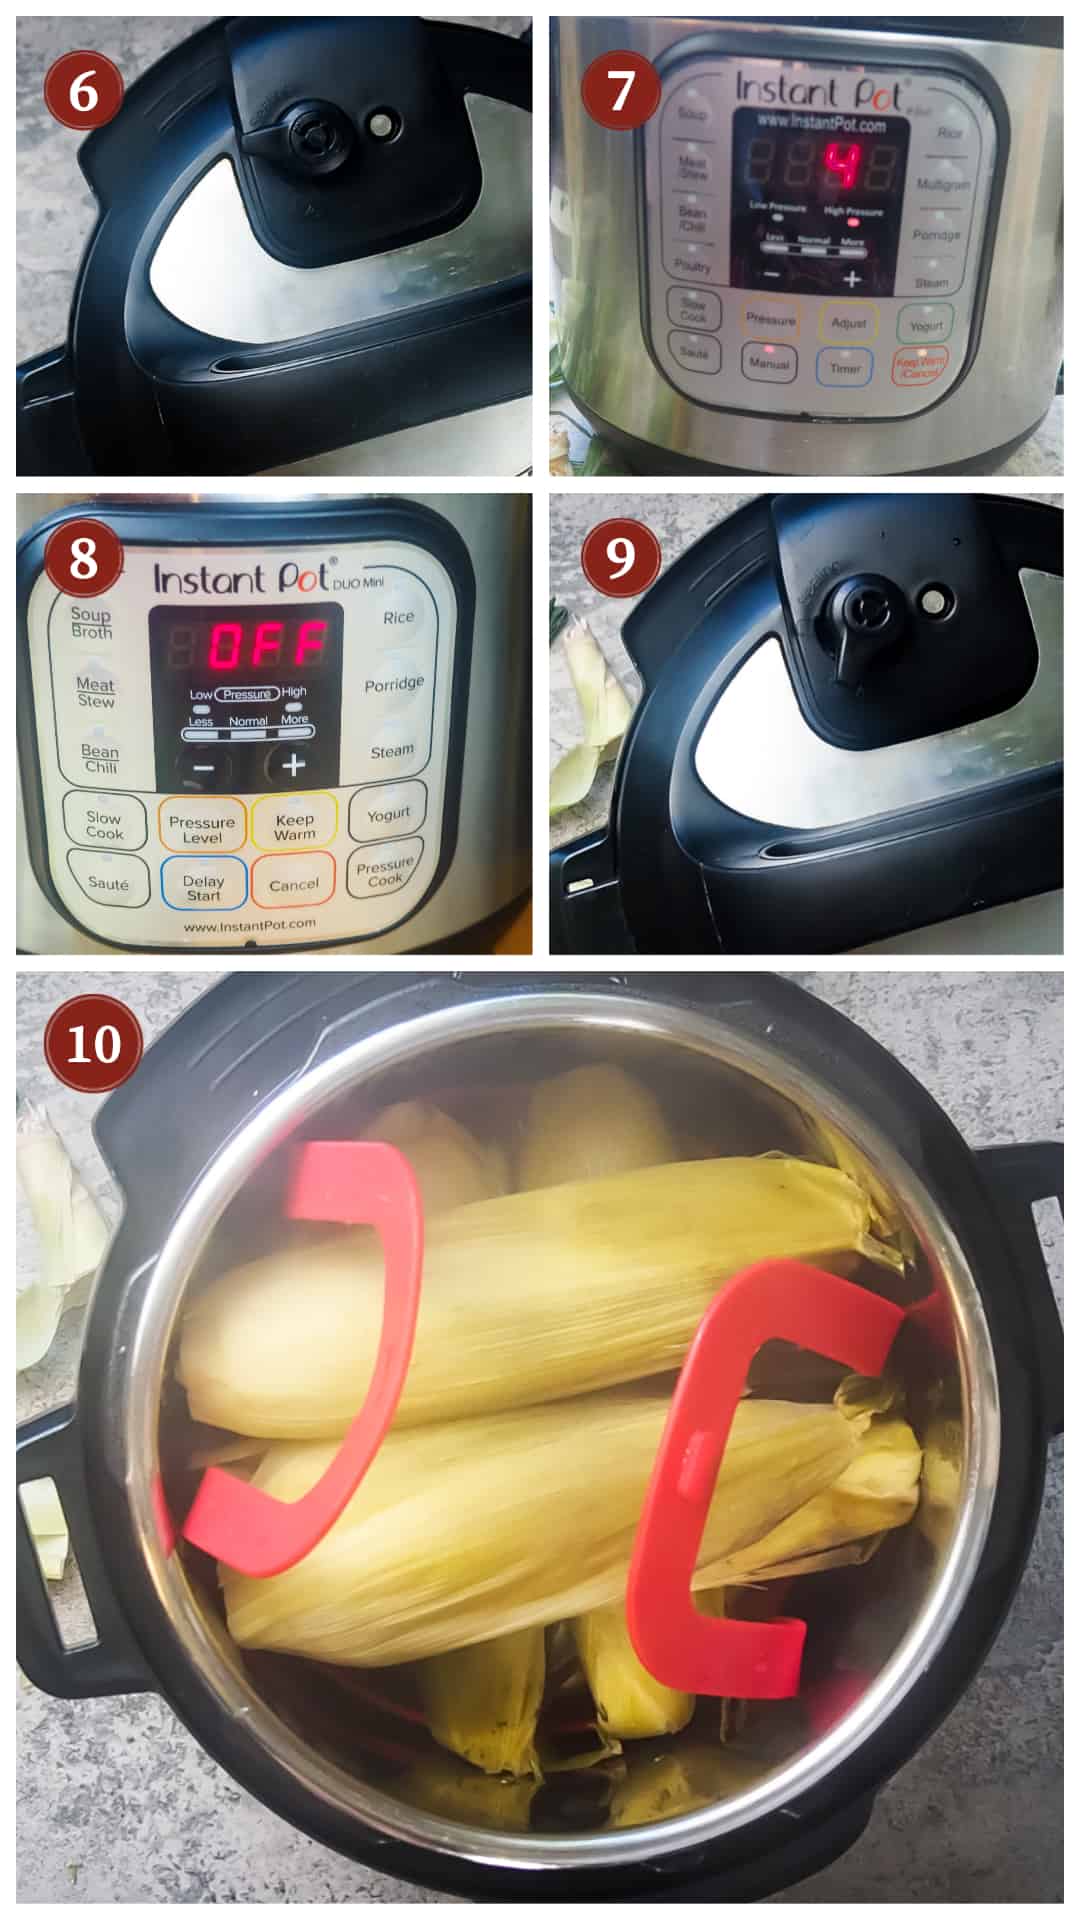
Once the pin in the lid has dropped, open the lid carefully. (Picture 10)
Remove the corn using tongs and let it cool a little before handling it.

The husks and all the stringy mess will peel away and slide right off.

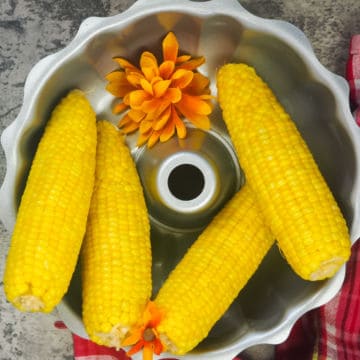
Serve corn smothered with butter and salt – enjoy!
Pressure Cooking Time Tips:
- 4 minutes with husks on will make soft and tender corn.
- 3 minutes with husks on is good if you are going to use the corn in another dish that will be cooked a little longer, grilling corn, making creamed corn, etc.
- 2 minutes WITHOUT husks will also make soft and tender corn, but the husks hold in moisture and make really juicy corn.
🙋♀️ Frequently Asked Questions
Husks help keep corn fresh, so keep them closed up as long as you can! For long-term storage, either freeze whole with husks on or cook the corn, shuck it, and freeze just the kernels. Frozen corn kernels are great to have to easily add vegetables to meals.
Cooking the corn in your Instant Pot like this is steaming it. The pressure builds up and quickly steams the corn so it is cooked perfectly.
Fresh corn on the cob will last 3 – 5 days in the refrigerator if you keep the husks on, depending on whether it was picked locally or if it was from the store and has been in transit for a few days. If it was just picked, it can last a week. If you take the husks off, cobs of corn will start to dry out within a day or two.
It can, but it will lose a lot of its sweetness and that is really the best part of corn, so I would not recommend it. I highly recommend always keeping it refrigerated.
I like to store fresh corn in a plastic bag or in an airtight container in the refrigerator.
I would recommend waiting until the last second possible to shuck your corn or it will start to dry out.
Ways to Use Instant Pot Corn on the Cob
I like to keep it simple and serve my Instant Pot Corn with just some melted butter and a little salt.
You can also serve it as a little salad with black beans, cilantro, fresh tomatoes, diced avocado, and a little bit of olive oil with a splash of red wine vinegar, or use the corn to make Cowboy Caviar, Succotash, Instant Pot Creamed Corn, or Corn Maque Choux.

How to Store Leftover Cooked Corn
Try to eat your corn right away. If you are not going to finish it or if you have leftovers, I recommend shucking the corn and storing just the kernels. It keeps better leftover off the cob once cooked. (In the refrigerator, it will be good for about a week.)
I like to cook a lot of corn on the cob in the summer, then either can it or vacuum seal and freeze just the kernels for the rest of the year. I store it in portions that are 1 – 2 cups, and we grab and use what we need throughout the year.
✏️ Helpful Tips
- If you want to make corn with the husks off, you absolutely can – just cook it for less time. Two minutes will be perfect.
- If you have an 8-quart Instant Pot, use a little extra water to fully cover the bottom and prevent any burning.
- If you are feeling really adventurous, you can make milk and butter corn by mixing a little milk with the water in your Instant Pot and topping the corn with a few pats of butter. Cook for 2 minutes on high, then quick release. The addition of milk makes does not make a huge difference, but the melted butter will make the corn extra well… buttery and delicious – just top with salt and serve! (Some even put sugar in the milk, but corn is sweet enough already for me.)
How to Pressure Cook Corn in and Instant Pot for a Crowd
To pressure cook a large amount of corn on the cob, you can pack them into your Instant Pot vertically with the top end up. The corn cobs might need a little trimming to fit, but as long as the lid closes, it will work. For best results, be sure that you don’t pack the corn too tightly to allow air and steam to flow through.
🍲 Looking for More Instant Pot Recipes
- Instant Pot Southern Style Green Beans
- Instant Pot Pasta e Fagioli
- Instant Pot Strawberry Jam
- How to Make Homemade Yogurt in an Instant Pot
- Instant Pot Ground Beef Stroganoff
Easy Instant Pot Recipes
Main Courses
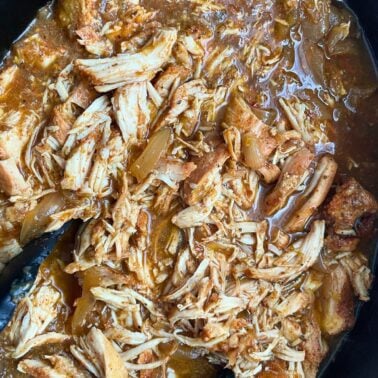
Crockpot Salsa Verde Chicken Recipe

Main Courses
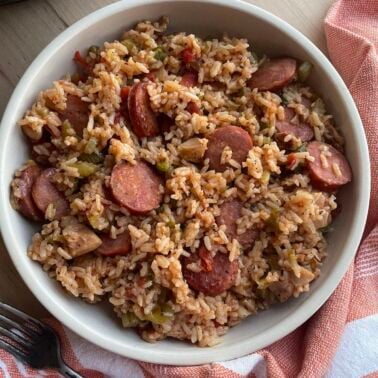
Instant Pot Jambalaya Recipe

Side Dishes
Instant Pot Sweet Potatoes

Main Courses
Instant Pot Country Style Ribs
Have You Tried This Recipe?
Please rate it and leave a comment below. I would love to hear what you think!
Instant Pot Corn on the Cob
Ingredients
- 4 ears of corn (or as many as you can fit in your Instant Pot)
- 1 ½ cups water
Instructions
- Chop the ends off of the ears of corn so you can fit them in the Instant Pot. You can shuck them if you want to, but I think leaving the husks on helps steam them.4 ears of corn

- Place a trivet or sling in the pot and pour in 1 1/2 cups of water – use 2 cups if you have an 8 quart IP.1 1/2 cups water

- Stack the ears of corn in the pot in opposing/perpendicular layers.
- Close the lid and turn the knob to the sealed position.
- Press the Pressure Cook or Manual button (at High Pressure) and using the + or – button or dial, set the time to 3 to 4 minutes for corn with the husks on or 2 minutes for corn with the husks off.

- When the cooking cycle is finished, press the Cancel/Off button and immediately turn the knob to the venting position to Quick Release the pressure. Stand back when you do this so you don't get steam in your face.

- When the pin in the lid drops and all the pressure has been released, open the lid and carefully remove the corn.

- Peel the corn, serve with your favorite toppings and enjoy!


Video
Notes
Instant Pot Corn Cook Time Tips:
4 minutes with husks on will make soft and tender corn. 3 minutes with husks on is good if you are going to use the corn in another dish that will be cooked a little longer, such as throwing it on the grill, making creamed corn, etc. 2 minutes WITHOUT husks will also make soft and tender corn, but I like the flavor it gets from the corn being steamed in the husks – the husks seem to trap the moisture nicely.Special Equipment Needeed
- a pair of tongs
Nutrition
Nutrition information is approximate and is automatically calculated, so should only be used as a guide.