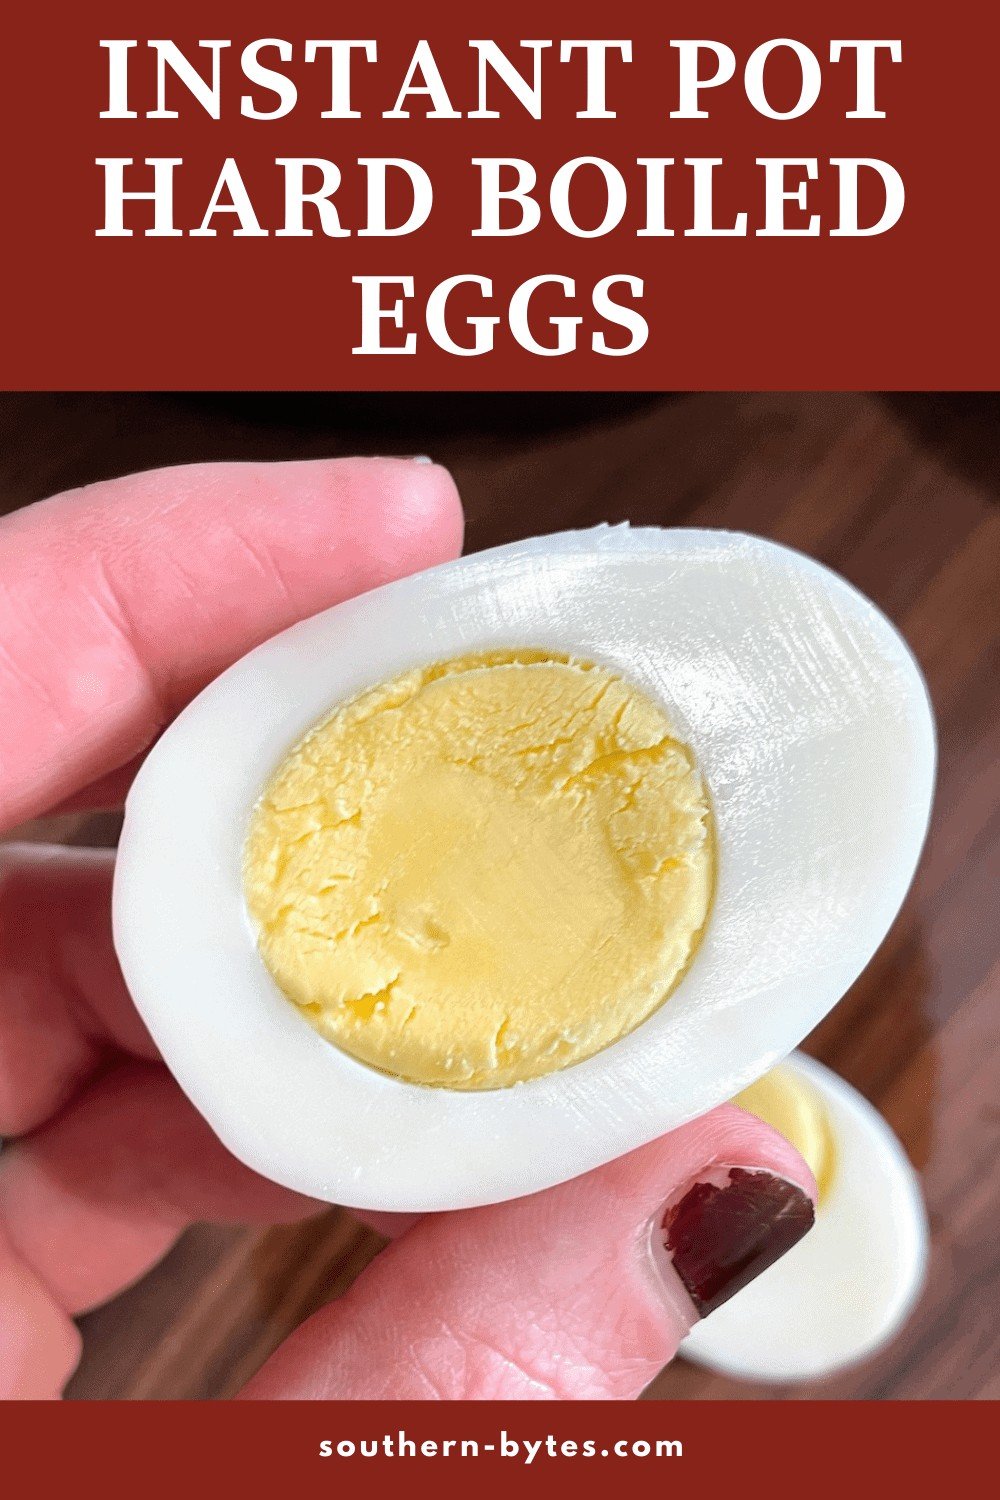
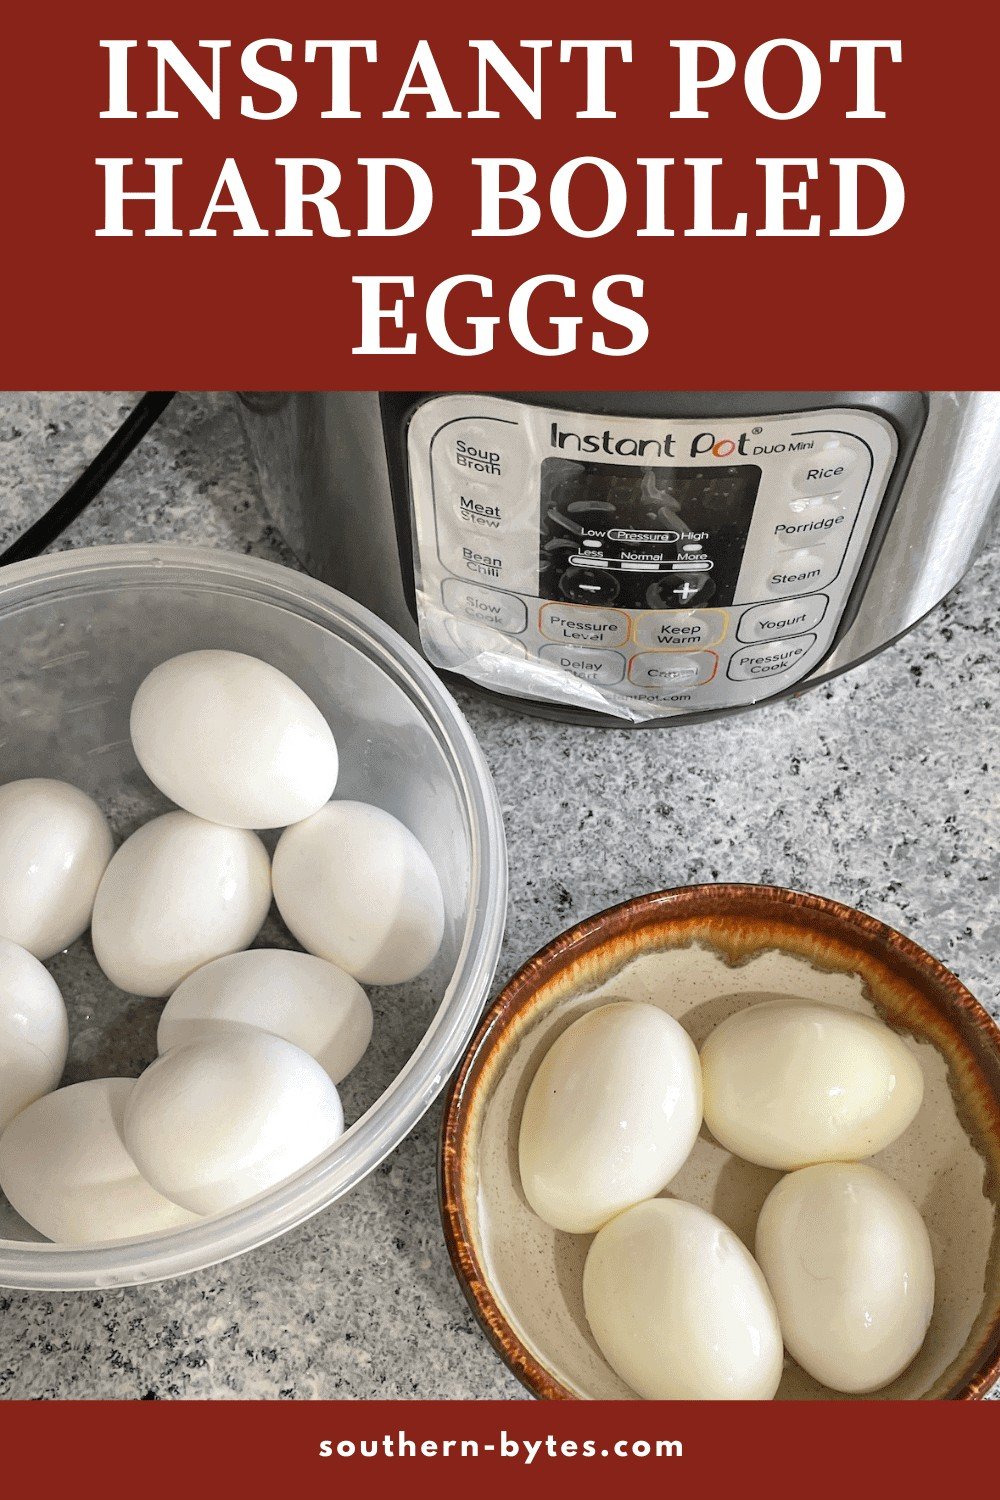
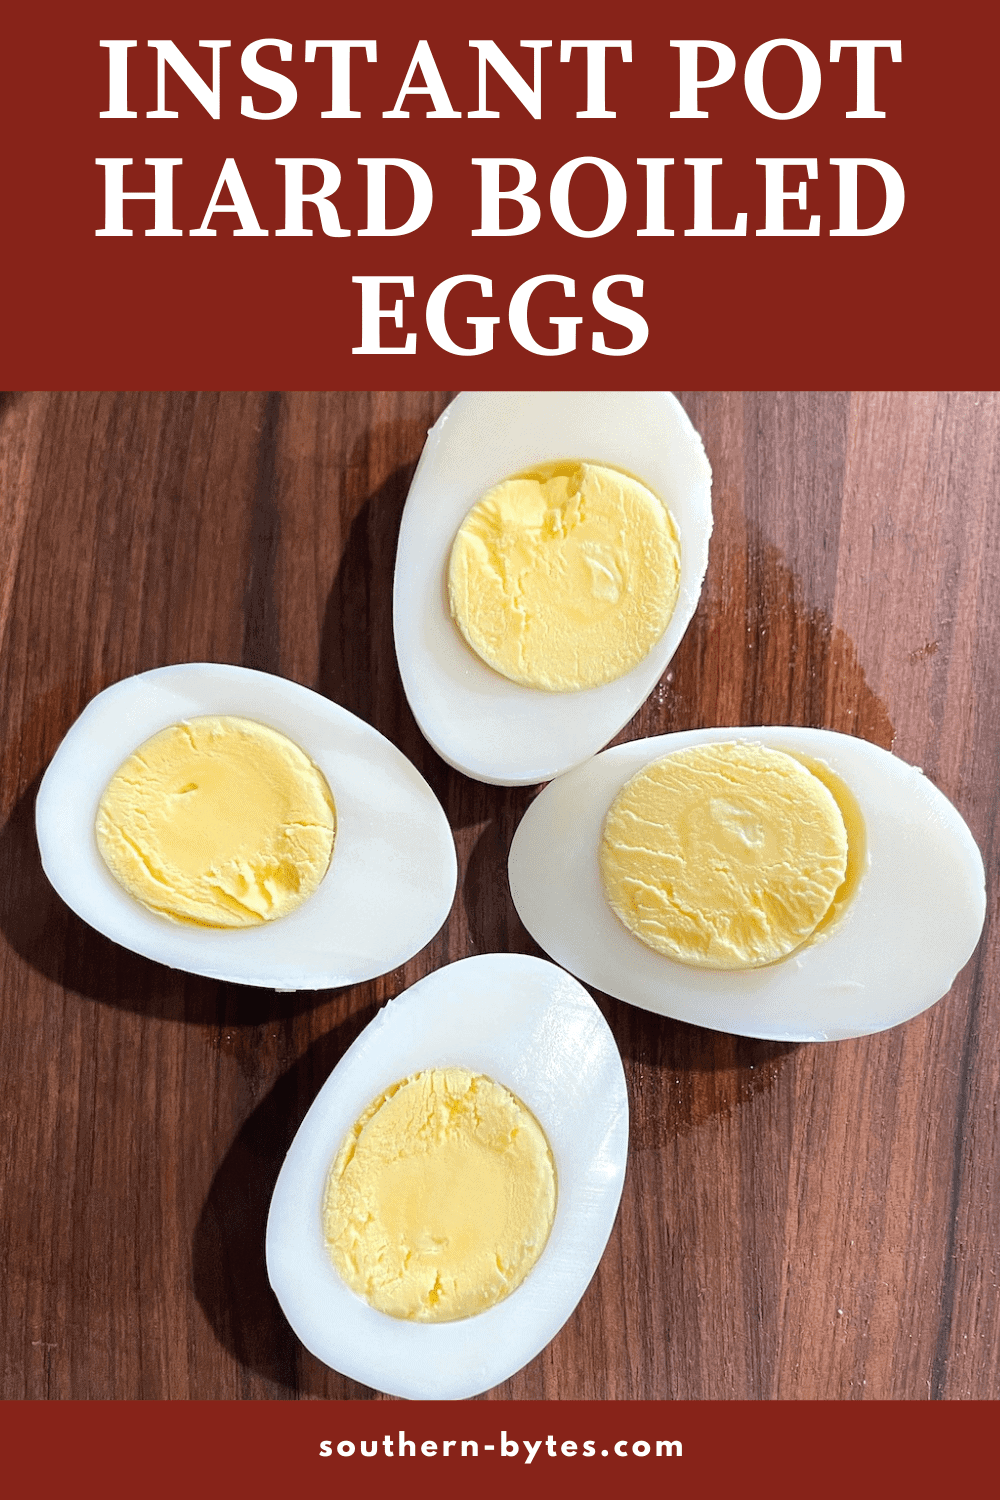
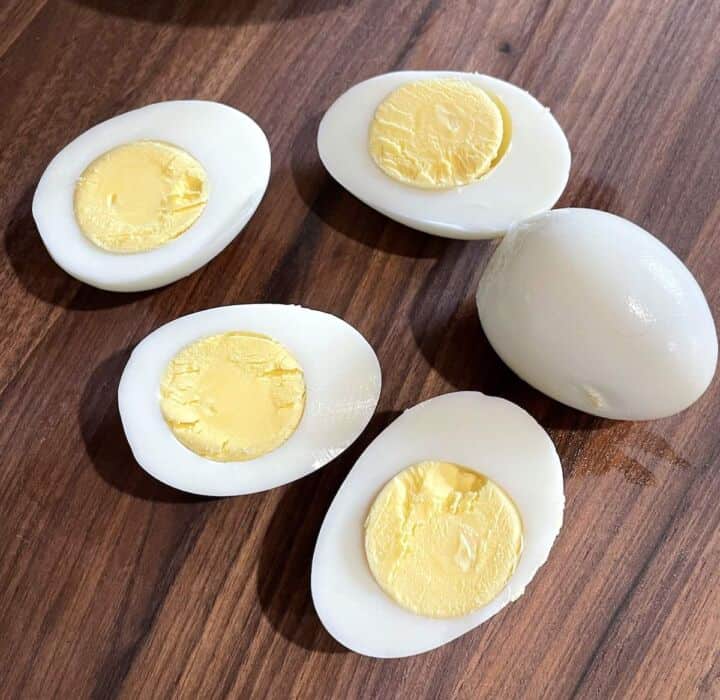
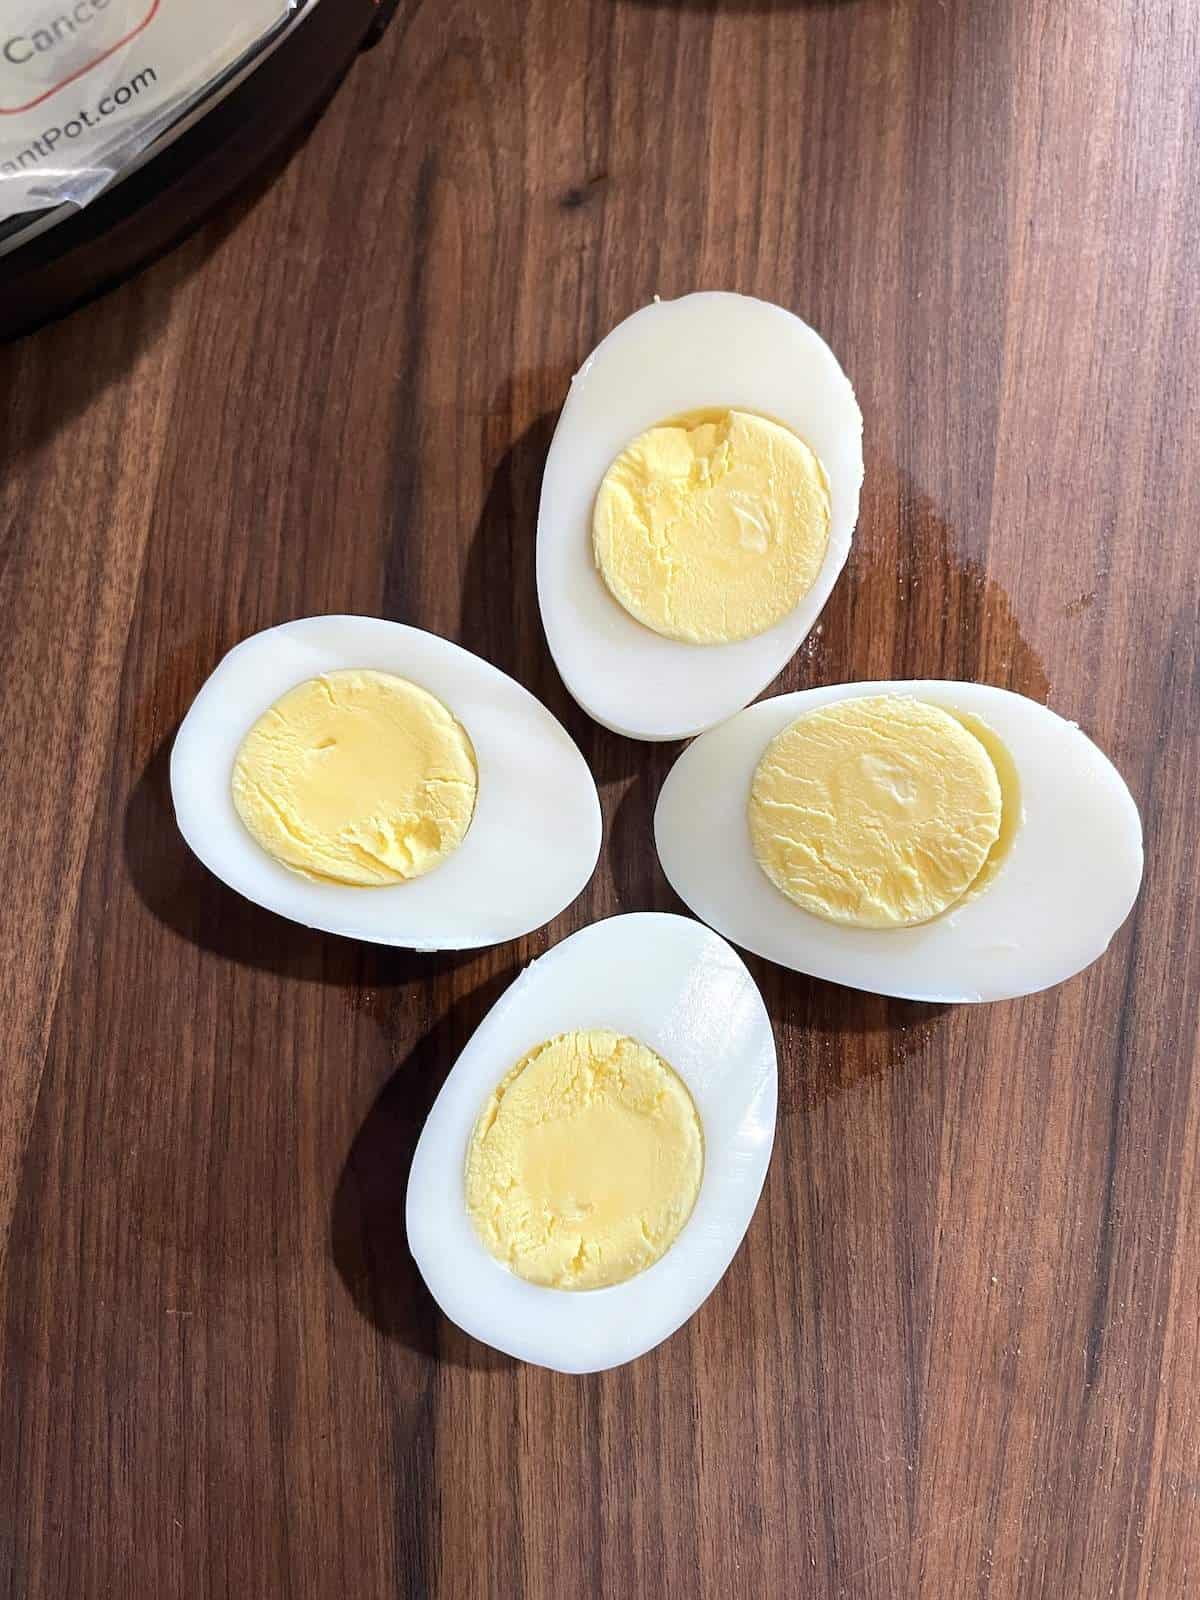
These Instant Pot Hard Boiled Eggs come out perfectly cooked in the center and after a cold water bath, peel easier than any hard-boiled eggs you’ve ever made!
If you haven’t ever tried hard-boiled eggs in your Instant Pot, you’re missing out! This is quite literally the only way I will make them from now on, and they are the best way to cook eggs for deviled eggs. Not only does this 5-5-5 method make deliciously perfectly cooked eggs, but I think the eggs peel so much easier than when I cook them on the stovetop.
These eggs are great as a quick and easy breakfast option, a great way to cook eggs to dye for Easter, to use in Southern Potato Salad, and to whip into deviled eggs. I like to bring them as a quick protein to add to lunches and salads, or we just enjoy them at home.
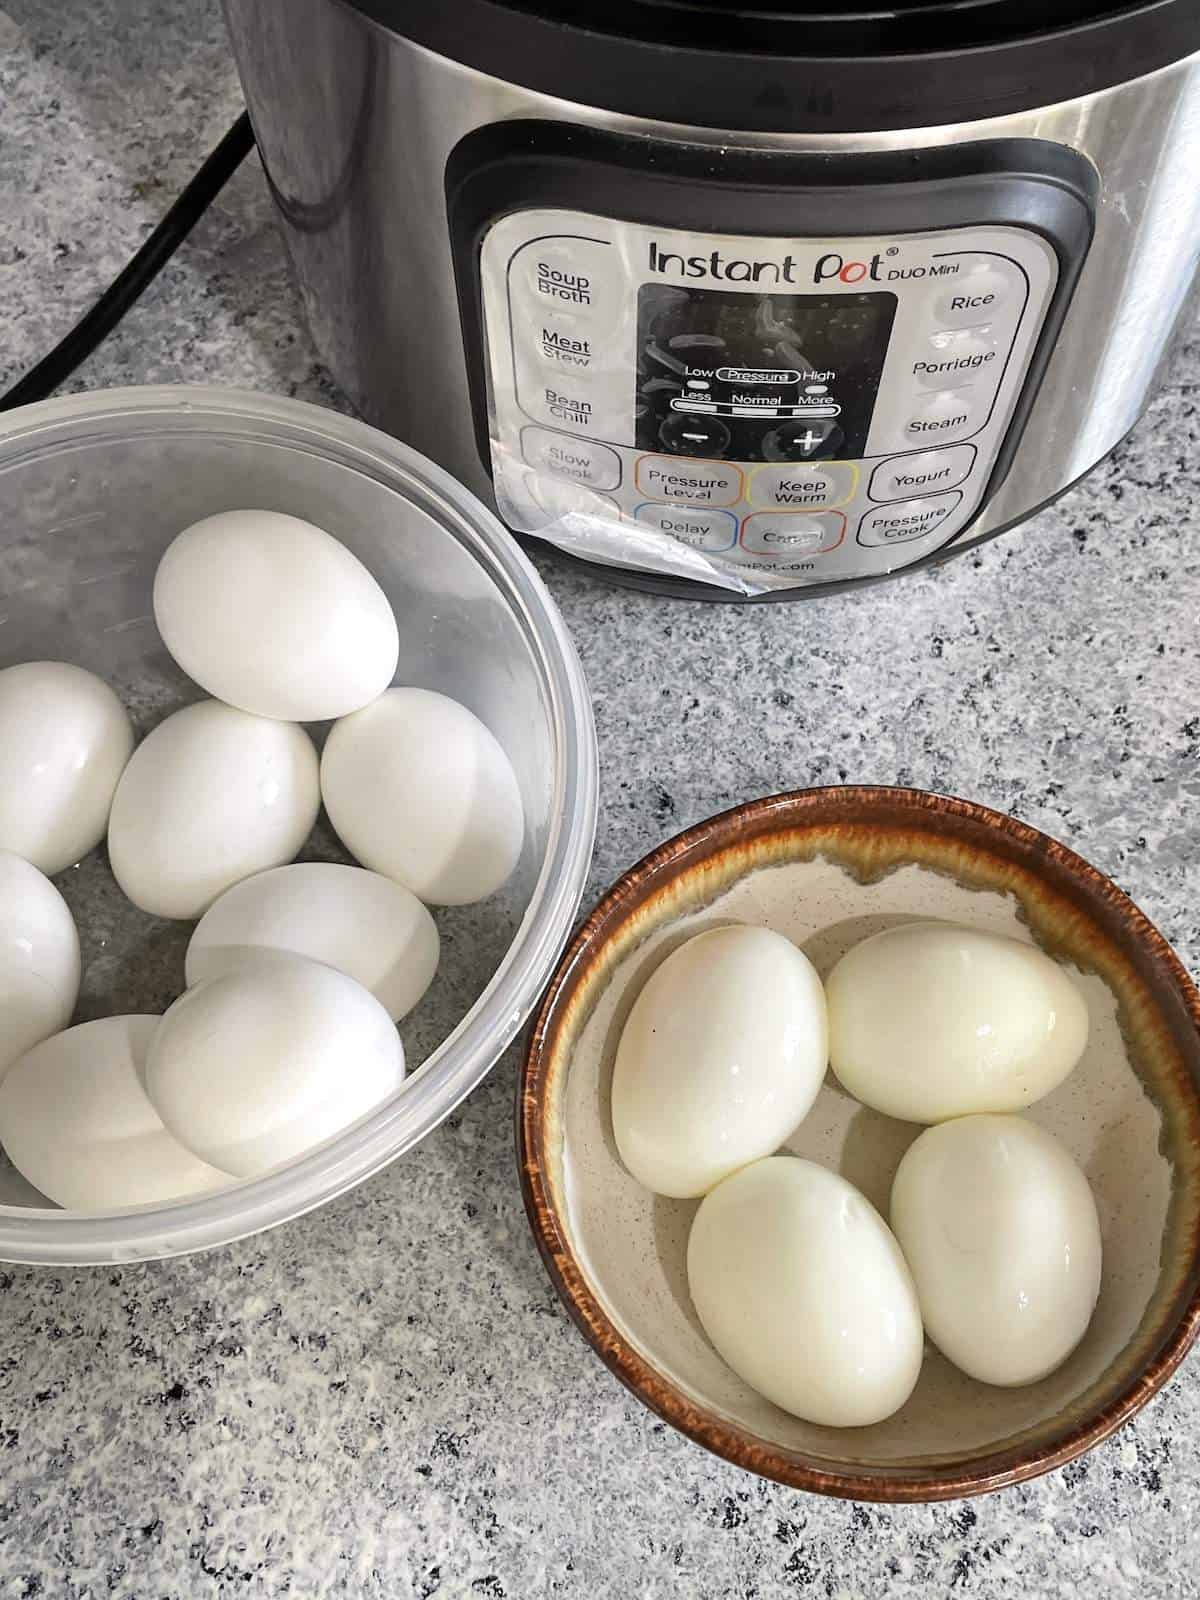
Table of Contents
🥘 Ingredients Needed
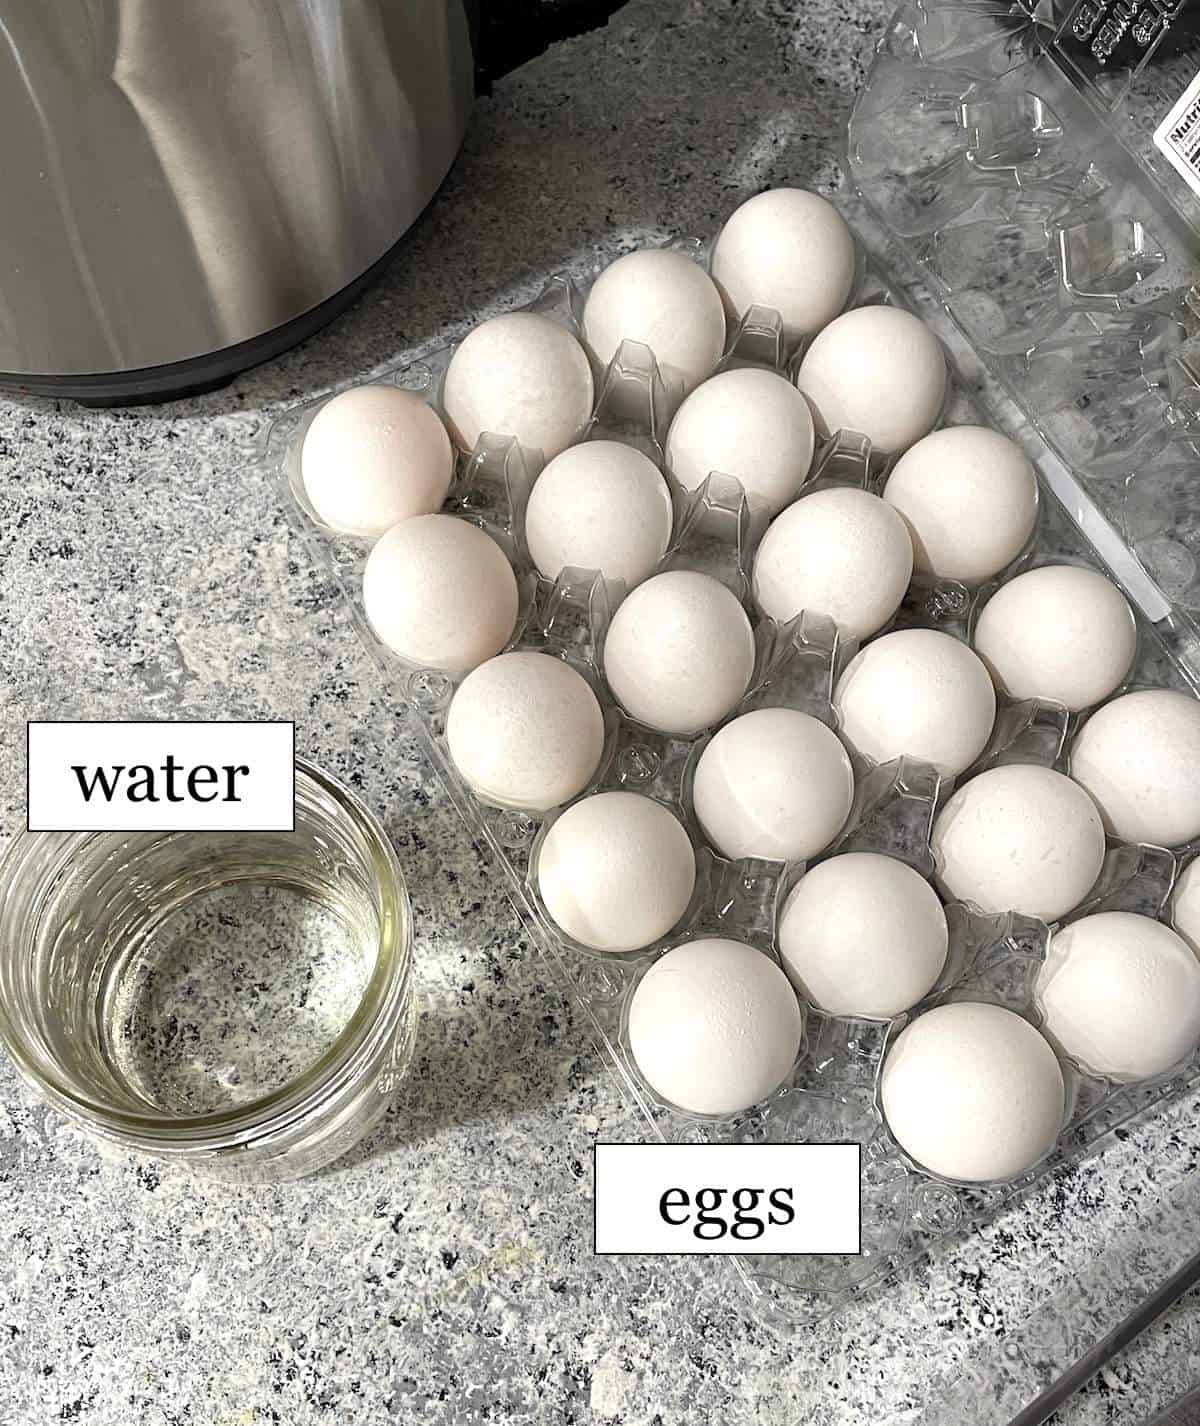
- Eggs – Test your eggs to see if they are good by placing them in a bowl of water. If they float, throw them out. If they sink, they are good to go.
- Water – You will need 1 cup of water to bring your Instant Pot to pressure. (Use 1.5 – 2 cups if using an 8 quart Instant Pot)
🍽 Equipment Needed
🥣 How to Make Instant Pot Hard Boiled Eggs
This recipe is so easy and requires no watching boiling water. All you need is some eggs, water, and your Instant Pot. The best part, you can make these eggs days before you want to eat them!
Making perfect hard-boiled eggs in the Instant Pot takes three steps:
- Cooking the eggs at High Pressure – at my altitude, < 1000 feet, I use 5 minutes
- A 5 minute hands off Natural Release, followed by a Quick Release
- A 5 minute ice water bath
Note: If you are at a High Altitude, you will need to increase the initial cooking time. Best results have been found using these times:
- 0 – 1,000 feet: 5 minutes (This is how I have successfully made eggs in Tennessee, North Carolina, South Carolina, and in Louisiana)
- 1,000 – 3,000 feet: 8 minutes
- 3,000 – 5,000 feet: 9 minutes
- 5,000 – 7,000 feet: 10 minutes
(If you are using an 8 quart Instant Pot, it will take longer to come to pressure, so the eggs might potentially overcook if cooking for a longer time at altitude – I would decrease the cooking time slightly.)
Ok, let’s make the eggs.
- First, pour your water into the inner pot of the Instant Pot. (Picture 1)
- For a 3 or 6 quart Instant Pot, use 1 cup. For an 8 quart Instant Pot, use 1.5 – 2 cups.
- Put the trivet, egg rack, or steamer basket into your Instant Pot on top of the water. Then, carefully set as many eggs as desired on the rack. (Picture 2)
- Close the lid on your Instant Pot, put the pressure valve into the sealing position, hit your manual or pressure cook button and set the time for 5 minutes at high pressure.
- While the eggs are pressure cooking, prepare the ice bath. Fill a bowl with cool water and ice.
- Once the Instant Pot beeps, allow the pressure to release naturally for 5 minutes. Then, flip the pressure valve to the venting position.
- After the pressure has released, the pin drops, and the lid unlocks, remove the eggs from the Instant Pot and put them into the ice water bath for 5 minutes. (Picture 5)
- Remove the eggs and refrigerate or peel and enjoy!
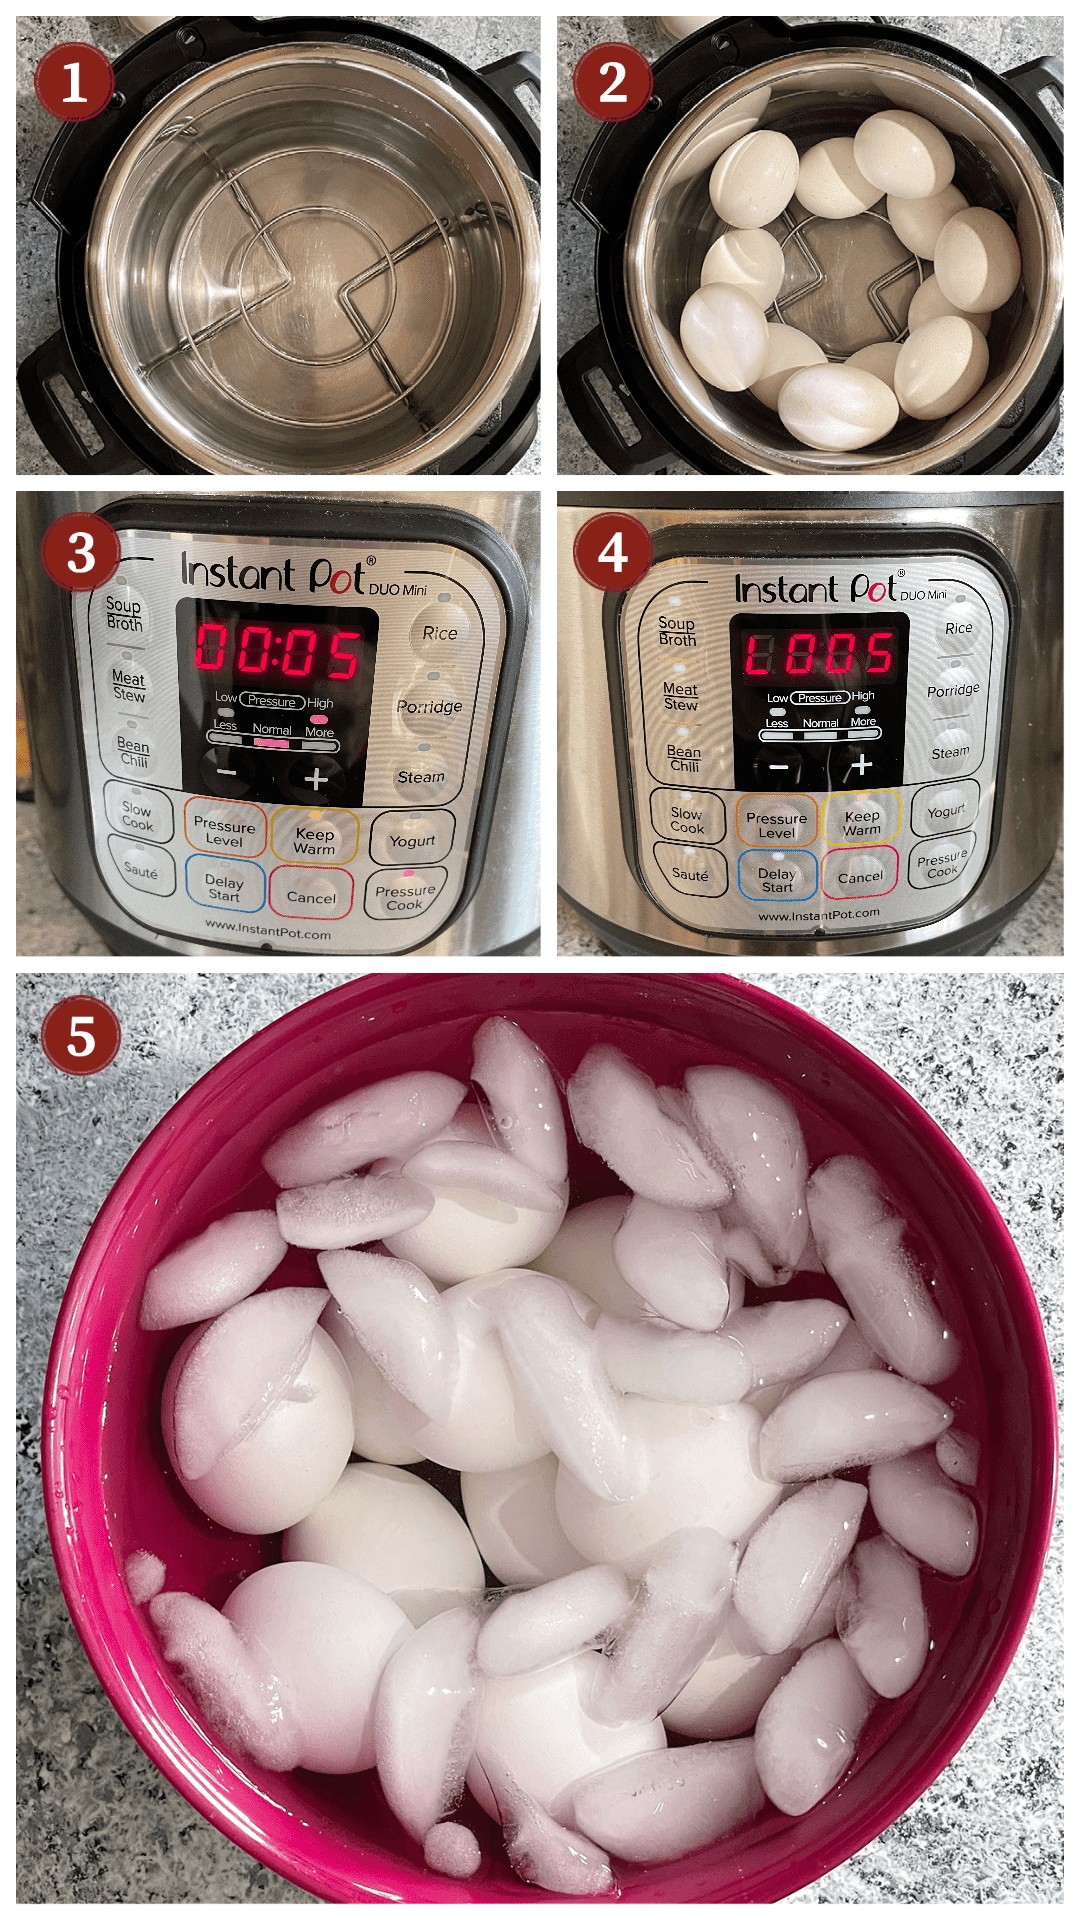
(Yes, I still have the protective sticker on the screen of my Instant Pot. I was trying to see how long it would stay on – after 3 years, my husband finally peeled it off.)
🍱 Recipe Yield
This recipe will make as many eggs as you can safely fit in an Instant Pot! The cook time does not change based on the number of eggs in the Instant Pot, which is so handy!
🙋♀️ Frequently Asked Questions
The green or gray ring around the yolk of a hard-boiled egg happens when the hydrogen in the egg white combines with sulfur in the yolk. This happens most often when the eggs are boiled too hard for too long. The green ring can also be caused by a high amount of iron in the cooking water.
The 5-5-5 method is exactly what we used in this recipe to make hard-boiled eggs. It simply means 5 minutes of cook time, a 5 minute natural release, and a 5 minute ice bath. It’s a quicker way of remembering how to cook hard-boiled eggs in your Instant Pot.
Yes, you can! Even an extra minute can overcook the eggs. This is because once the pressure is built, it only takes a fraction of the time for the eggs to cook as opposed to on the stovetop.
If you see brown on your eggs, that means there wasn’t enough water in your Instant Pot while it was pressure cooking and the shells burned. Keep in mind that this recipe is using a 3-quart or 6-quart Instant Pot. For bigger pots, you will need more water.
Roll the eggs on the counter to crack them. Then, peel the shell off. The peel should slide right off without taking any of the white with it – this is one of the perks of cooking eggs in an Instant Pot.
Share on Facebook
Share with friends🍳 Serving Suggestions & Uses
I like to make hard-boiled eggs to turn into deviled eggs, but you can serve these eggs for breakfast, as a snack, as a side dish, in a salad, or use them to make eggs to dye for Easter. When it comes to Instant Pot hard-boiled eggs, the sky’s the limit.
🍲 Serving Size
This recipe can make anywhere from 1 – probably 36 eggs ( the most I can fit in my 3 quart Instant Pot is 12, and my 6 quart Instant Pot can fit 24 – you just have to be careful how you stack them. I would imagine an 8 quart Instant Pot could easily fit 3 dozen.) If you make 12 hard-boiled eggs and 2 – 4 eggs are about one serving – this recipe should yield about 4 – 6 servings.
How to Store Hardboiled Eggs
Hard-boiled eggs can be stored peeled or unpeeled. To store them peeled, place them in a container with a lid or a ziplock bag with a paper towel in it, then put them in the refrigerator. They need to be used within 3 – 5 days. To store unpeeled eggs, you can put them back in the egg carton and store them in the fridge for up to 7 days. (I like to mark unpeeled eggs with a permanent marker so that I know which eggs are hard-boiled.)
✏️ Helpful Tips
- Use the right amount of water. 1 cup of water works for a 3 or 6 quart Instant Pot. However, if you are using an 8 quart, you will need 1.5 – 2 cups of water.
- Try not to stack too many eggs. It doesn’t matter how many eggs you use at one time – the eggs will still cook in the same amount of time. But, you want to be careful not to stack too many eggs on top of each other because this can cause cracking. (I have not yet had any issues with stacking one layer on top of another on a trivet or using a steamer basket to space out the eggs.) You can also use an egg specific rack to ensure there is no cracking.
- Check your altitude. There are various places in the U.S. with high altitudes, so if you live at a higher altitude, your eggs may not cook properly with the 5-5-5 method. From my research, I have found that increasing the initial cooking time but keeping the 5 minutes of Natural Release and 5 minute ice bath works really well:
- 0 – 1,000 feet: 5 minutes (This is how I have successfully made eggs in Tennessee, North Carolina, South Carolina, and in Louisiana)
- 1,000 – 3,000 feet: 8 minutes
- 3,000 – 5,000 feet: 9 minutes
- 5,000 – 7,000 feet: 10 minutes
Other Easy Instant Pot Recipes
- Instant Pot Corn on the Cob
- Instant Pot Glazed Carrots
- Garlic Mashed Potatoes
- Southern Style Instant Pot Green Beans
Main Courses
Crockpot Salsa Verde Chicken Recipe
Main Courses
Instant Pot Jambalaya Recipe
Side Dishes
Instant Pot Sweet Potatoes
Main Courses
Instant Pot Country Style Ribs
Have You Tried This Recipe?
Please rate it and leave a comment below. I would love to hear what you think!
Instant Pot Hard Boiled Eggs
Ingredients
- 12 eggs
- 1 cup cold water
Instructions
- Pour 1 cup of cool water in the inner pot of Instant Pot for a 3 or 6 quart instant pot (or 1.5 cups cool water for an 8-quart Instant pot.)
- Place an egg rack, steamer basket, or even the trivet that came with the Instant Pot into the water and carefully set as many eggs as desired on the rack.
- Close the lid on the Instant Pot and set the vent to sealing then set it to Pressure Cook on High Pressure for 5 minutes.
- While the eggs are cooking, prepare an ice bath by filling an appropriately sized bowl with cool water and ice. (Big bowl if you have a lot of eggs, smaller if you do just a few.)
- When the cooking time has elapsed, let the pressure naturally release for 5 minutes. (That means just leave it alone for 5 minutes – the timer should count up to L 0:05.)
- Then do a quick release by flipping the vent open and let the rest of the pressure release.
- When pressure has been released and the pin drops, carefully remove eggs from the Instant Pot and place them in the ice water bath.
- Let the eggs sit in the water bath for 5 minutes.
- Remove the eggs from the water bath and pat dry, then use immediately or refridgerate them.
- They can be stored in the fridge for up to 7 days unpeeled or peel and use within 3 or 4 days.
Notes
- Use the right amount of water. 1 cup of water works for a 3 or 6 quart Instant Pot. However, if you are using an 8 quart, you will need 1.5 – 2 cups of water.
- Try not to stack too many eggs. It doesn’t matter how many eggs you use at one time – the eggs will still cook in the same amount of time. But, you want to be careful not to stack too many eggs on top of each other because this can cause cracking. (I have not yet had any issues with stacking one layer on top of another on a trivet or using a steamer basket to space out the eggs.) You can also use an egg specific rack to ensure there is no cracking.
- Check your altitude. There are various places in the U.S. with high altitudes, so if you live at a higher altitude, your eggs may not cook properly with the 5-5-5 method. From my research, I have found that increasing the initial cooking time but keeping the 5 minutes of Natural Release and 5 minute ice bath works really well:
- 0 – 1,000 feet: 5 minutes (This is how I have successfully made eggs in Tennessee, North Carolina, South Carolina, and in Louisiana)
- 1,000 – 3,000 feet: 8 minutes
- 3,000 – 5,000 feet: 9 minutes
- 5,000 – 7,000 feet: 10 minutes
Special Equipment Needeed
Nutrition
Nutrition information is approximate and is automatically calculated, so should only be used as a guide.
