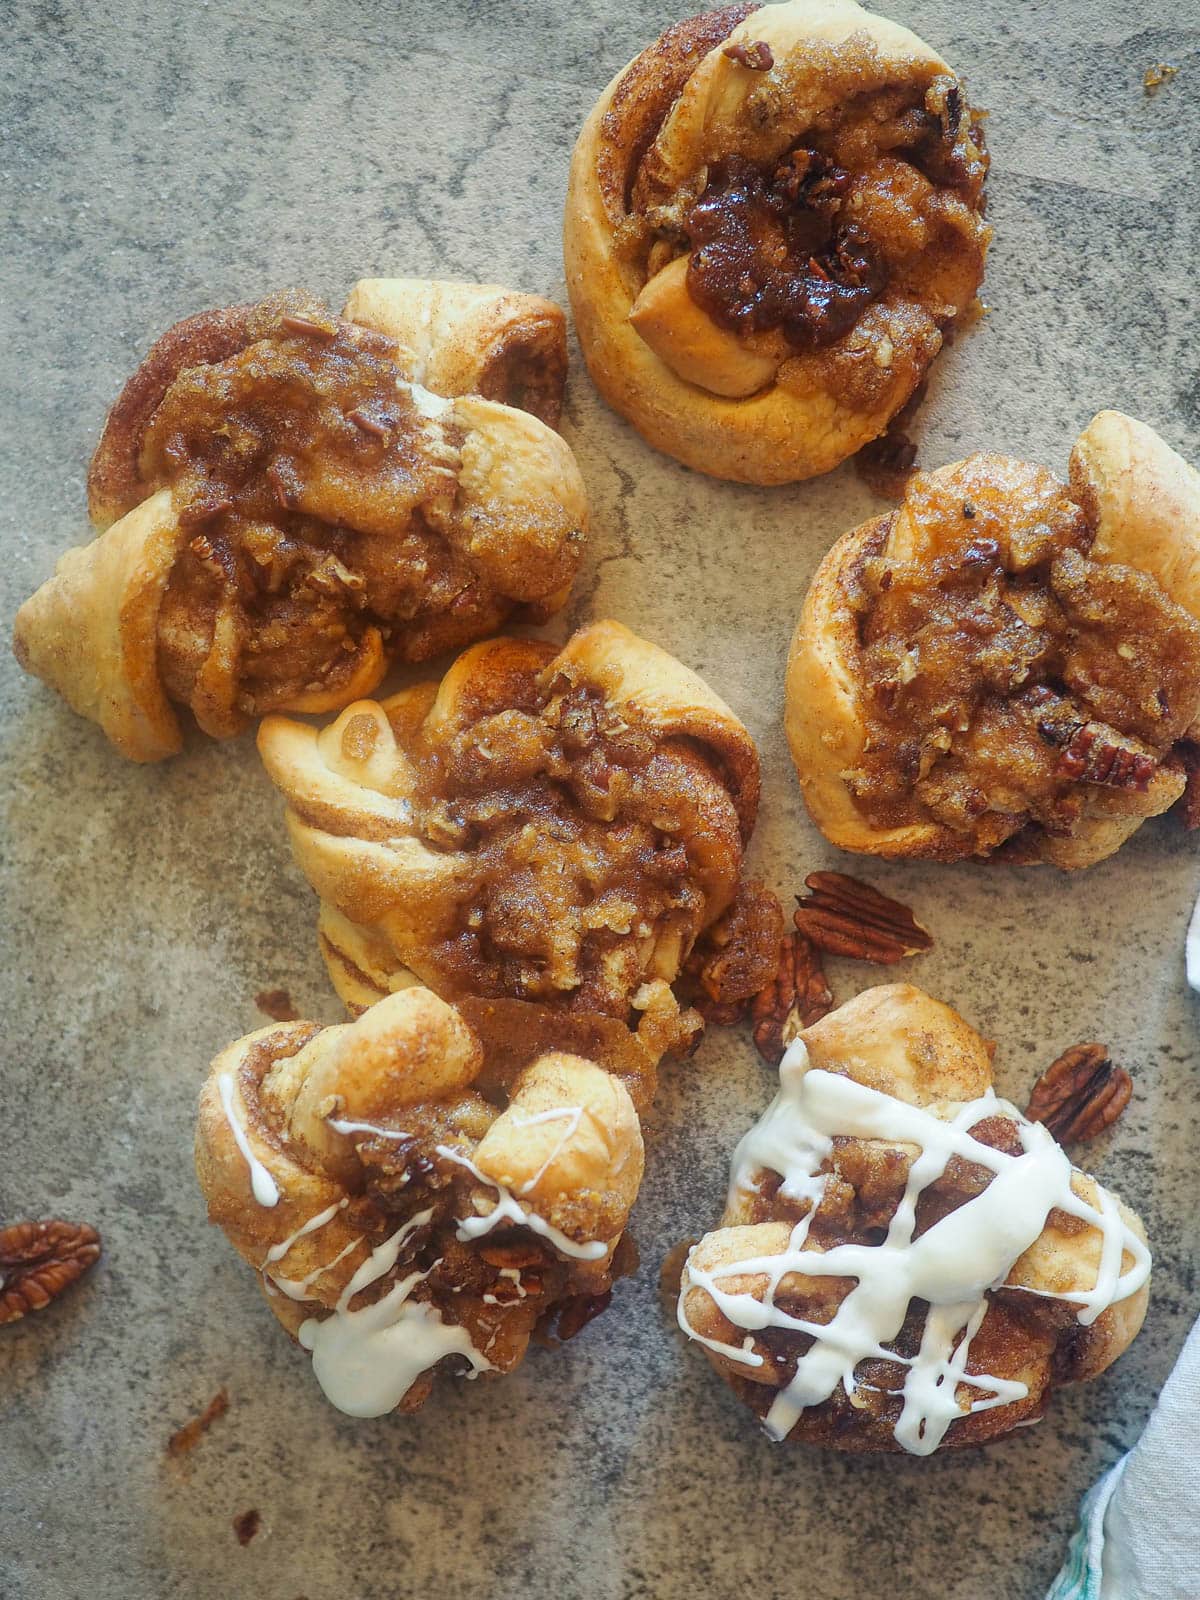
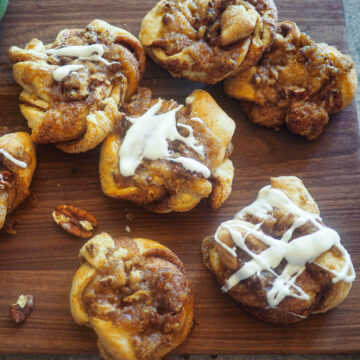
Cinnamon Knots are a showstopping, unique twist on a cinnamon roll – topped with a crunchy pecan praline brown-sugar crumble and a light cream cheese glaze. They taste as impressive as they look.
So, the long name for these perfect breakfast treats would be “Cream Cheese Glazed Cinnamon Roll Knots with a Pecan Praline Crunch Topping, ” but that is just too many words. These cinnamon knots are basically a cinnamon roll that isn’t rolled. They are made from strips of twisted dough that is tied into a knot, then they are topped with a crunchy pecan praline butter and sugar mixture. (If you don’t like pecans, you can leave those out!)
The crunch topping is like the topping on a Panera cinnamon crunch bagel, only it is so much better. The pecans add a softer crunch and a little extra flavor.
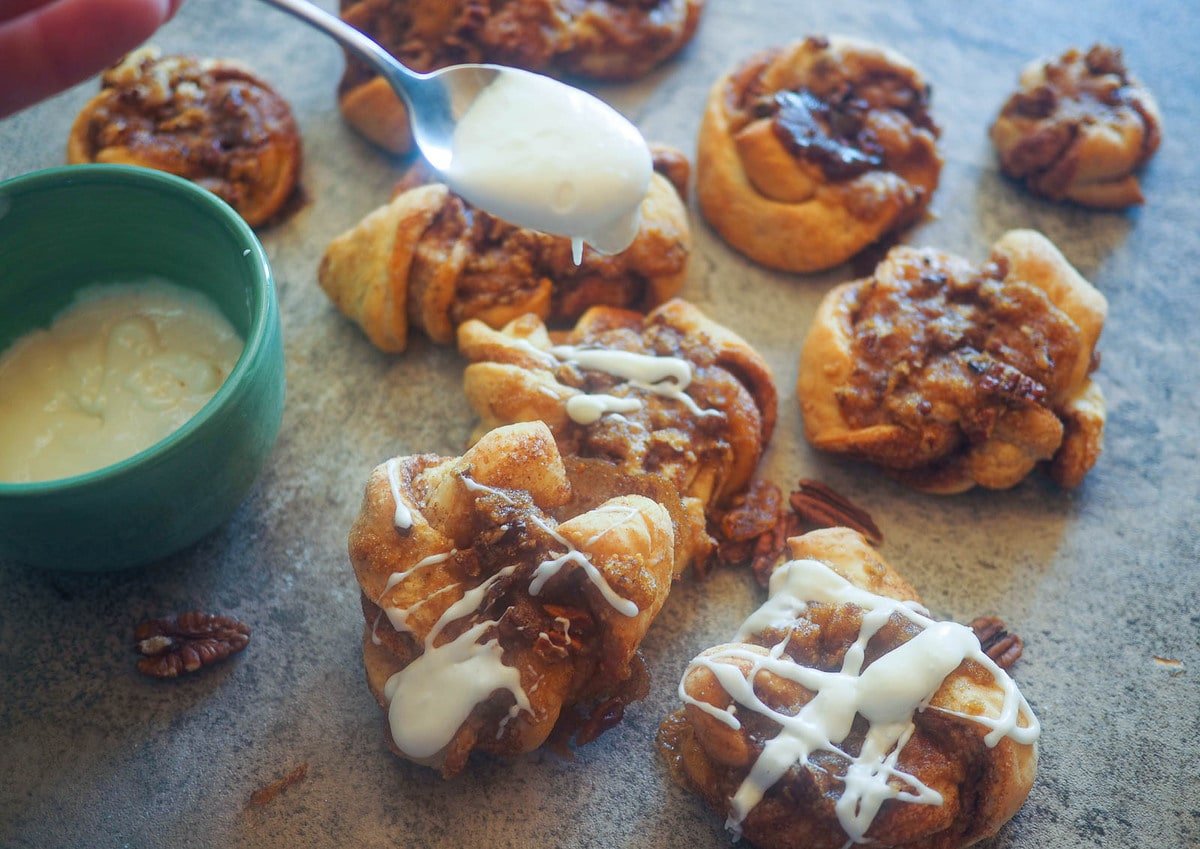
Then if you really want to take these to the next level, drizzle a spoonful of this classic cream cheese glaze over the top.

They are so good – you have to try them. Words and pictures just don’t do them justice.
Table of Contents
🥘 Ingredients Needed
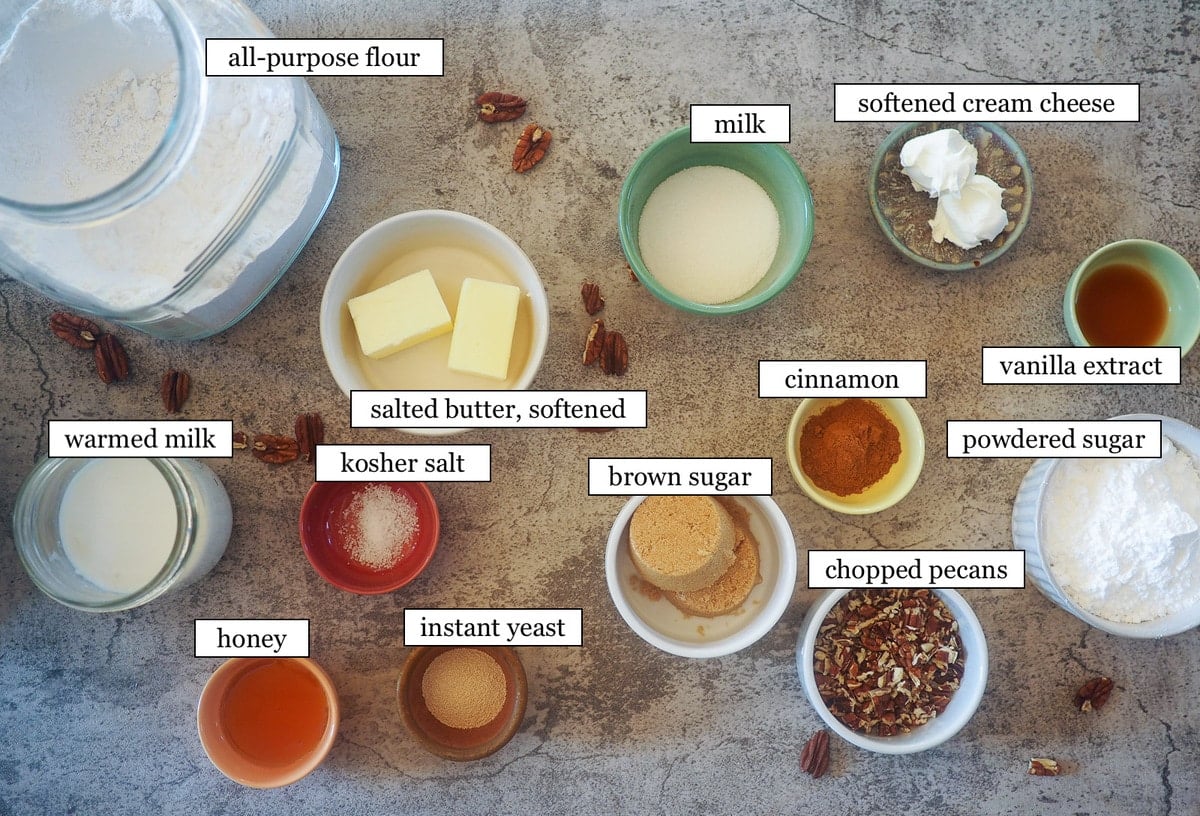
For the Cinnamon Knot Dough:
- All-Purpose Flour
- Kosher Salt
- Instant Yeast
- Warm Milk
- Honey
- Really Soft Salted Butter
For the Cinnamon Filling:
- Really Soft Butter
- Cinnamon
- Granulated Sugar
For the Crunch Topping:
- Melted Butter
- Brown Sugar
- Cinnamon
- Chopped Pecans (Optional, but so delicious.)
For the Super Classic Cinnamon Roll Cream Cheese Glaze:
- Confectioners/Powdered Sugar
- Vanilla Extract
- Softened Cream Cheese
- Whole Milk
🍽 Equipment Needed
- A Stand Mixer fitted with a dough hook
- A Rolling Pin
- Measuring Cups/Spoons
- A Baking Sheet with Parchment Paper or a Non-Stick Baking Mat
Share on Facebook
Share with friends🥣 How to Make Them
These cinnamon knots have a few steps but they are actually really easy to make and they are so worth the effort.
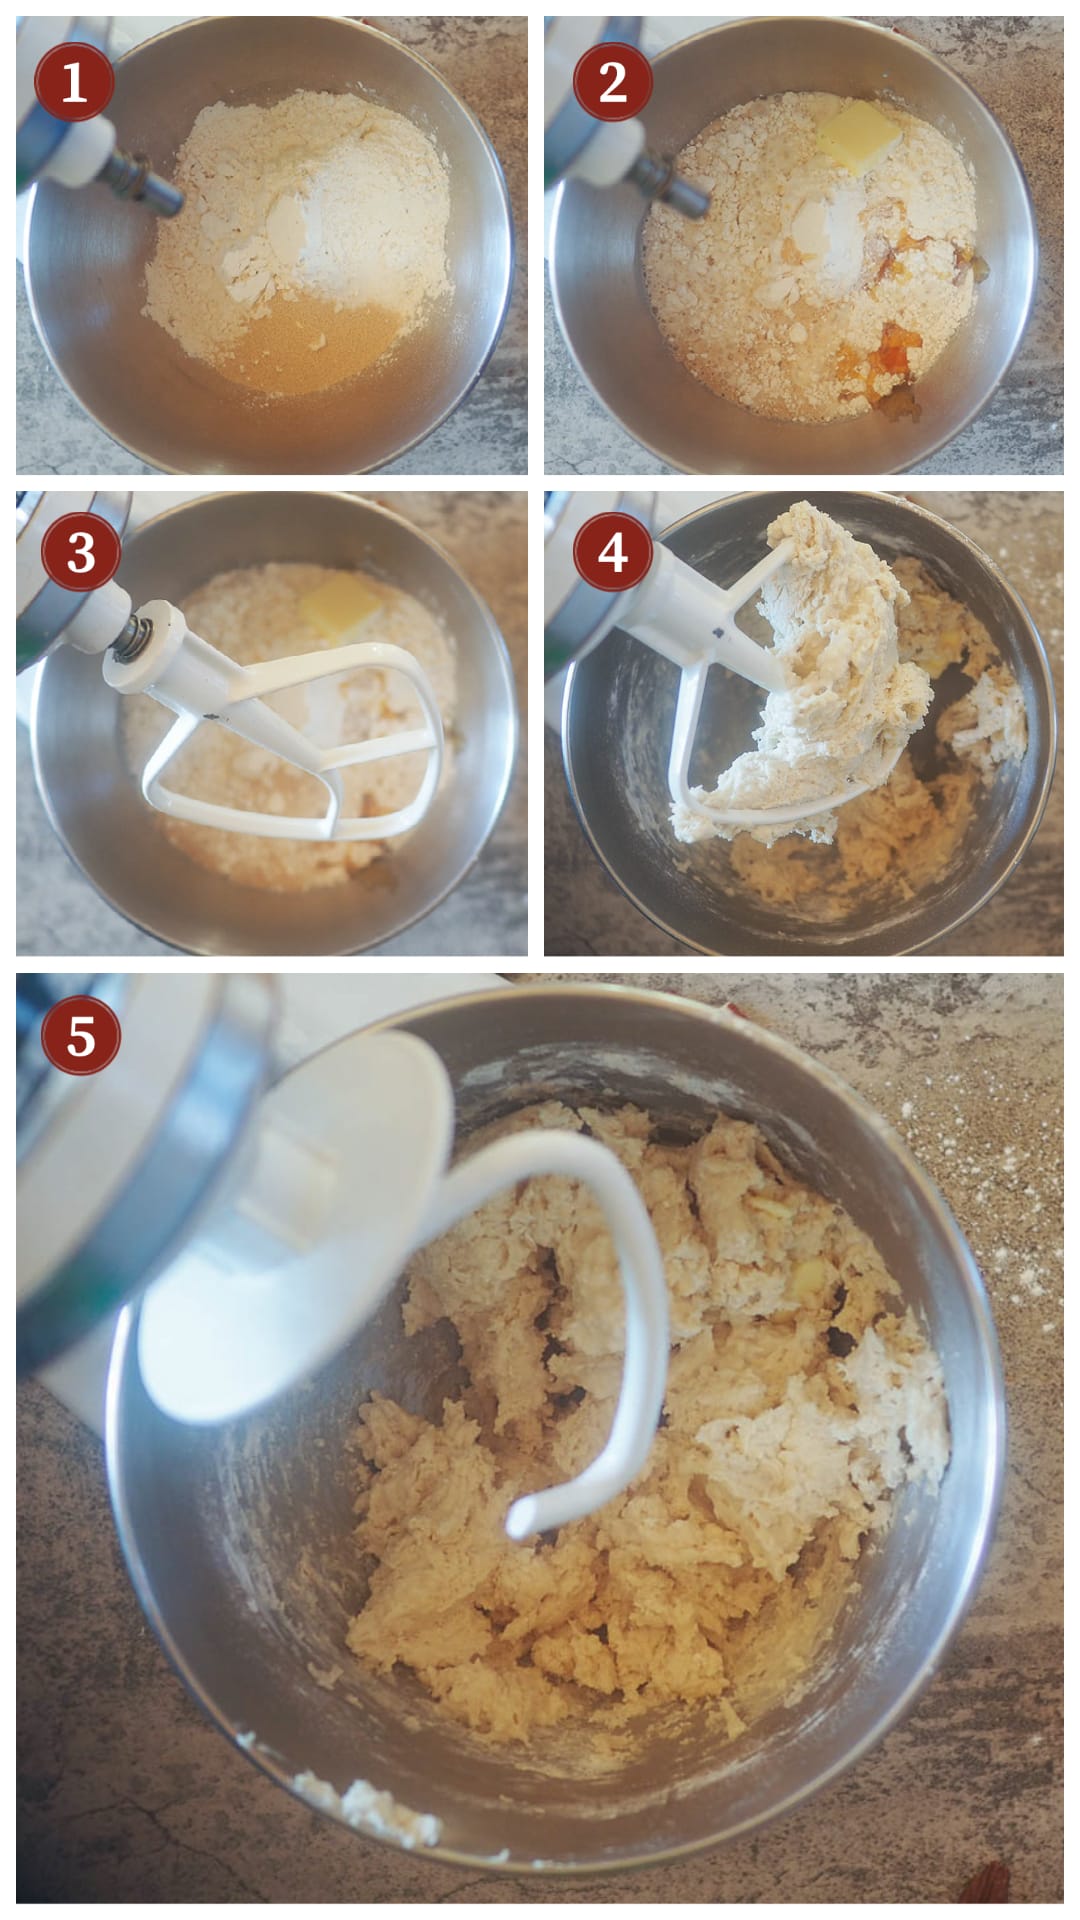
Begin by making the dough – combine 2 ½ cups of all-purpose flour, 1 packet of instant yeast, and ¼ teaspoon of kosher salt in the bowl of a stand mixer fitted with a paddle attachment. (Picture 1)
Then add 1 cup of warm (but not boiling – this can kill the yeast) milk, 2 teaspoons of honey, and 1 tablespoon of really soft butter. Mix until it all comes together, then switch out the paddle for the dough hook. (Pictures 2 – 5)
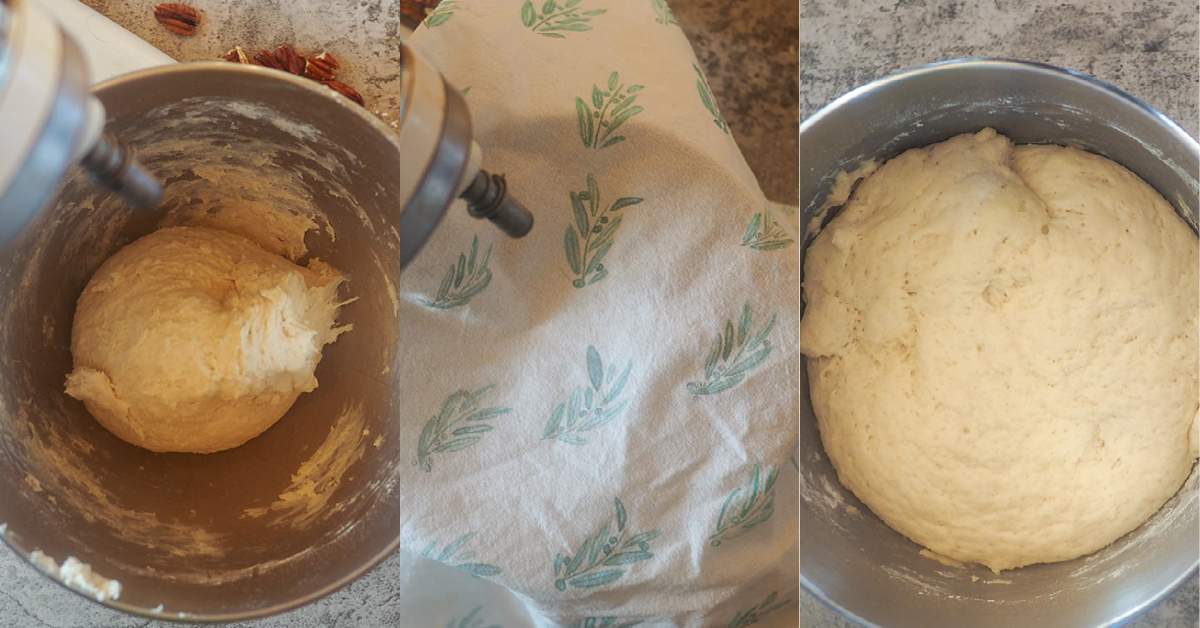
Knead with the dough hook on medium/low speed until the dough comes together and forms a ball on the dough hook. It should easily pull away from the sides of the bowl. (Pictures 6 – 8) (If you don’t have a mixer, mix everything together with a spoon then switch to kneading when it starts to get really sticky. It should take 5 – 10 minutes of kneading by hand to form a ball.)
Cover and let the dough rest for 30 minutes to 1 hour. I like to leave it somewhere warm-ish – like in front of a sunny window. If your house is really cold, you can put it in an oven (that is off) with the light on. (Picture 9) The dough should poof up quite a bit and will fill the bottom of the bowl. (Picture 10)

Now is the fun part – preheat your oven to 375°F (or if your oven is crazy like mine is, set it to whatever you need to set it to in order for it to bake at 375.)
Now, punch the dough down to let the air out. (Picture 11) Transfer the deflated dough to a floured surface and roll it out into a rectangle – about ¼ of an inch thick. If it is really sticking to everything, dust your rolling pin and the dough with a little more flour. (Picture 12)
Now, spread 4 tablespoons of very soft butter. It has to be soft because the dough can tear, but do not melt the butter because it won’t stick and will run off of the dough. (Tricky stuff that butter!) (Picture 13)
Combine ¼ cup of granulated sugar and 2 teaspoons of cinnamon in a small bowl and whisk or toss with a fork until it is well combined. (Picture 14)
Sprinkle the cinnamon/sugar mixture all over the dough. (Picture 15)

Fold the dough in half along the longer axis (my husband calls this “hot dog style”) and run over it a few times (gently) with the rolling pin to really press the cinnamon sugar into the dough. (Picture 16) Cut around 12 strips of dough to tie your knots. Ideally, the strips should all be the same width, but the imperfections kind of make these knots unique. (Picture 17)
Tie each strip into a fun knot – twisting and looping around itself into a unique shape – and pinch or tuck the ends down so they don’t come apart when they are baked. The awesome part about these knots is that no two knots will look the same and they always look so impressive. Place the twisted knots on a baking sheet with enough distance between them to rise just a little. (Picture 18 – 19)
Now, melt the remaining butter (2 tablespoons) and combine it with 2 teaspoons of cinnamon, ½ cup of brown sugar, and ¼ cup chopped pecans. (Picture 20)

Spoon this mixture over the knots – this will form the crunchy topping as the sugar melts and the knots cook.
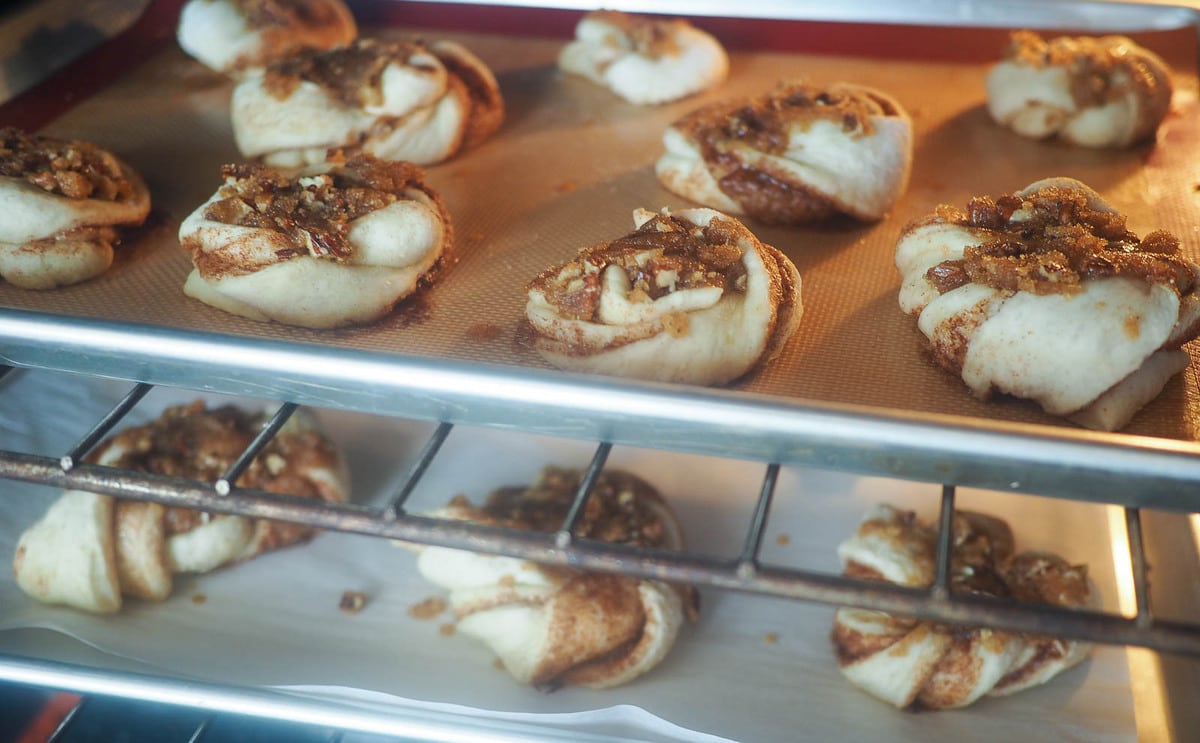
Bake for about 10 minutes, then open the oven and scoop any bits of crunch topping that have melted off the knots back onto them. Bake for another 8 – 10 minutes. (It should take 15 – 20 minutes altogether for the knots to bake.) They should be golden brown when they are pulled from the oven.
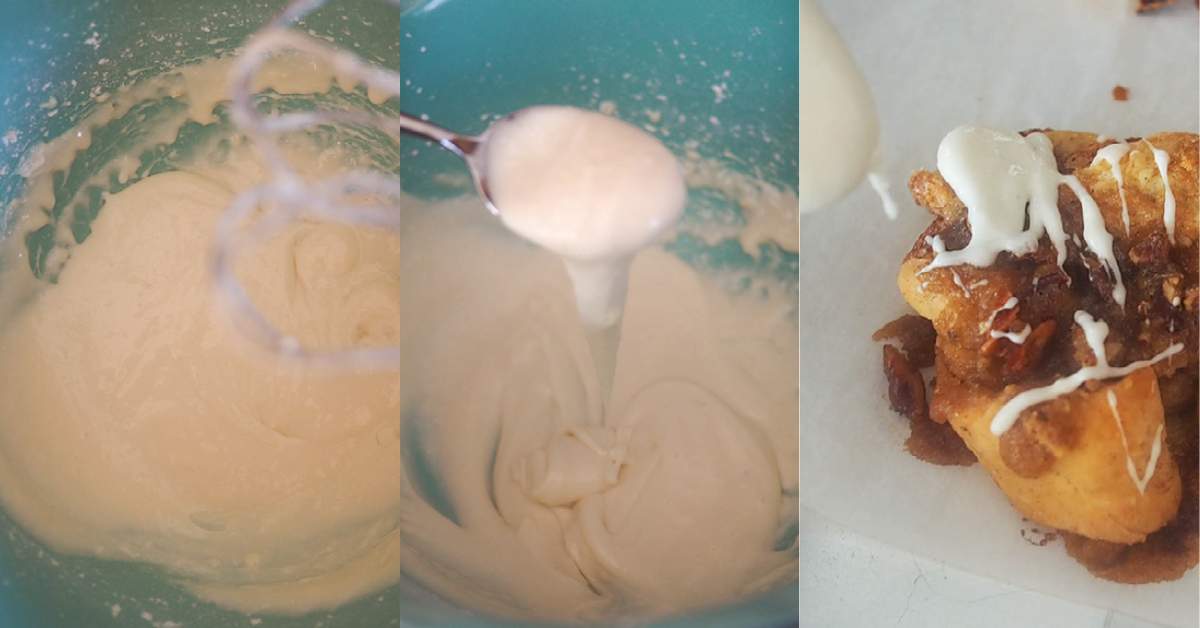
While the knots are baking, make the glaze. Combine powdered sugar, softened cream cheese, vanilla extract, and two tablespoons of milk – I like to use a hand mixer to get the mixture really smooth. If it is too runny, add a tiny bit more powdered sugar – or if it seems too stiff, add a tiny bit more milk. It should be easy to drizzle with a spoon, but it should also stick to the spoon for a few seconds.
When the knots are done, remove them from the oven, drizzle with glaze, and serve.
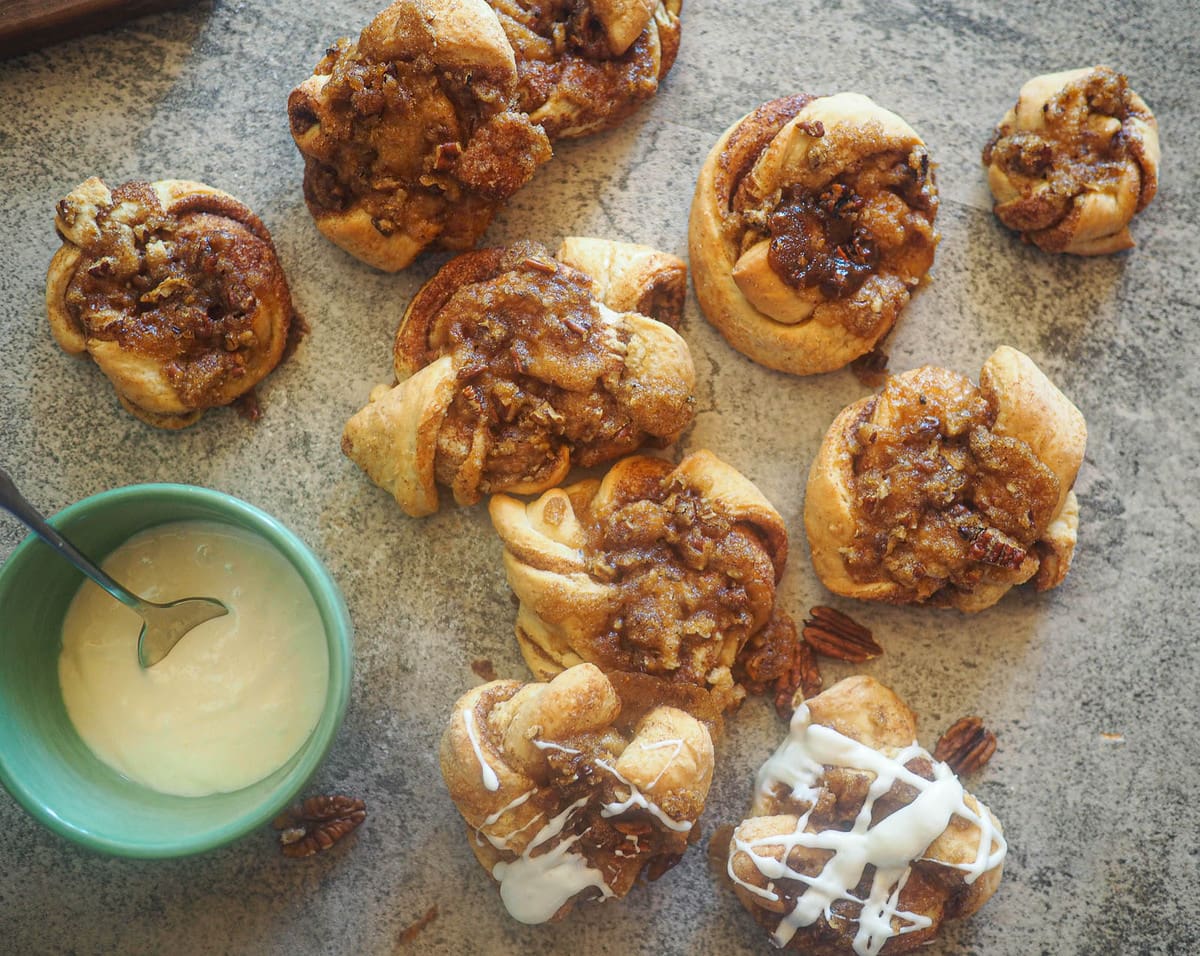
These knots are best eaten when they are fresh from the oven. (If they are not going to be eaten right away, do not glaze them – it will burn when the knots are reheated.) They will keep in an air-tight container at room temperature for 4 – 5 days or they can be frozen for up to 3 months. (To vacuum seal them before freezing, freeze the knots first, then suck all the air out. They won’t squish down as much this way.)
🙋♀️ Frequently Asked Questions
These knots are similar to a Kanelbullar, only the dough and filling do not have cardamon in them. (And a Kanelbullar does not have a crunchy sugar topping, they are topped with an egg wash and pearl sugar.) Gimme Some Oven has a great recipe for Kannebullar (Swedish Cinnamon Buns) here.
To be honest, they probably take a little bit longer to construct and decorate – but the proofing and baking time is the same. They also don’t have to be perfect, which to me is a huge plus. They look so much more impressive so it is worth the effort!
Yes – use 2 ¼ teaspoons of baking powder in place of the yeast. It does not need to rise, but let the dough rest for about 30 minutes. Shape the dough and let it rest on the baking sheet for about 10 minutes before baking. (They won’t rise as much as with yeast, but they will have a slight rise.)

🍳 What to Serve with Cinnamon Knots
These cinnamon knots will impress even the toughest critics. They are a great brunch or breakfast addition when the whole family is around and you really want to create something spectacular. They are great to share for a holiday breakfast – think Christmas or Easter – and they are also a great breakfast to make for your significant other for Valentine’s Day. I promise they will be impressed. (My husband LOVES these and was so happy I finally found a “cinnamon roll” recipe that comes out perfectly every time.)
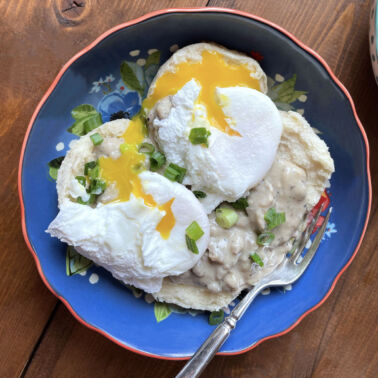
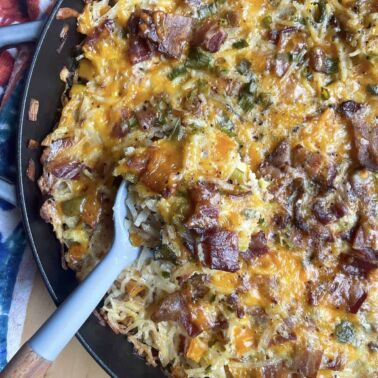
We love to serve these with a side of some kind of eggs for protein – either a frittata, eggs baked in a muffin tin, or mini-frittatas.
🥫 How to Store Cinnamon Knots
These knots are best eaten when they are fresh from the oven. (If they are not going to be eaten right away, do not glaze them – it will burn when the knots are reheated.)
They will keep in an air-tight container at room temperature for 4 – 5 days or they can be frozen for up to 3 months. (To vacuum seal and freeze these knots, freeze them first, then suck all the air out. They won’t squish down as much this way.)
To reheat, let the knots defrost, then heat them in the oven, an air-fryer or toaster oven, or in the microwave – slowly with low heat.
✏️ Helpful Tips
- If you are making these to enjoy at home for breakfast for a few days, do not glaze them. Make the glaze, then keep it in the refrigerator – heat the knots up in the toaster oven, air fryer, or microwave – then drizzle the glaze over when serving.
- These cinnamon knots are such a show stopper – they are an excellent addition to any brunch or breakfast spread where you really want to blow your guests away.
- To vacuum seal and freeze these knots, freeze them first, then suck all the air out. They won’t squish down as much this way. To reheat, let the knots defrost, then heat them in the oven, an air-fryer or toaster oven, or in the microwave – slowly with low heat.
Other Yummy Breakfast Recipes
Breakfast
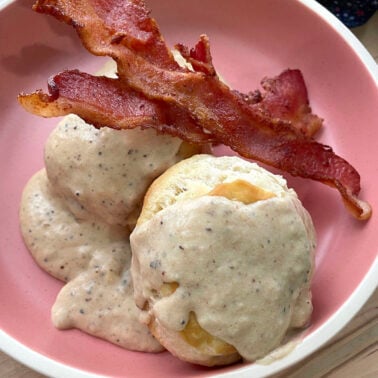
Creamy Bacon Gravy Recipe
Breakfast
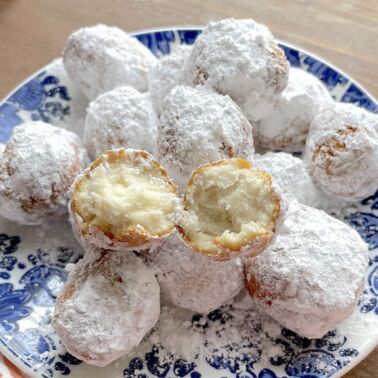
Easy Biscuit Beignets Recipe
Breakfast
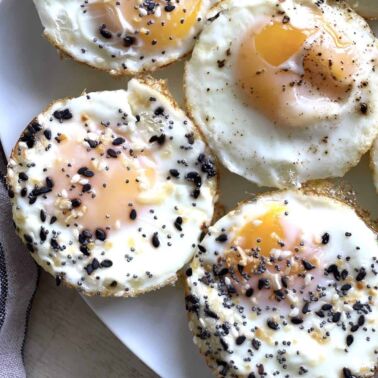
How to Bake Eggs in a Muffin Tin
Kid-Friendly
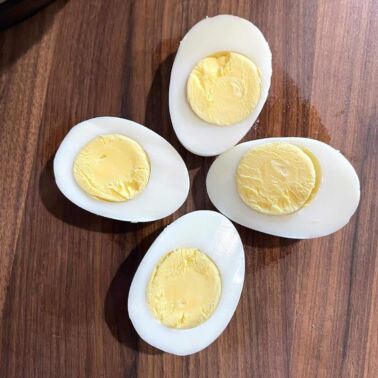
Instant Pot Hard Boiled Eggs
Have You Tried This Recipe?
Please rate it and leave a comment below. I would love to hear what you think!
Cinnamon Knots with a Sweet Pecan Praline Crunch
Ingredients
For the Cinnamon Knot Dough:
- 2 ½ cups all-purpose flour
- ¼ teaspoon kosher salt
- 1 packet instant yeast (2 ¼ teaspoons) – also called rapid rise yeast
- 1 cup whole milk warmed but not boiling or it will kill the yeast
- 2 teaspoons honey
- 1 tablespoon salted butter softened
For the Cinnamon Filling:
- 4 tablespoons salted butter softened
- 1 teaspoon ground cinnamon
- ¼ cup granulated sugar
For the Crunch Topping:
- 2 tablespoons salted butter melted
- 2 teaspoons ground cinnamon
- ½ cup brown sugar
- ¼ cup chopped pecans optional but delicious
For the Classic, Cinnamon Roll Cream Cheese Glaze:
- 1 cup powdered sugar also known as confectioners sugar
- 1 teaspoon vanilla extract
- 2 tablespoons cream cheese softened at room temperature
- 2 tablespoons whole milk + more if needed to thin the glaze
Instructions
- Begin by making the dough – combine 2 ½ cups of all-purpose flour, 1 packet of instant yeast, and ¼ teaspoon of kosher salt in the bowl of a stand mixer fitted with the paddle attachment.
- Add 1 cup of warm (but not boiling – too hot will kill the yeast) milk, 2 teaspoons of honey, and 1 tablespoon of really soft butter.
- Mix with the paddle attachment on medium/low speed until the dough comes together. Then switch out the paddle for the dough hook and knead until the dough forms a ball on the dough hook. It should easily pull away from the sides of the bowl.*
- Cover and let the dough rest for 30 minutes to 1 hour in a warm place – the dough should poof up quite a bit and will fill the bottom of the bowl.
- Now is the fun part: begin by preheating your oven to 375°F.
- Punch the dough down to let the air out. Transfer the deflated dough to a floured surface and roll it out into a rectangle – about ¼ of an inch thick. If it is really sticking to everything, dust your rolling pin and the dough with a little more flour.
- Spread 4 tablespoons of very soft butter on the dough. It has to be VERY soft because the dough can tear, but do not melt the butter because it won't stick and will run off of the dough. (Tricky stuff that butter!)
- Combine ¼ cup of granulated sugar and 2 teaspoons of cinnamon in a small bowl and whisk or toss with a fork until it is well combined.
- Sprinkle the cinnamon/sugar mixture all over the dough. Fold the dough in half along the longer axis (my husband calls this "hot dog style") and run over it a few times (gently) with a rolling pin to really press the cinnamon sugar into the dough.
- Cut around 12 strips of dough to tie your knots. Ideally, the strips should all be the same width, but the imperfections kind of make these knots unique.
- Tie each strip into a fun knot – twisting and looping around itself into a unique shape – and pinch or tuck the ends down so they don’t come apart when they are baked. The awesome part about these knots is that no two knots will look the same and they always look so impressive.
- Place the twisted knots on a baking sheet with enough distance between them to rise just a little.
- Melt the remaining butter (2 tablespoons) and combine it with 2 teaspoons of cinnamon, ½ cup of brown sugar, and ¼ cup chopped pecans. Spoon this mixture over the knots – this will form the crunchy topping as the sugar melts and the knots cook.
- Bake for 8 – 10 minutes, then open the oven and scoop any bits of crunch topping that have melted off the knots back onto them. Bake for another 8 – 10 minutes. (It should take 15 – 20 minutes altogether for the knots to bake.) They should be golden brown when they are pulled from the oven.
- While the knots are baking, make the glaze. Combine powdered sugar, softened cream cheese, vanilla extract, and two tablespoons of milk – I like to use a hand mixer to get the mixture really smooth. If it is too runny, add a tiny bit more powdered sugar – or if it seems too stiff, add a tiny bit more milk. It should be easy to drizzle with a spoon, but it should also stick to the spoon for a few seconds.
- When the knots are done, remove them from the oven, drizzle with glaze, and serve.
- These knots are best eaten when they are fresh from the oven. (If they are not going to be eaten right away, do not glaze them – it will burn when the knots are reheated.) They will keep in an air-tight container at room temperature for 4 – 5 days or they can be frozen for up to 3 months. (To vacuum seal them before freezing, freeze the knots first, then suck all the air out. They won’t squish down as much this way.)
Notes
These cinnamon knots will impress even the toughest critics. They are a great brunch or breakfast addition when the whole family is around and you really want to create something spectacular. They are great to share for a holiday breakfast – think Christmas or Easter – and they are also a great breakfast to make for your significant other for Valentine’s Day. I promise they will be impressed. (My husband LOVES these and was so happy I finally found a “cinnamon roll” recipe that comes out perfectly every time.) 🥫 Storage/Shelf Life/Reheating
These knots are best eaten when they are fresh from the oven. (If they are not going to be eaten right away, do not glaze them – it will burn when the knots are reheated.) They will keep in an air-tight container at room temperature for 4 – 5 days or they can be frozen for up to 3 months. (To vacuum seal and freeze these knots, freeze them first, then suck all the air out. They won’t squish down as much this way.) To reheat, let the knots defrost, then heat them in the oven, an air-fryer or toaster oven, or in the microwave – slowly with low heat. 📋 Tips
- If you are making these to enjoy at home for breakfast for a few days, do not glaze them. Make the glaze, then keep it in the refrigerator – heat the knots up in the toaster oven, air fryer, or microwave – then drizzle the glaze over when serving.
- These cinnamon knots are such a show stopper – they are an excellent addition to any brunch or breakfast spread where you really want to blow your guests away.
- To vacuum seal and freeze these knots, freeze them first, then suck all the air out. They won’t squish down as much this way. To reheat, let the knots defrost, then heat them in the oven, an air-fryer or toaster oven, or in the microwave – slowly with low heat.
What is the difference between cinnamon knots and Kanelbullar?
These knots are similar to a Kanelbullar, only the dough and filling do not have cardamon in them. (And a Kanelbullar does not have a crunchy sugar topping, they are topped with an egg wash and pearl sugar.) Gimme Some Oven has a great recipe for Kannebullar (Swedish Cinnamon Buns) here. Are cinnamon knots easier to make than cinnamon rolls?
To be honest, they probably take a little bit longer to construct and decorate – but the proofing and baking time is the same. They also don’t have to be perfect, which to me is a huge plus. They look so much more impressive so it is worth the effort! Can you make cinnamon knots without yeast?
Yes – use 2 ¼ teaspoons of baking powder in place of the yeast. It does not need to rise, but let the dough rest for about 30 minutes. Shape the dough and let it rest on the baking sheet for about 10 minutes before baking. (They won’t rise as much as with yeast, but they will have a slight rise.)
Special Equipment Needeed
- a rolling pin
Nutrition
Nutrition information is approximate and is automatically calculated, so should only be used as a guide.


